
A bathroom remodel has a reputation for going over budget and over schedule, and it's usually because of planning gaps, not bad luck.
The projects that go smoothly tend to follow roughly the same sequence, in roughly the same order.
This walks through that sequence.


Shower System Brushed Nickel Bathroom Rainfall Shower Faucet Set Complete Wall Mounted 8
Shop on Amazon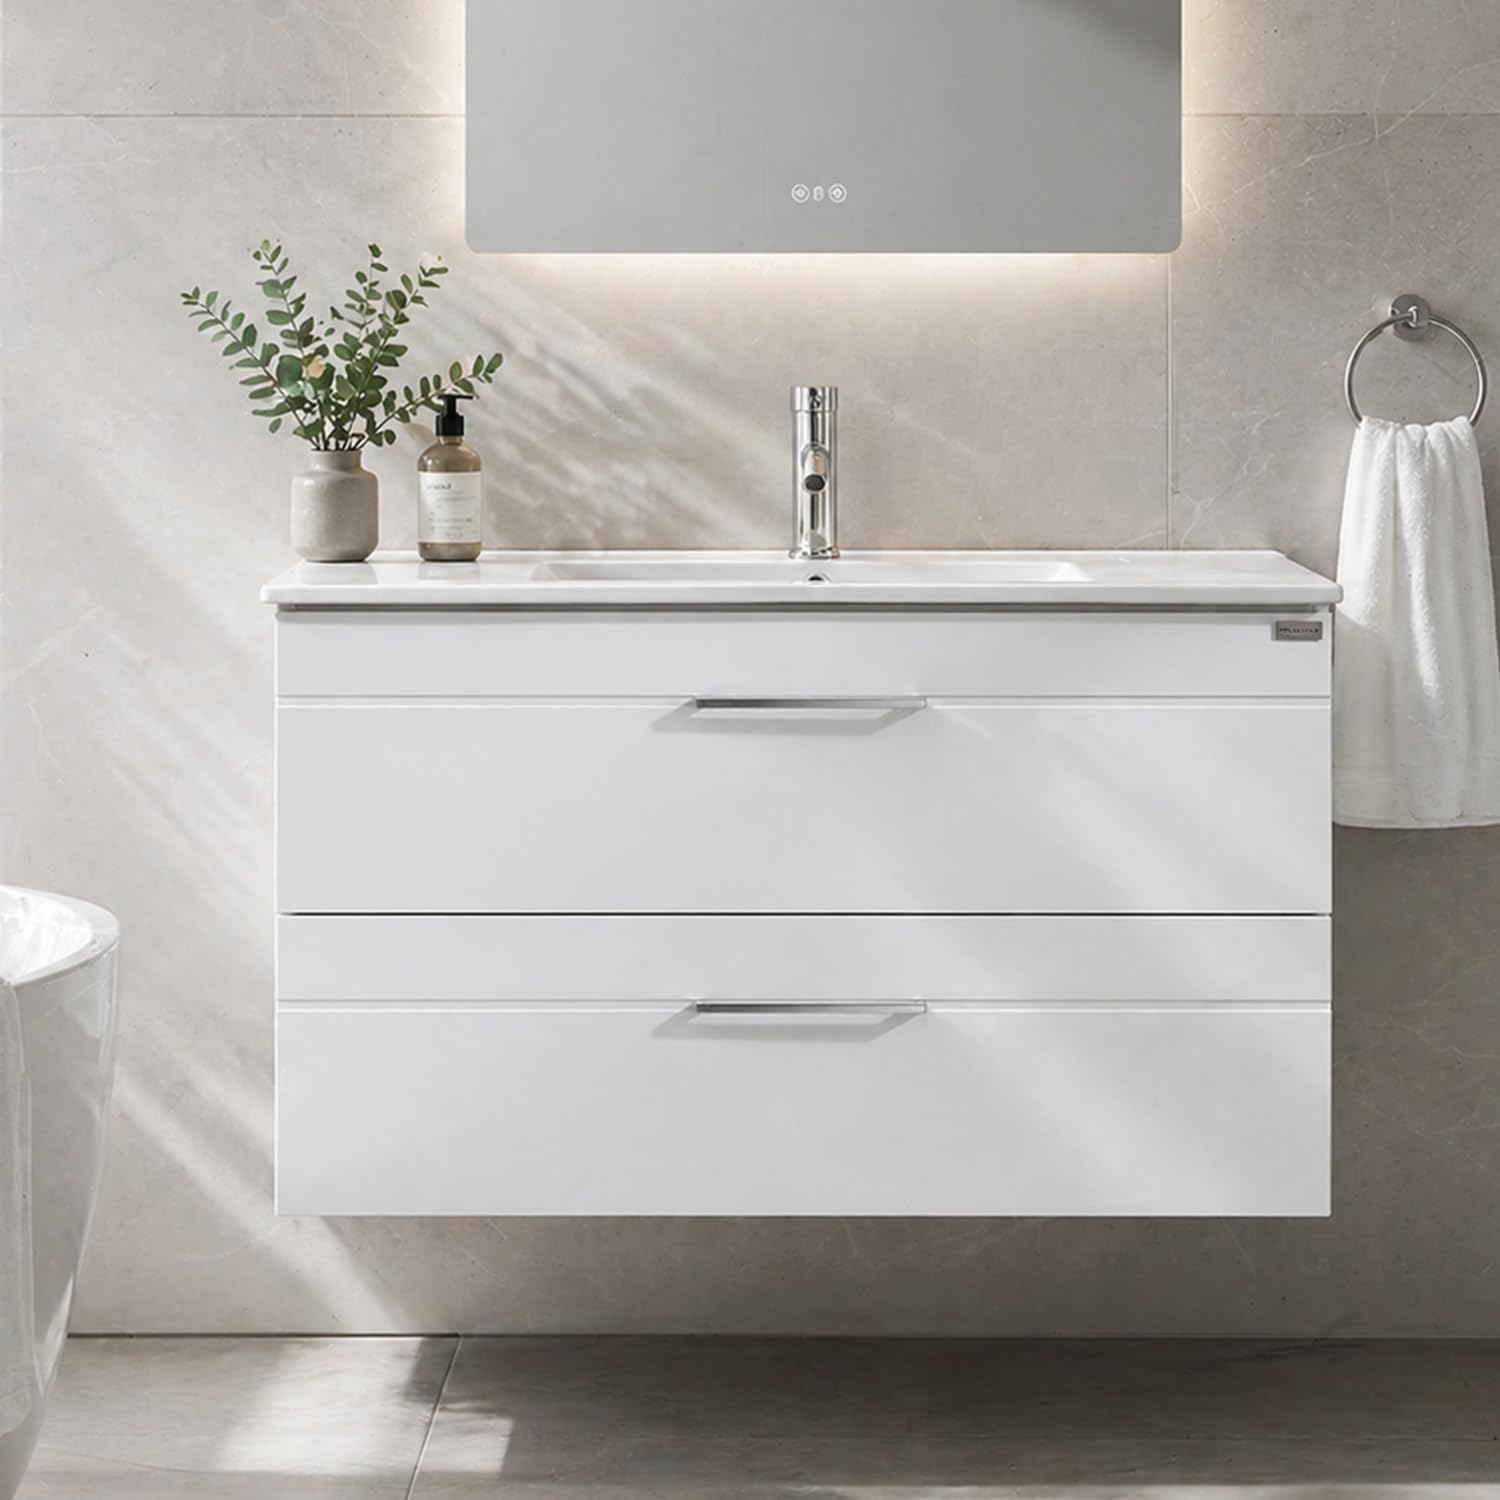
wonline 36" Wall Mounted Bathroom Vanity Set Two Drawers Storage Cabinet with Ceramic
Shop on AmazonStep 1: Figure Out What's Actually Wanted
A clear list of what's actually broken, outdated or missing — rather than a vague sense of wanting an upgrade — gives the whole project a real target.
This list also becomes the reference point for every later decision, keeping the scope from quietly expanding as the project goes on.


Step 2: Set a Realistic Budget
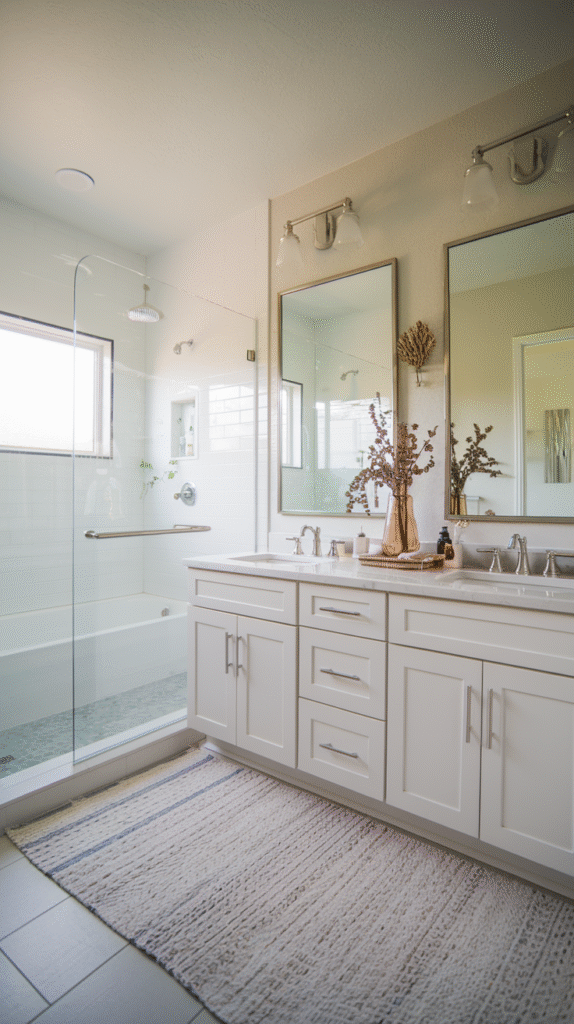
A budget that includes a genuine contingency — typically 10 to 20 percent above the estimated cost — absorbs the surprises that come up in nearly every remodel.
Pricing out the big-ticket items first (tile, fixtures, labor) gives a much more realistic number than guessing at a total upfront.


Step 3: Gather Inspiration Without Getting Lost in It
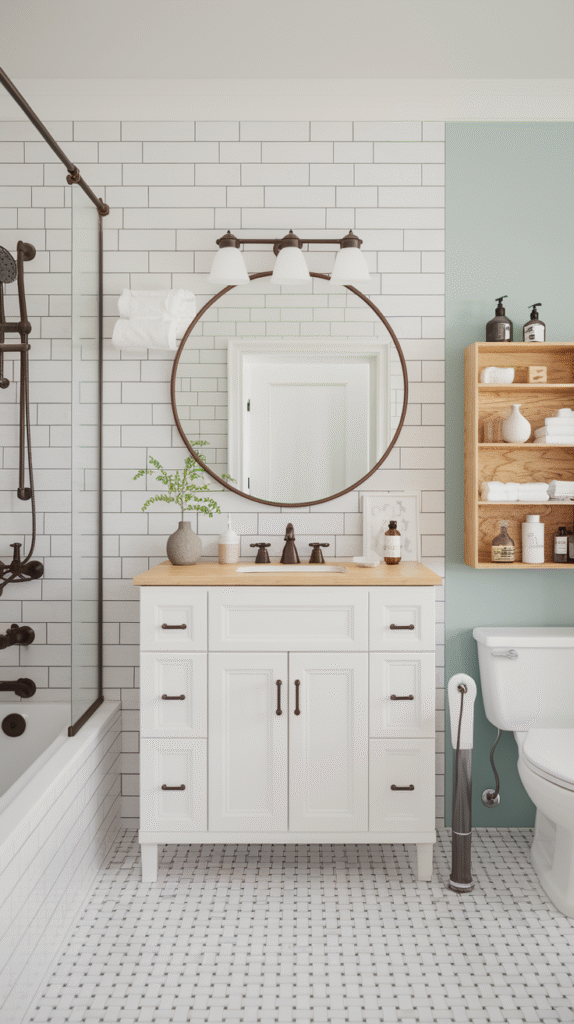
A focused folder of a dozen or so reference images communicates a clear direction to contractors far better than an unlimited, ever-growing collection.
Narrowing inspiration down early also prevents a common trap: endlessly browsing new ideas instead of actually moving the project forward.


Step 4: Plan the Layout Carefully
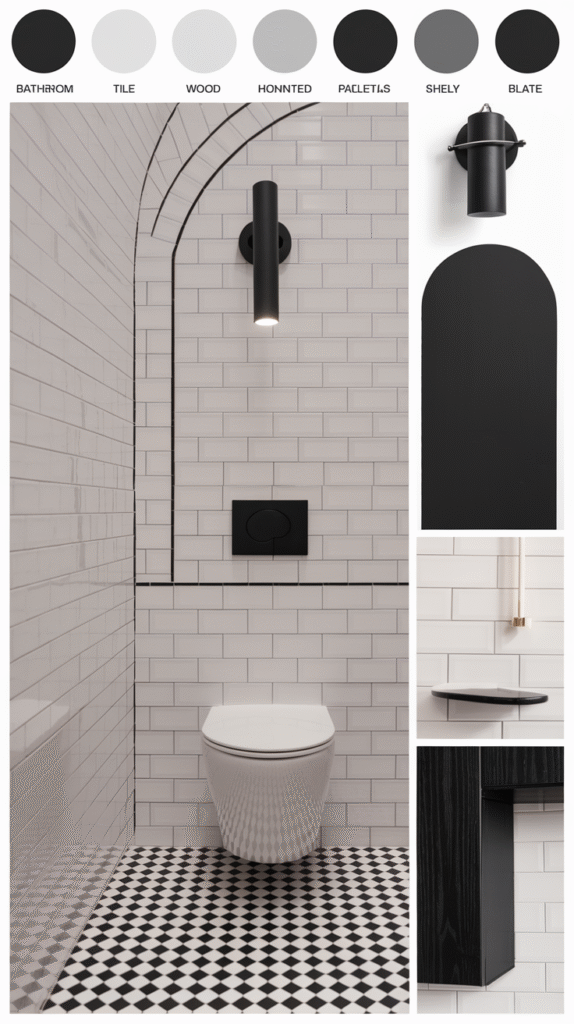
Moving plumbing fixtures is one of the most expensive changes in any bathroom remodel, so it's worth confirming the layout is genuinely necessary before committing to it.
A layout that keeps existing plumbing lines, even with some compromise, often delivers most of the improvement for a fraction of the cost of a full reconfiguration.


Step 5: Choose Materials That Won't Cause Regret
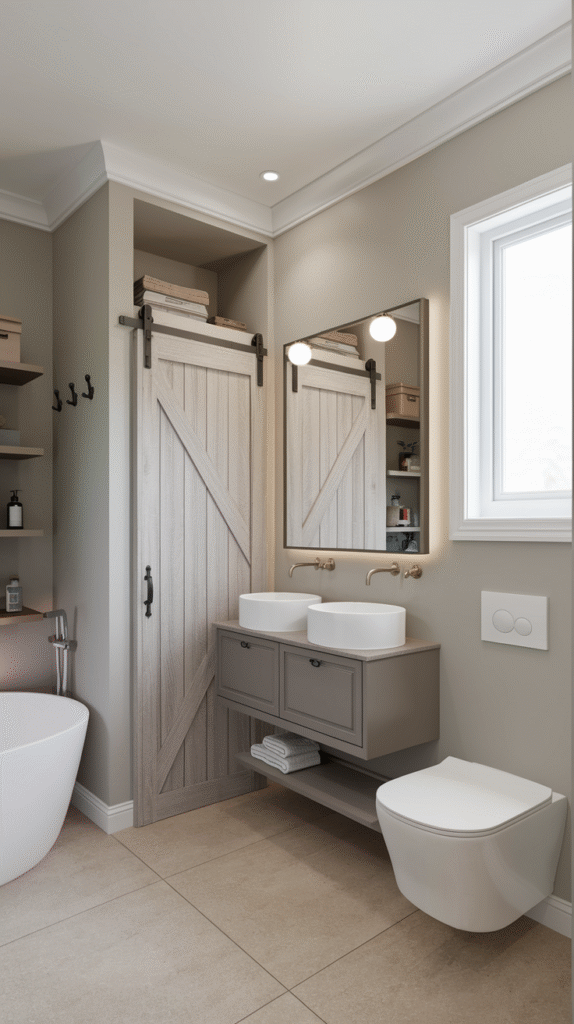
Durability and water resistance matter more here than in almost any other room — a beautiful material that can't handle bathroom humidity becomes an expensive mistake.
Ordering physical samples and viewing them in the actual bathroom's lighting avoids the common disappointment of a material looking different at home than it did in the showroom.


Step 6: Find the Right Professionals
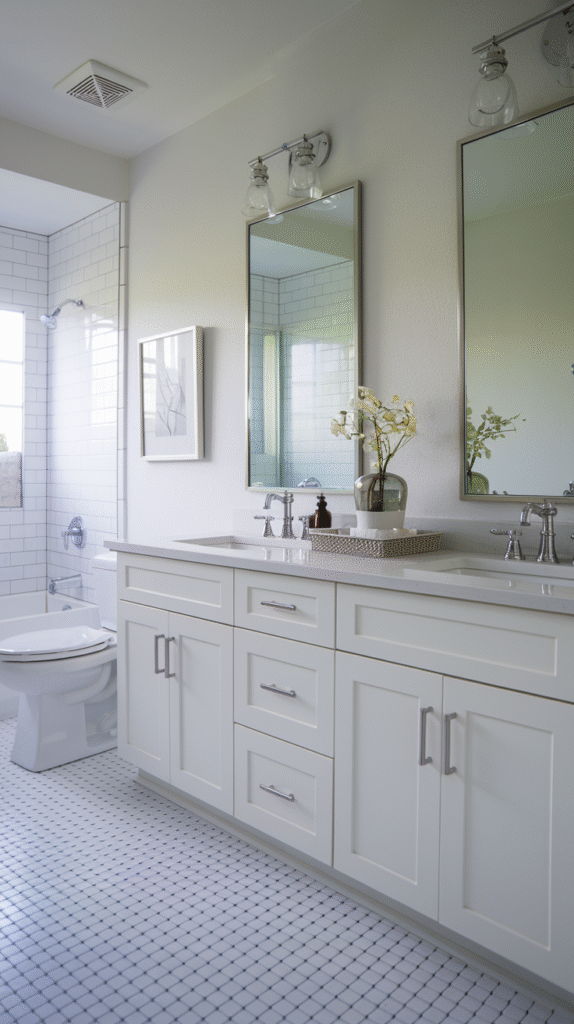
Getting multiple quotes and checking real references matters more for a bathroom remodel than almost any other home project, given how much can go wrong with plumbing and electrical work done poorly.
A contractor who asks detailed questions about the plan is generally a better sign than one who agrees to everything immediately.


Home Remodeling Contract Forms Book: House Renovation Service Agreement Form, 50 Forms
Shop on Amazon
Construction Contract Form Book: 25 Professional Fill-in Legal Agreement Templates for
Shop on AmazonStep 7: Handle Permits and Approvals
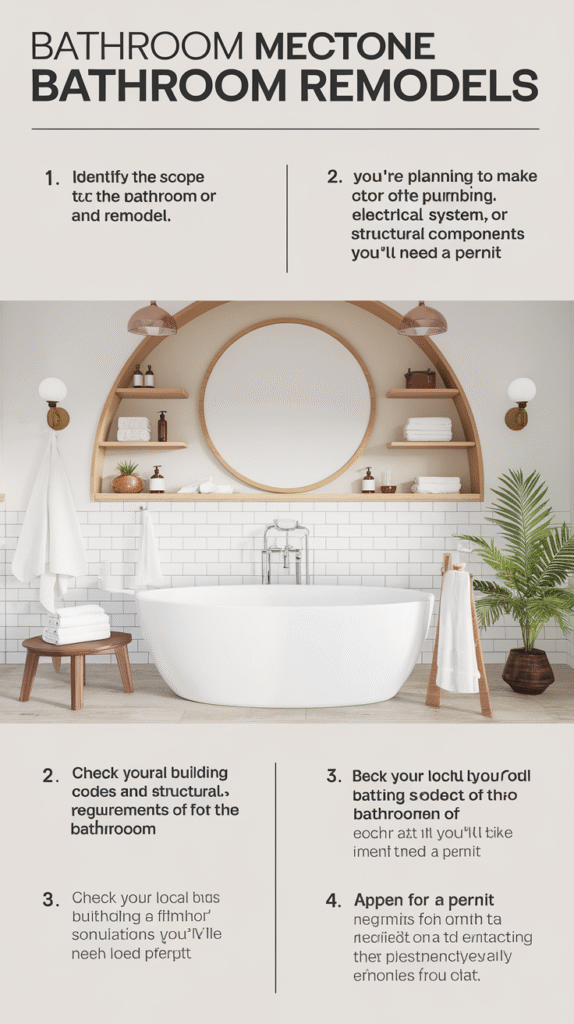
Most structural, electrical and plumbing changes require a permit, and skipping this step risks real problems at resale time, not just during the project itself.
A contractor experienced in local code typically handles this process, but it's worth confirming it's actually being done rather than assuming.


Step 8: Order Everything Before Demo Starts
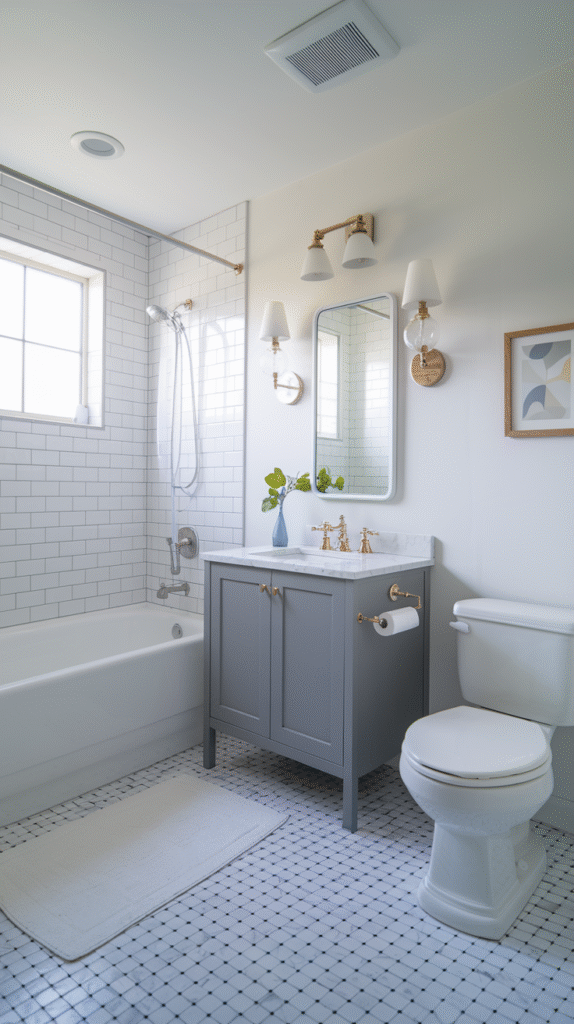
Having materials and fixtures on hand before demolition begins avoids the project stalling mid-way while waiting on a backordered item.
This is one of the most commonly skipped steps, and one of the most disruptive to skip, since a bathroom without a toilet or shower is a daily problem, not a minor inconvenience.

KOHLER K-3989-96 Wellworth Highline Two-Piece Dual-Flush Elongated Toilet with Class Five
Shop on Amazon
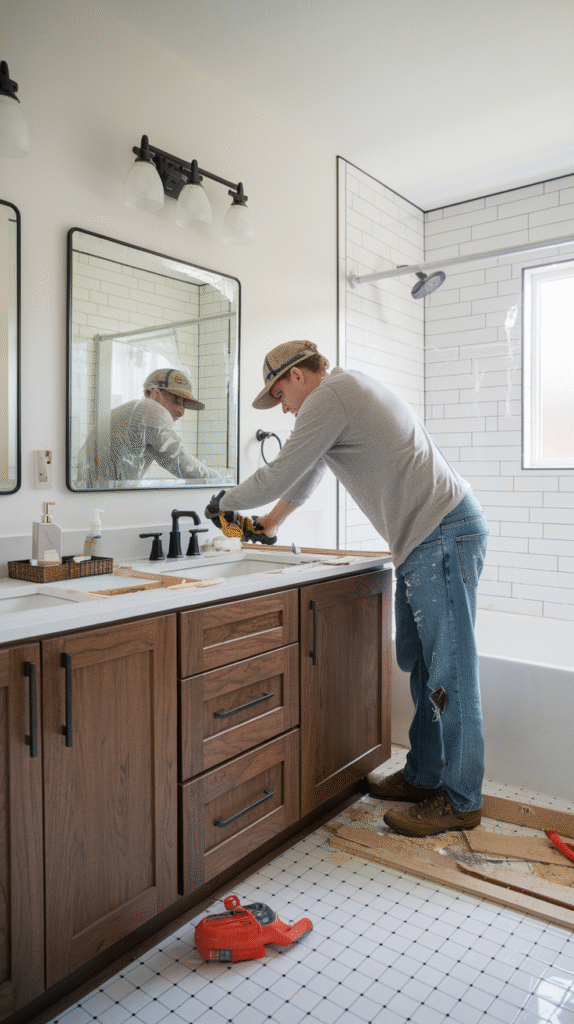
Step 9: Get Through Demo
Protecting the surrounding areas of the home from dust and debris before demo starts saves considerable cleanup time afterward.
This phase often reveals hidden issues — water damage, outdated wiring — which is part of why the budget contingency from step 2 matters so much.


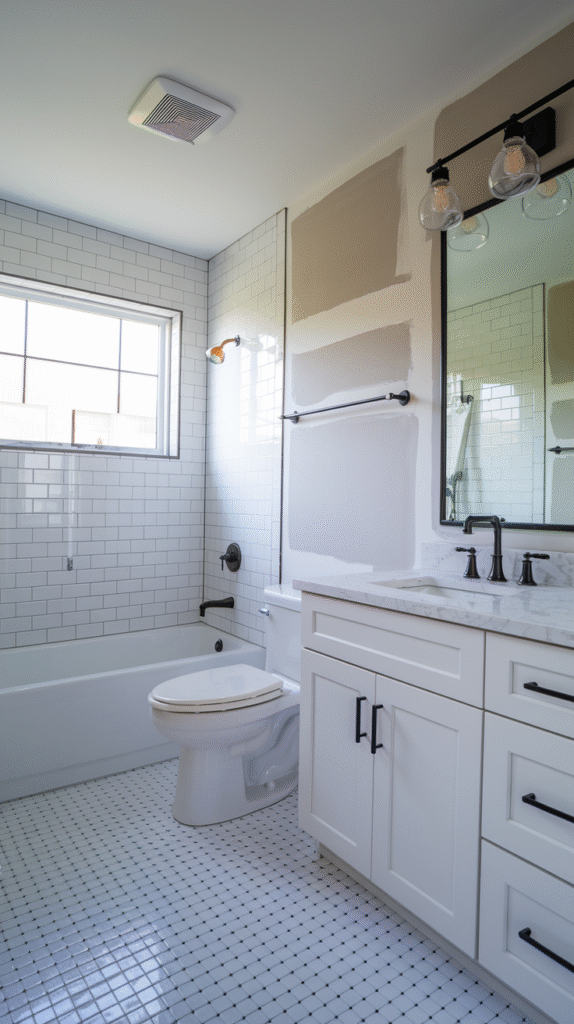
Step 10: Let Installation Happen
Plumbing and electrical rough-in happens first, followed by flooring, tile, and fixtures roughly in that order.
This is the phase where the earlier planning pays off — a well-planned project moves through installation with far fewer surprises than one figured out on the fly.


YEFU Tile Leveling System 1/8'' Kit Include 300 PCS Tile Spacers Clips and 120 PCS Reusable
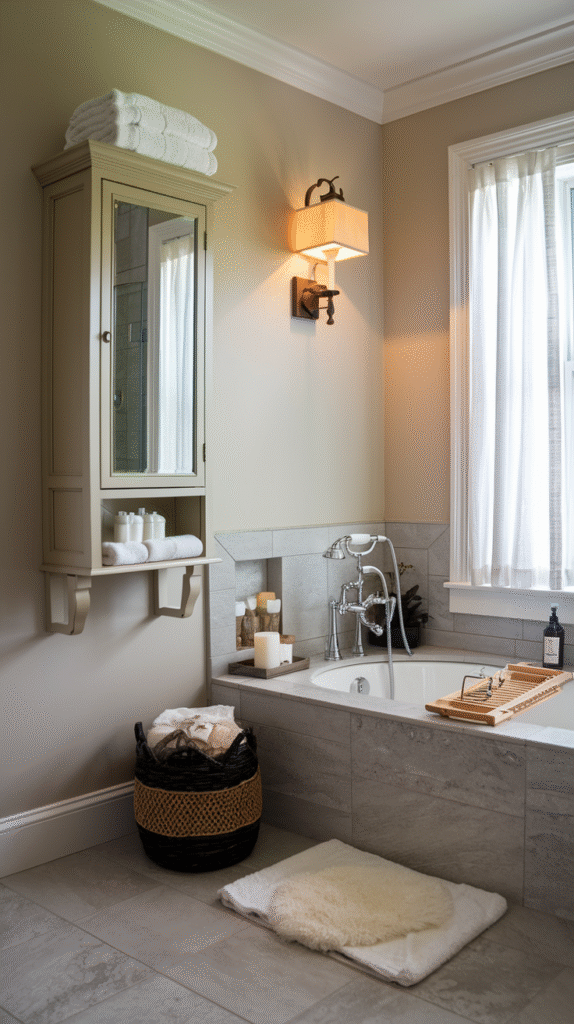
Shop on AmazonStep 11: Add the Finishing Touches
Hardware, mirrors, lighting fixtures and final decor are what actually make the remodeled bathroom feel complete, even after all the major work is done.
This is also the most enjoyable phase of the whole process, arriving after the most disruptive parts are already finished.
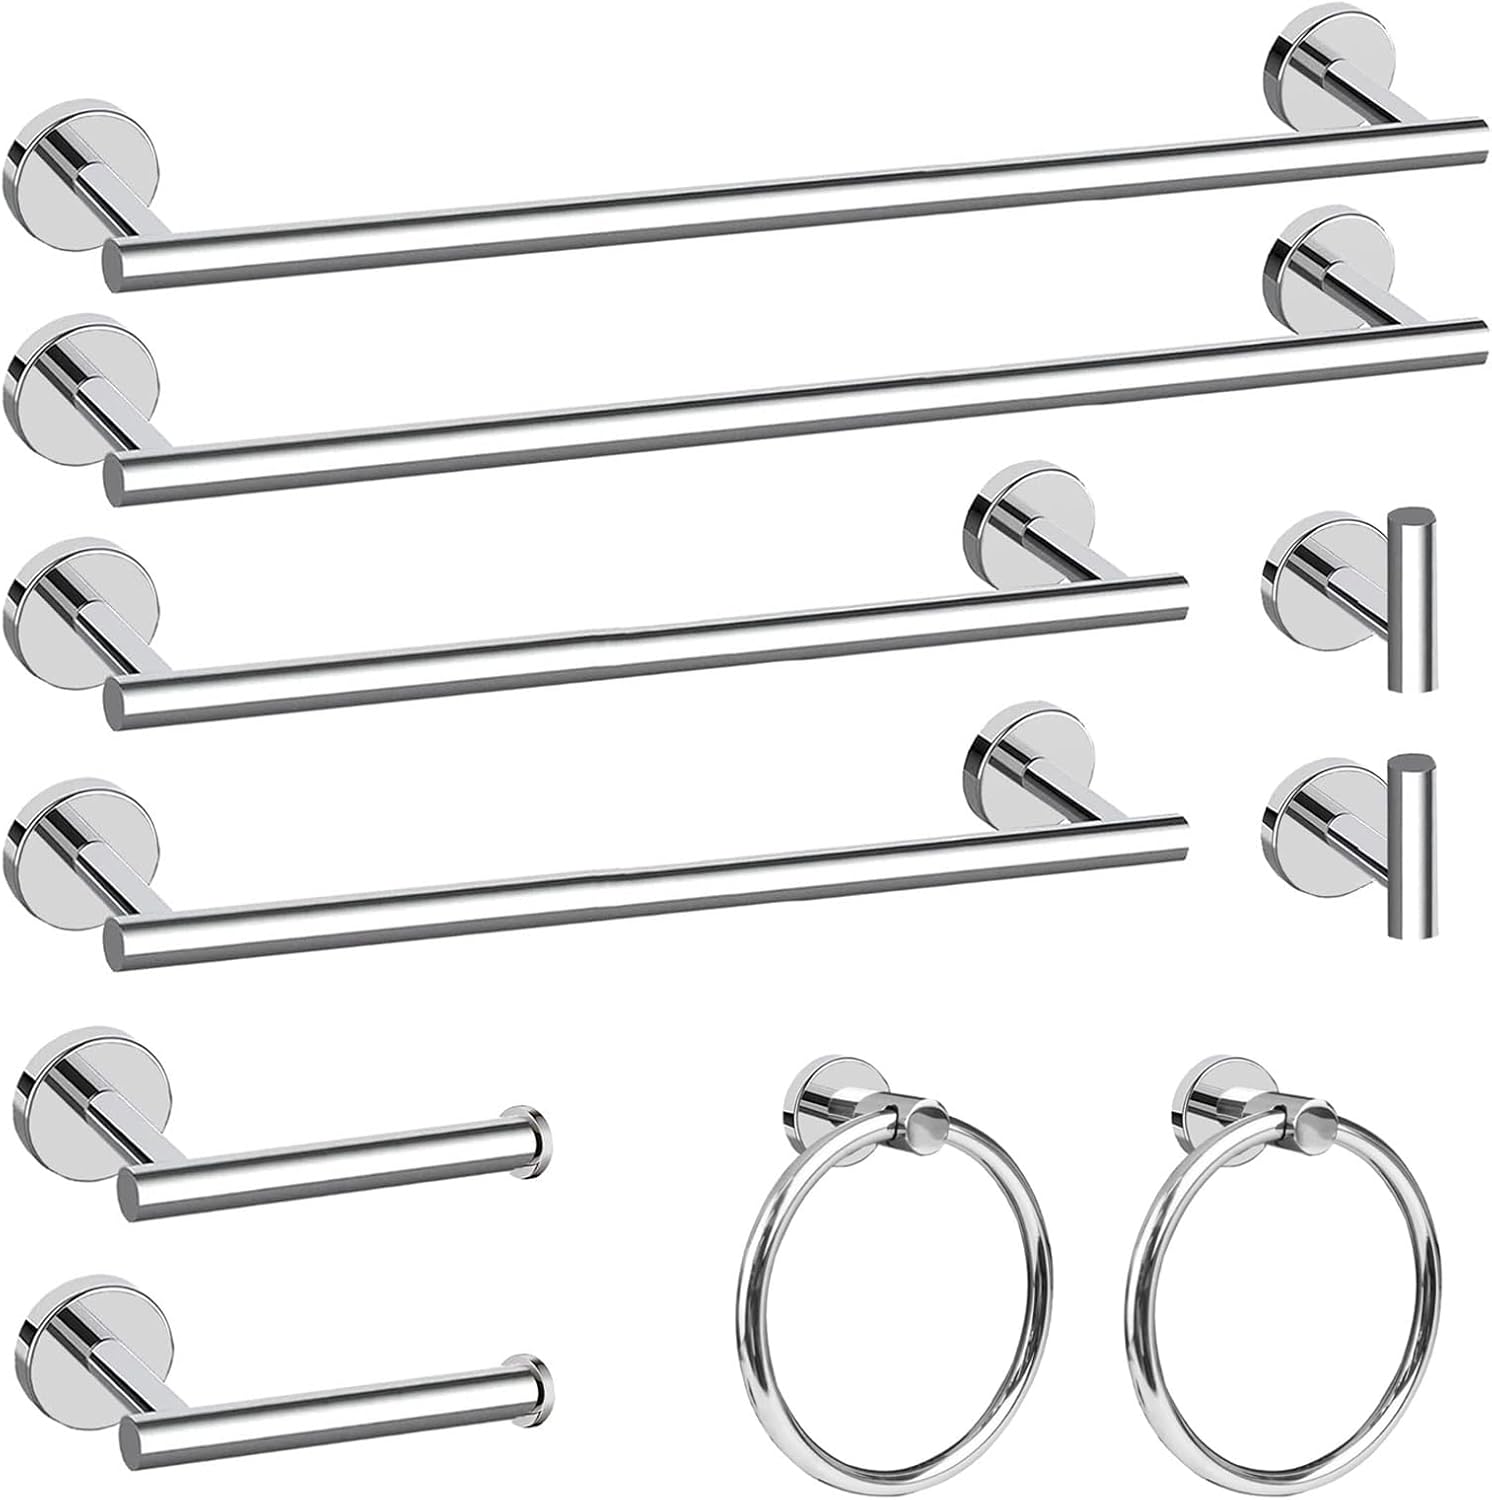

TASTOS 3-Piece Bathroom Hardware Set Brushed Nickel Wall Mounted Bathroom Accessory Set
Shop on AmazonFinal Thoughts
None of these 11 steps need to happen quickly to go well.
The projects that go smoothly are the ones where steps 1 through 3 got real time and attention before any demo ever started.
A well-planned bathroom remodel is mostly won or lost before the first wall comes down.