
Garden art can transform an outdoor space or just look like clutter that happened to end up outside.
The difference comes down to a handful of decisions made before a single piece gets placed — style, placement, and how it relates to the plants around it.
This walks through that process.
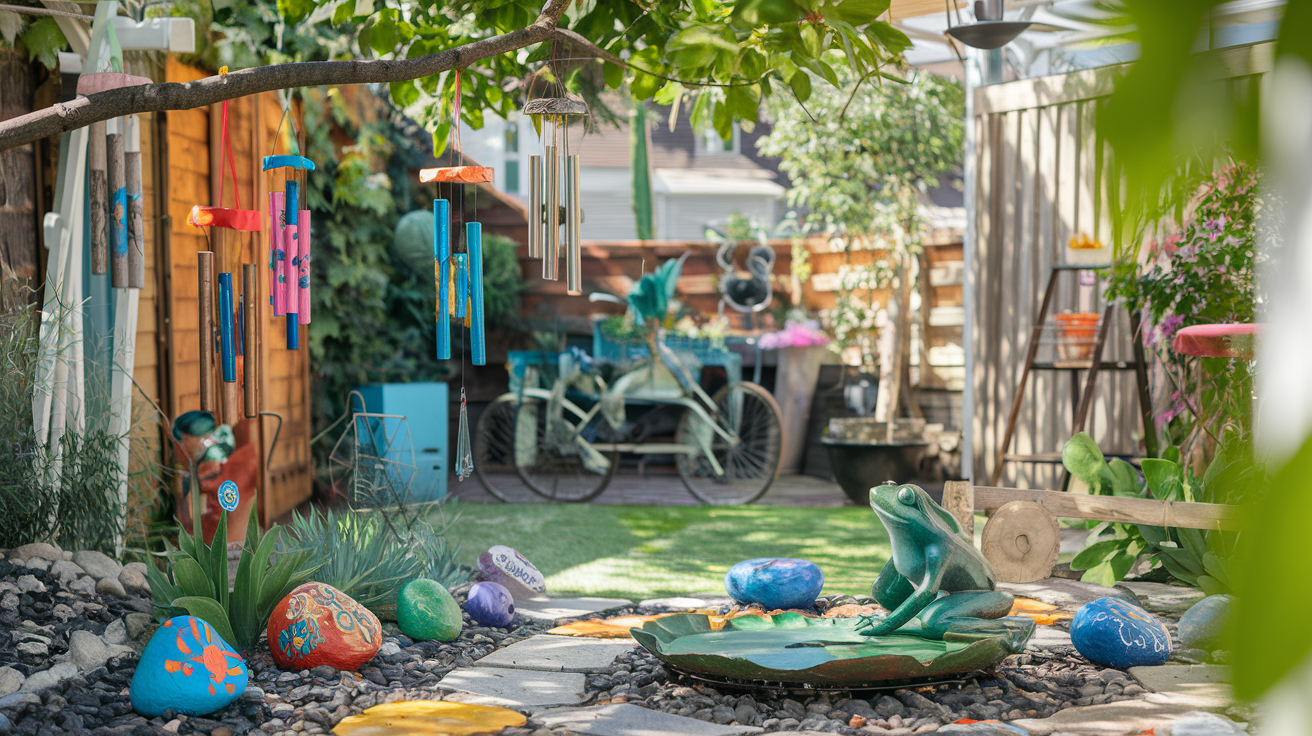

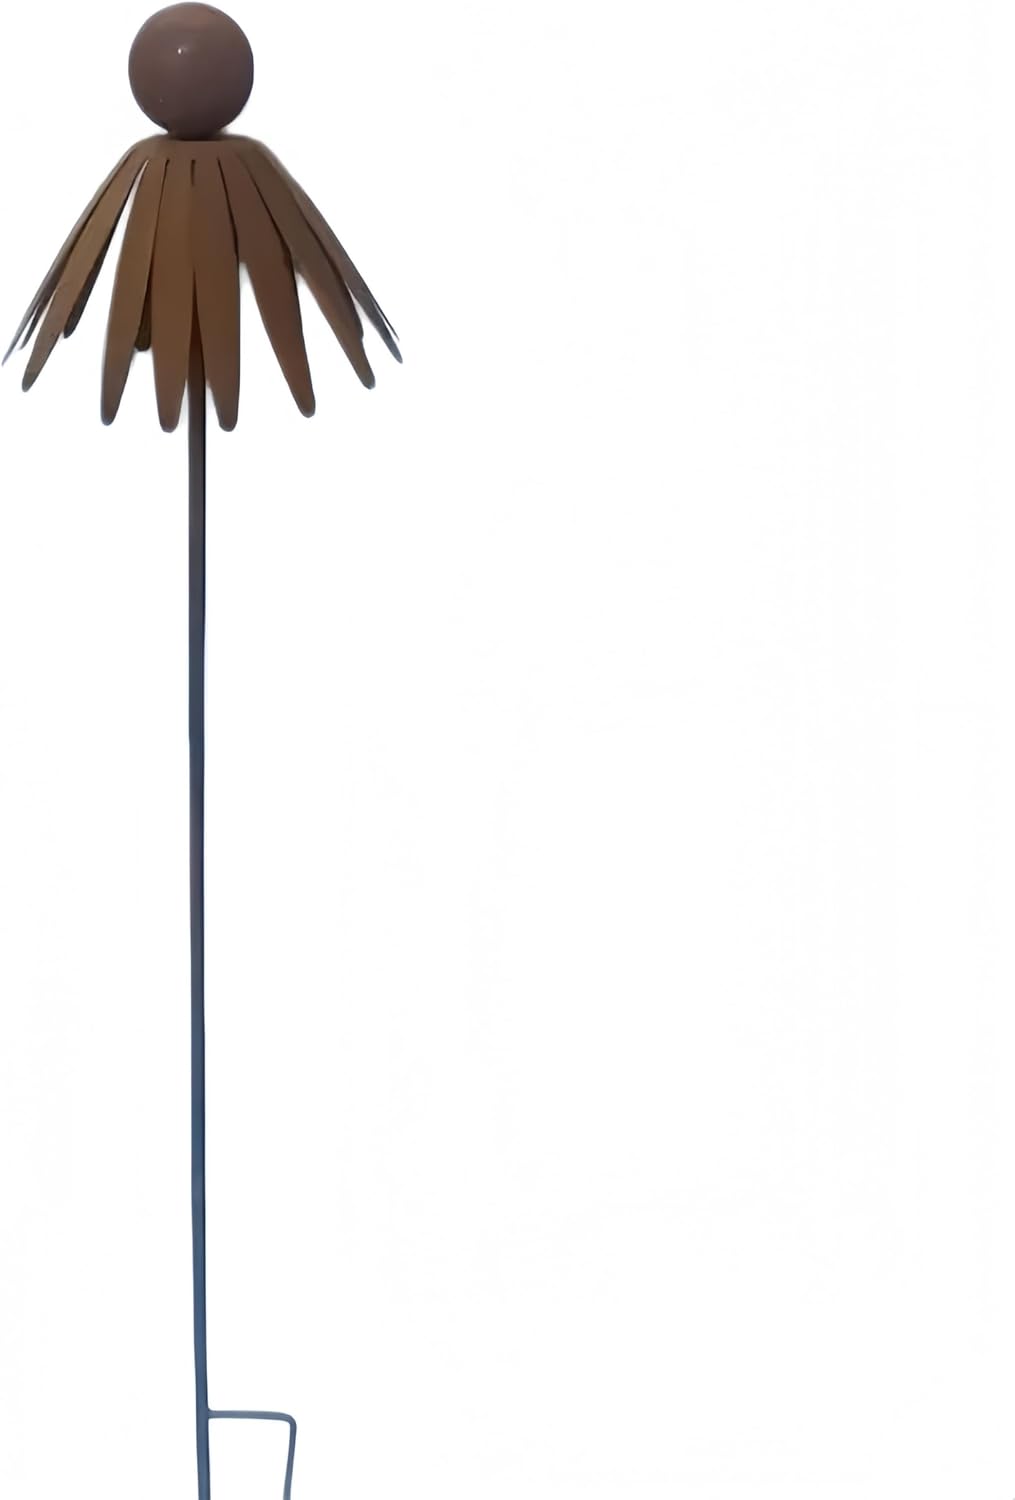
Why Garden Art Actually Transforms a Space
Plants alone give a garden life, but art gives it a point of view — something that couldn't exist in anyone else's yard in quite the same way.
It also draws the eye to specific spots, which helps a garden read as designed rather than just planted.
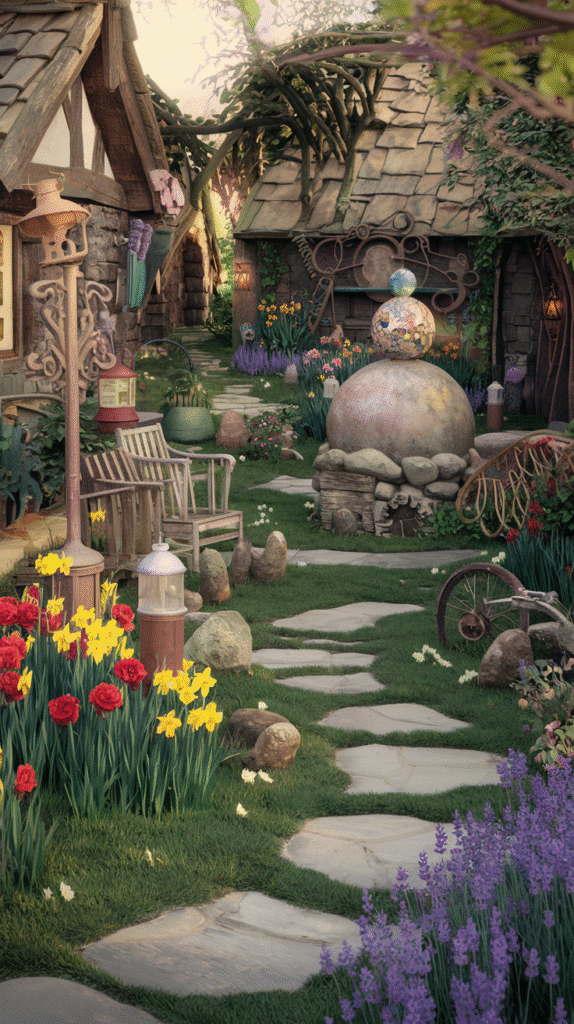

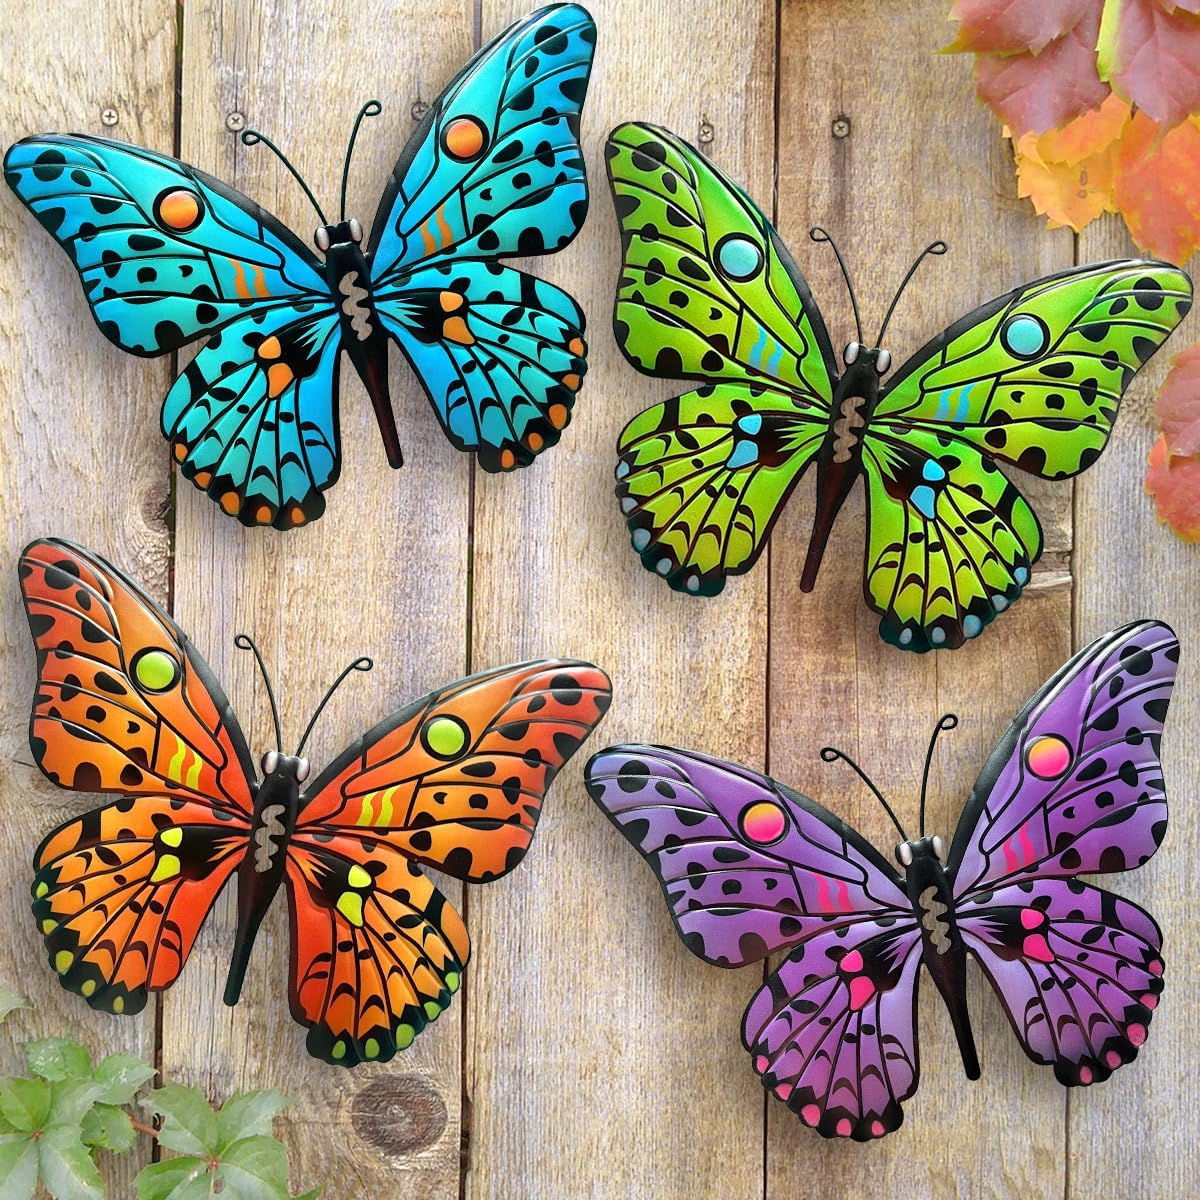
Step 1: Choose a Style First
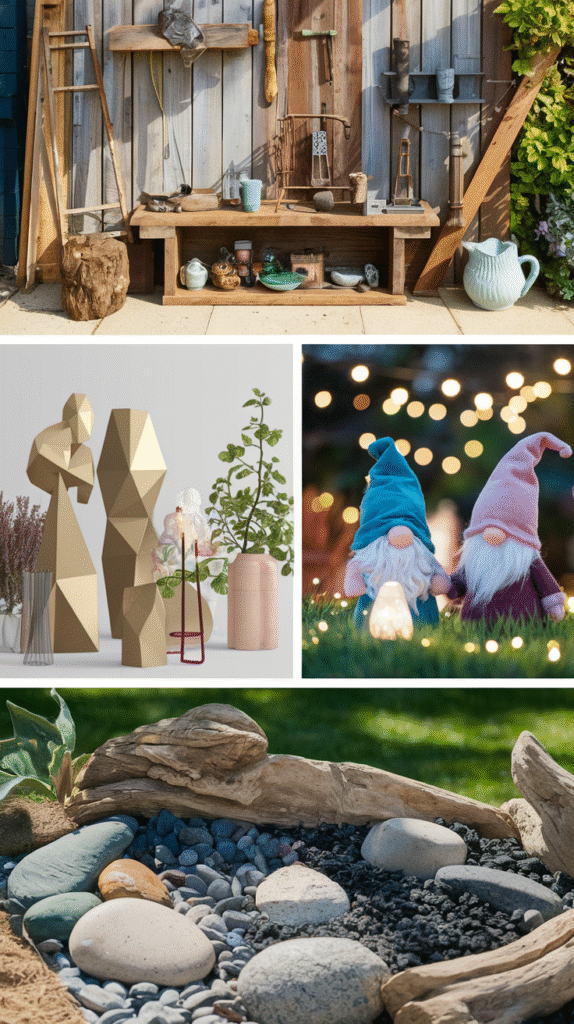
Whimsical, modern, rustic or classical — picking a general style before buying or making anything keeps the eventual collection from reading as mismatched.
This decision should take cues from the home's own architecture and the garden's existing planting style, not just personal taste in isolation.


Step 2: Plan the Placement
A piece placed where it naturally draws the eye — at a path's end, in a gap between plantings — does more work than the same piece placed randomly.
Walking the garden and noting where the eye naturally lands is a more reliable method than guessing from a single vantage point.
Step 3: Pick Materials That Last
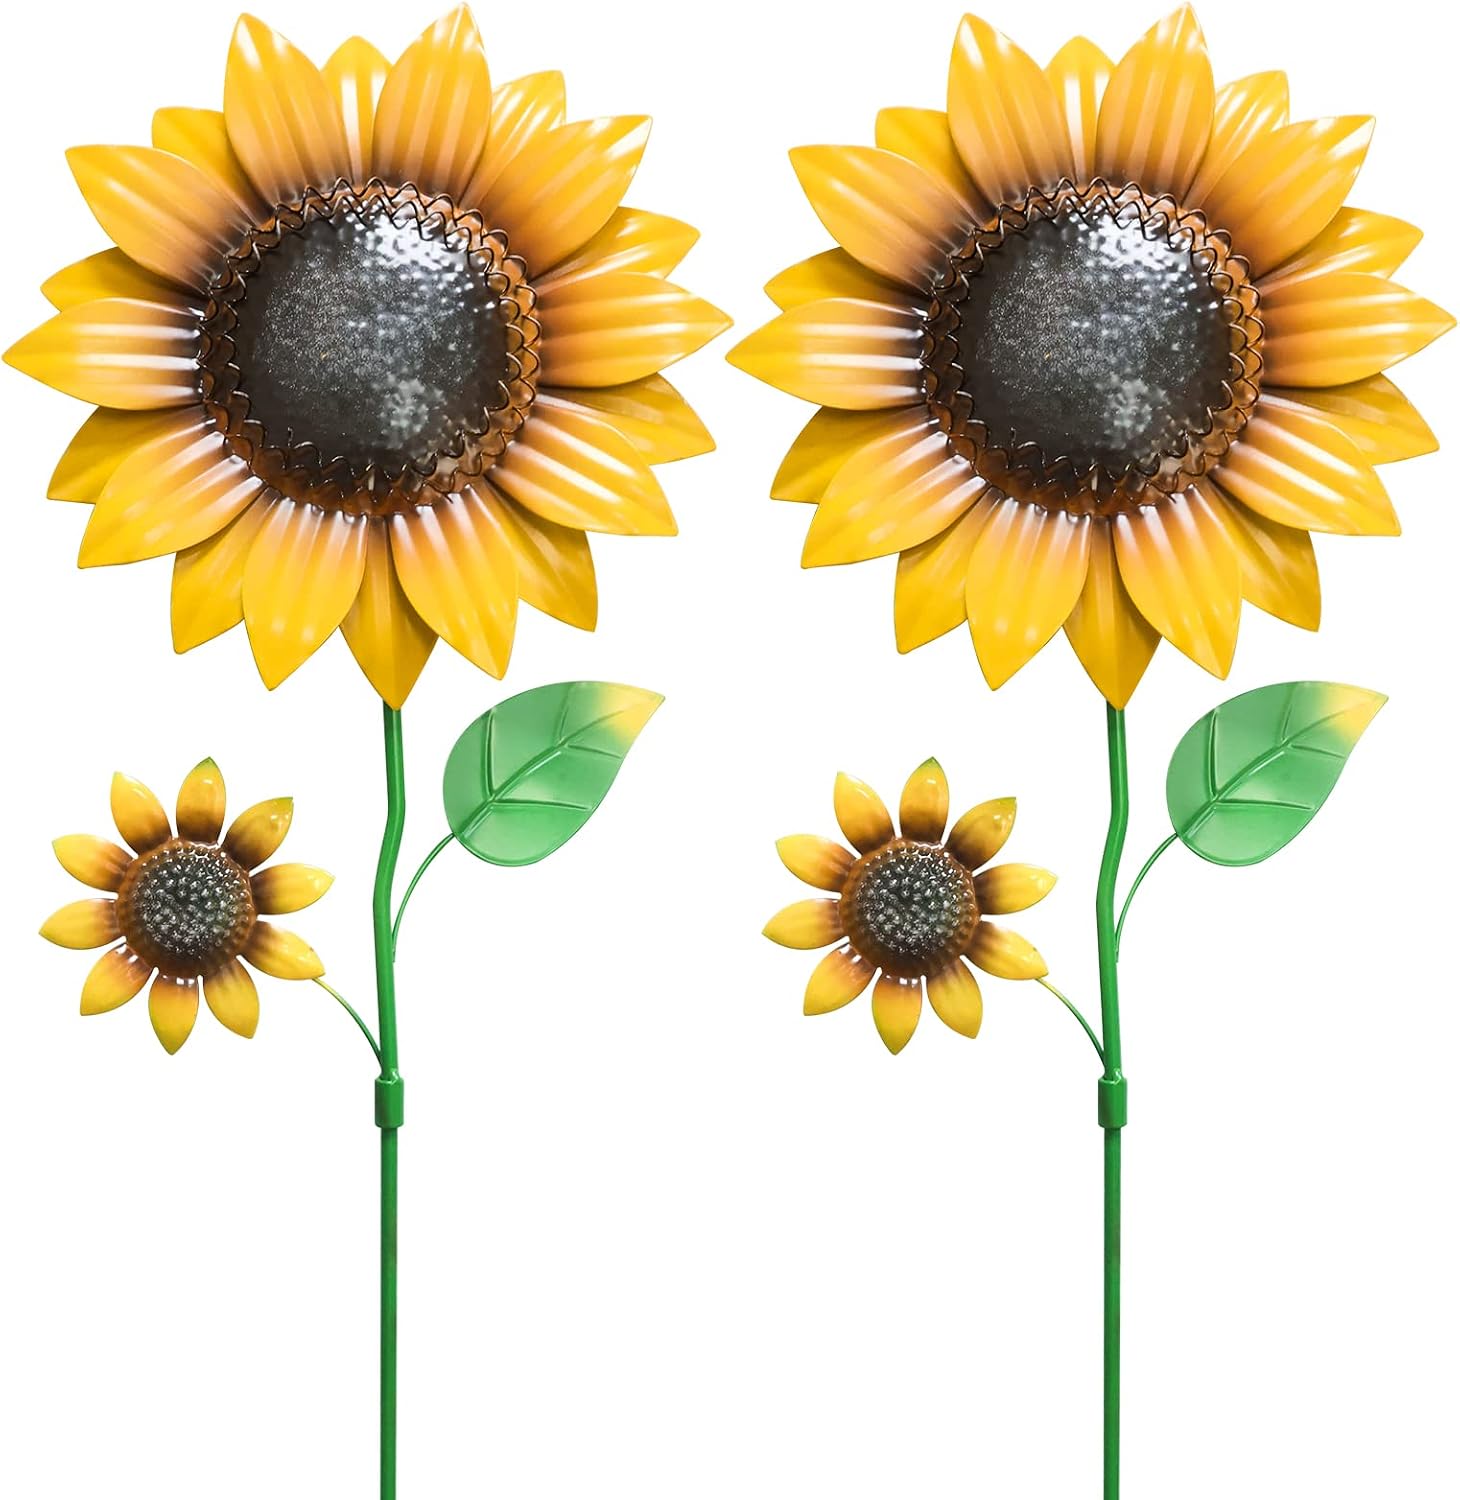
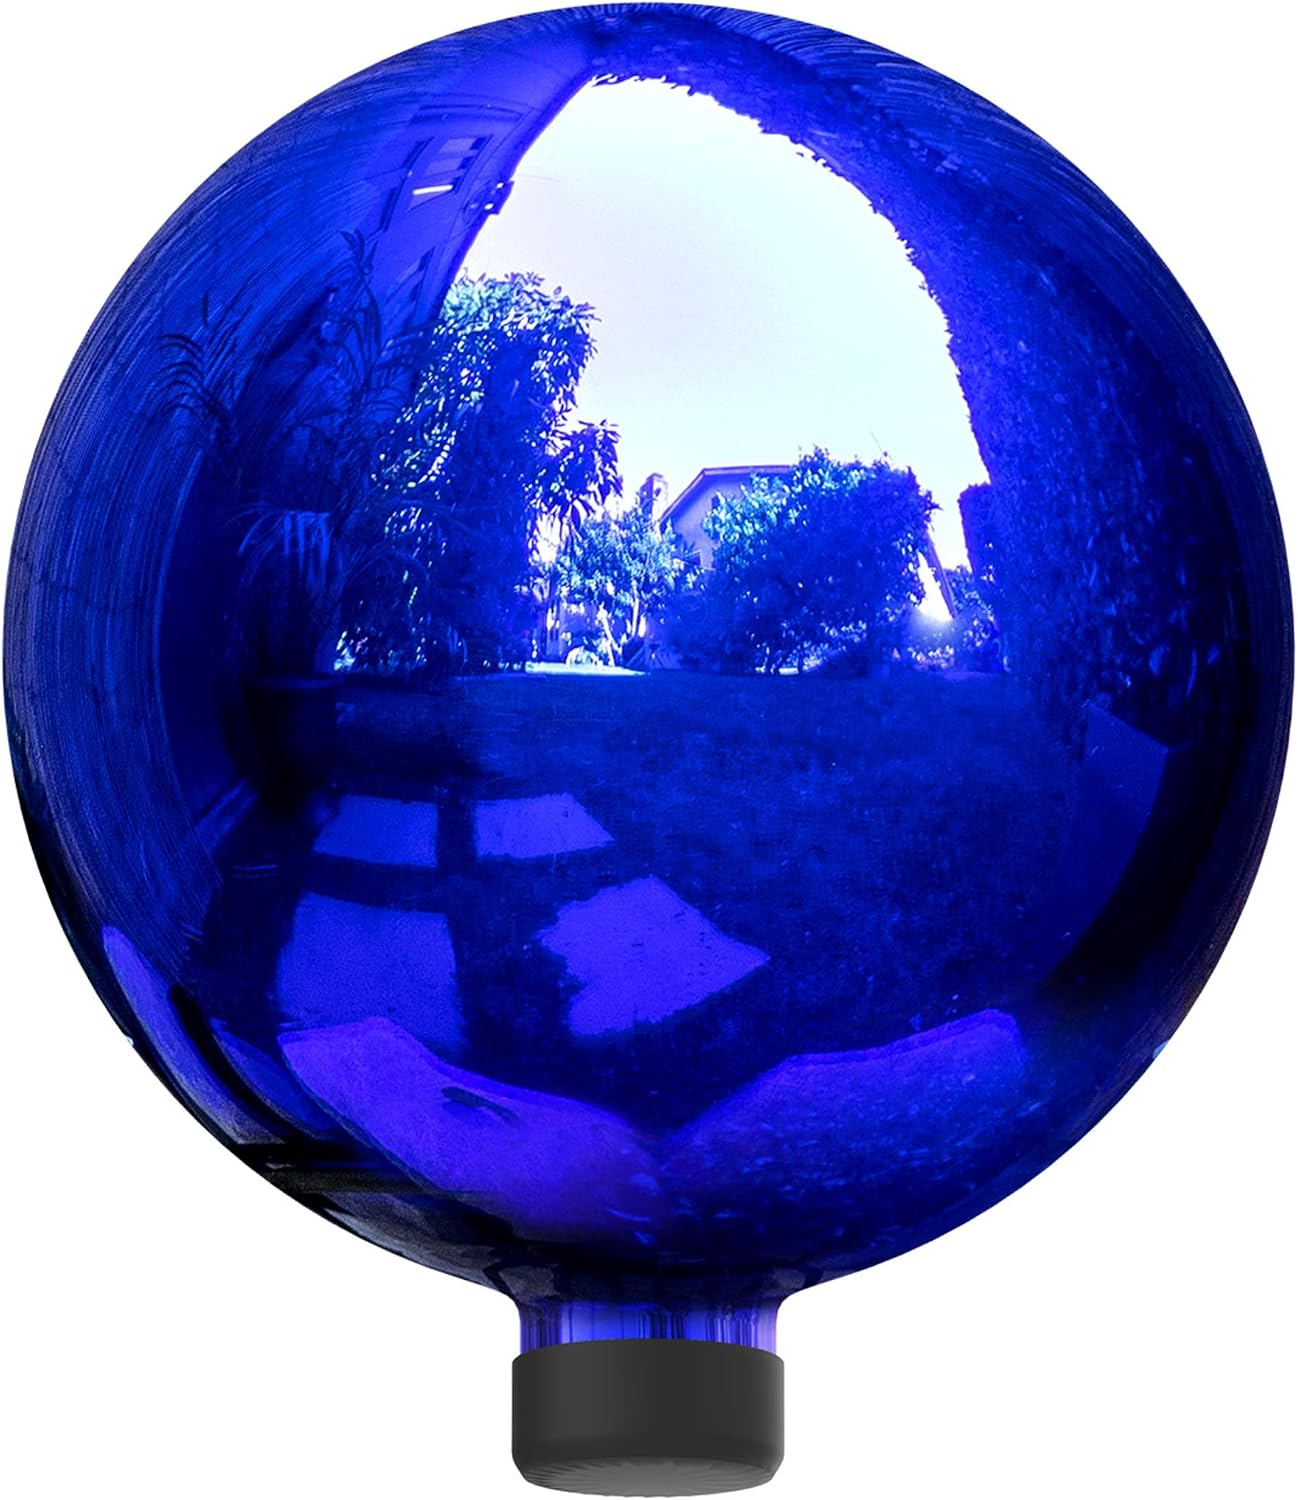
Metal, ceramic and treated wood all hold up to real outdoor exposure better than materials meant for indoor use.
Matching the material to the local climate — humidity, freeze-thaw cycles, direct sun — matters more here than for almost any indoor decor decision.

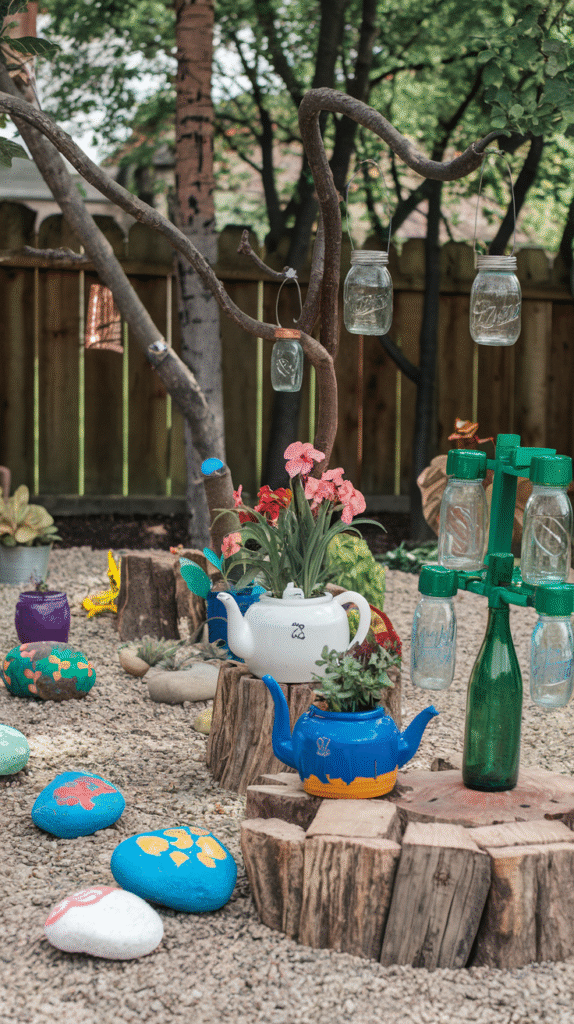
Step 4: Start Simple With a DIY Piece
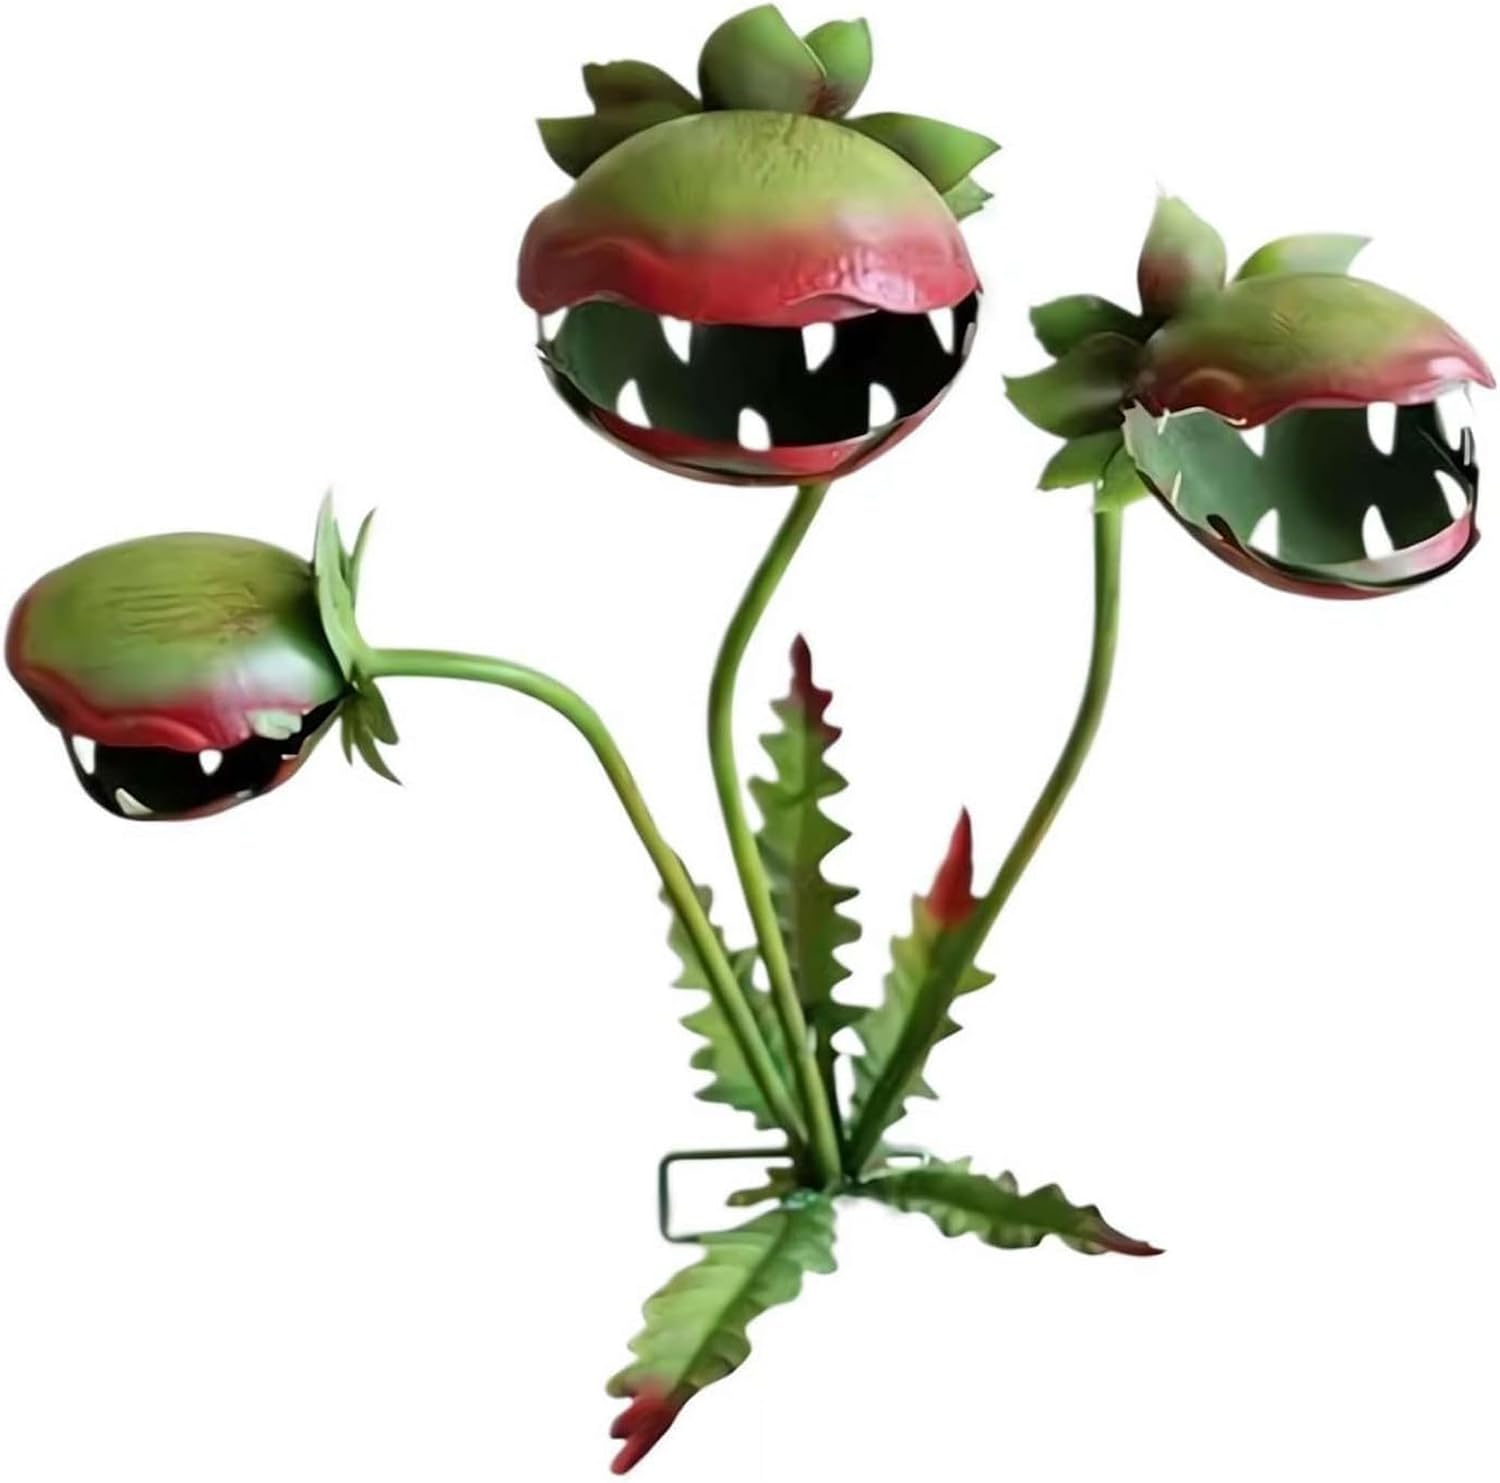
A simple first project — painted stones, a repurposed object, a basic mosaic — builds confidence before attempting anything more ambitious.
This is also the lowest-cost way to test whether a particular style actually works in the space before investing in something bigger.


Step 5: Add Vertical Art for Impact
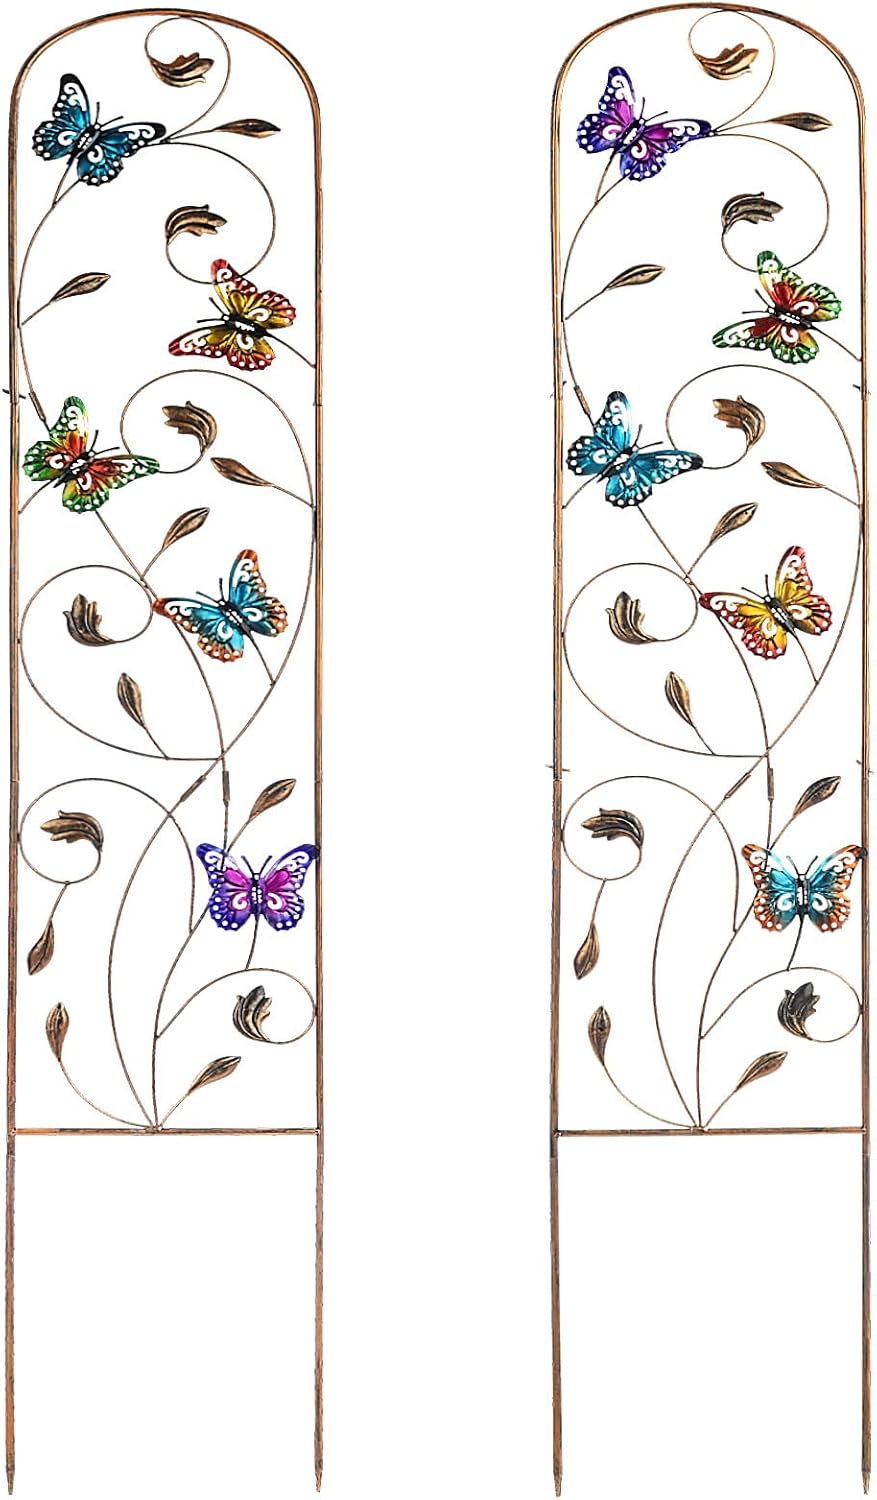
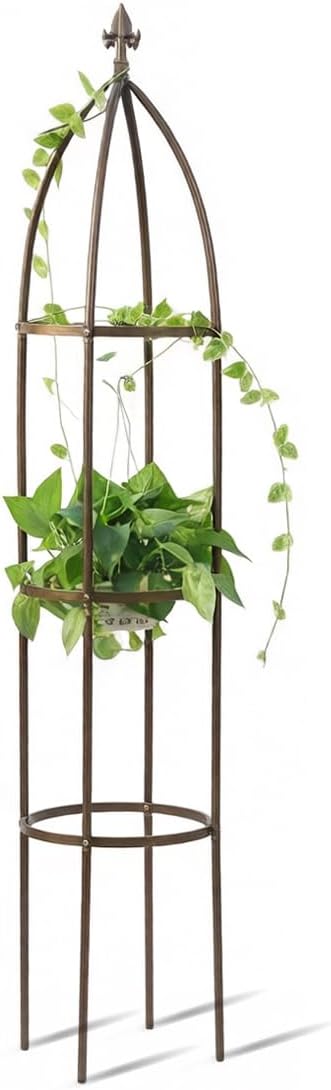
A tall sculptural piece, a trellis with art built in, or a wall-mounted piece on a fence all use vertical space a garden often leaves completely empty.
This adds visual drama that ground-level pieces alone can't provide, especially in a smaller garden with limited floor space.

Step 6: Light It for the Evening
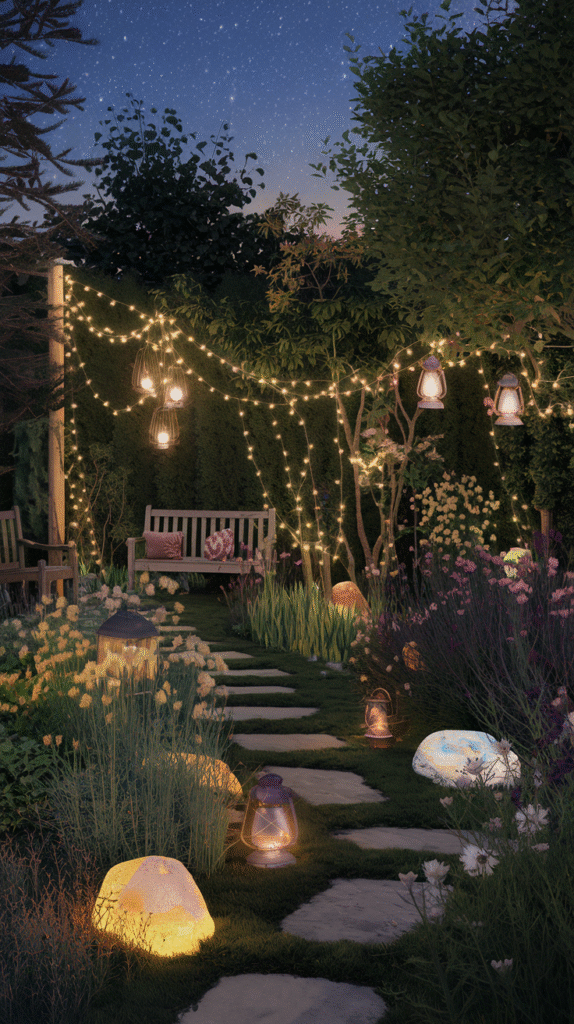
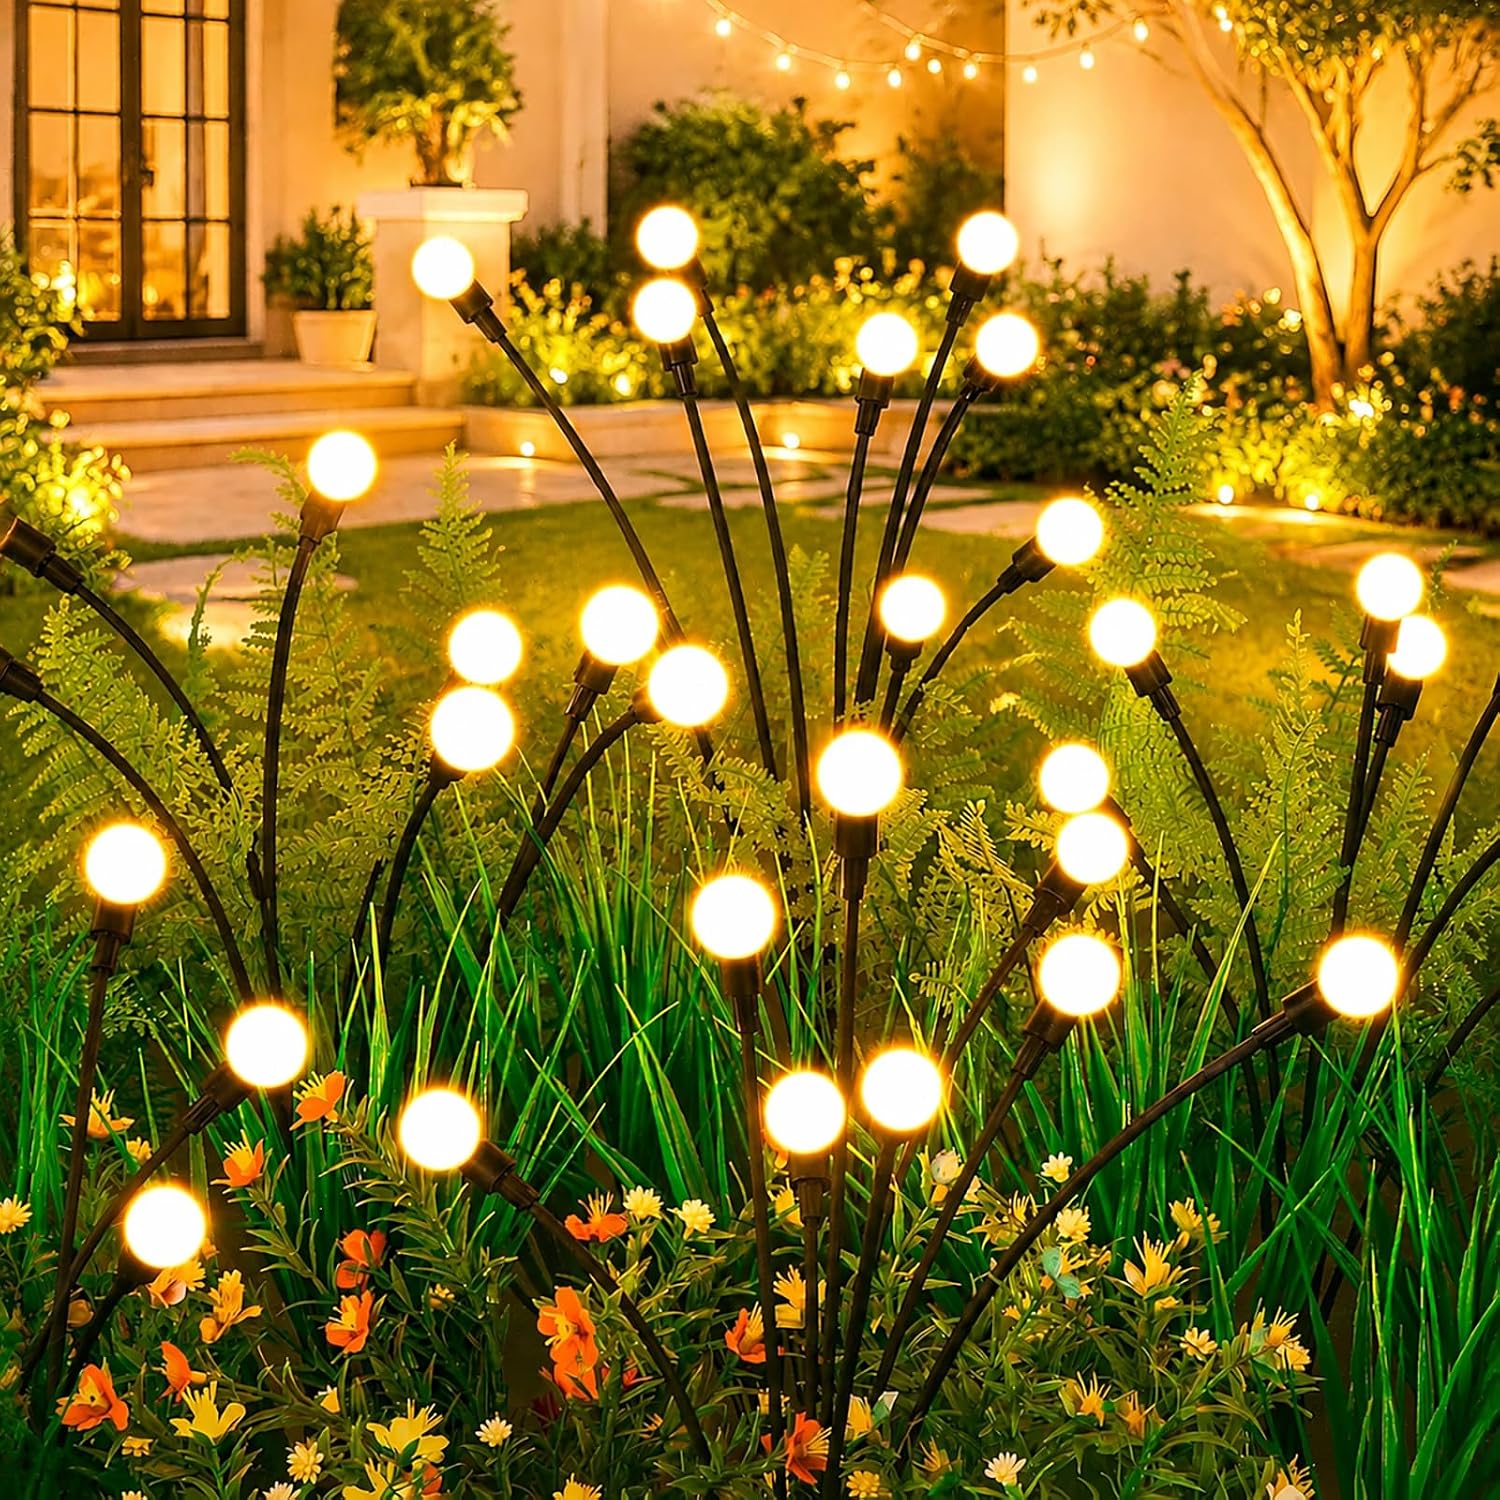
A solar spotlight or a simple strand of string lights lets a piece remain visible and striking well after the sun goes down.
This is one of the lowest-effort additions on this entire list, and one that significantly extends how much the piece actually gets seen and enjoyed.

Step 7: Let Art and Plants Work Together
A piece surrounded by complementary plantings reads as integrated into the garden rather than placed on top of it.
Climbing plants trained around a sculptural piece, or foliage chosen to echo the art's color, both reinforce this connection.

Step 8: Make It Personal
A piece with real meaning — handmade, inherited, or tied to a specific memory — carries more weight than anything chosen purely for how it looks.
This is what makes a garden's art collection feel like it belongs to someone specific, not like it came from a generic catalog.


Keeping It Looking Fresh
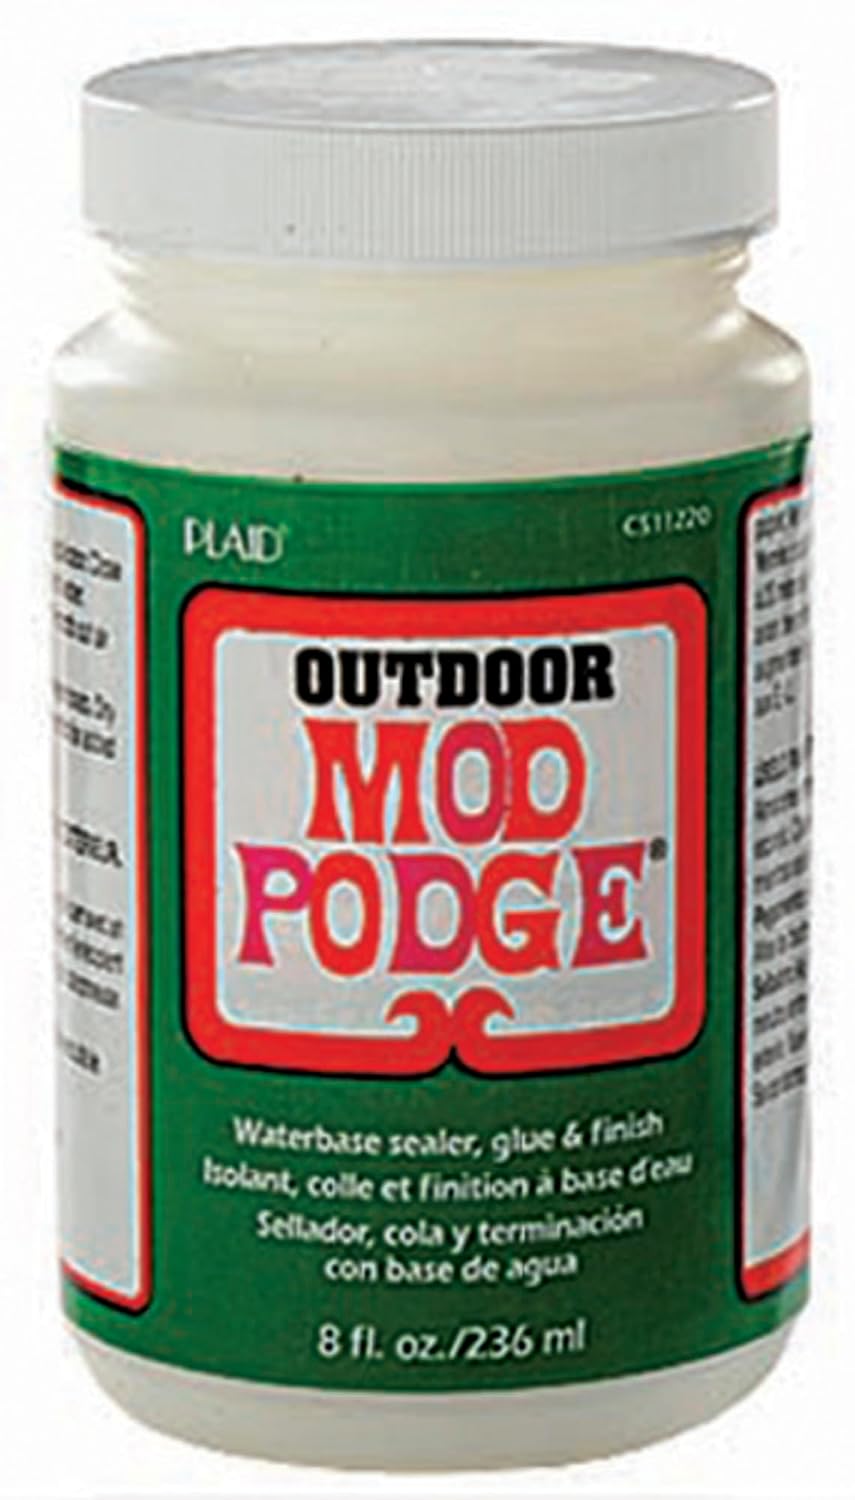
Regular cleaning and the occasional reseal or repaint keeps outdoor art from looking neglected faster than the plants around it.
Rearranging pieces occasionally, rather than leaving every piece permanently fixed, keeps the garden feeling considered rather than static.

You're Ready to Rock Your Garden Art
None of these 8 steps need to happen all in one season.
Start with style and placement, since both shape everything that follows, then build the collection piece by piece from there.
Done thoughtfully, garden art turns a planted space into one with a genuine point of view.