
A messy pantry has a special talent for hiding the one thing you actually need. If you want to learn how to organise your pantry, start with one simple idea: make everything easy to see, easy to reach, and easy to put back. I learned this the hard way after buying the same pasta twice because apparently the pantry had developed its own little Bermuda Triangle.
A good pantry does not need matching containers, expensive shelving, or a picture-perfect makeover. It needs a system that fits the way you actually cook and shop. Once you organise your pantry around those habits, keeping it tidy feels much easier.


Why Does Pantry Organisation Matter So Much?
A well-organised pantry saves more than space. It saves time, reduces duplicate purchases, and helps you notice food before it gets forgotten at the back of a shelf.
I especially notice the difference when I group ingredients by how I use them rather than simply by appearance. Pasta, rice, sauces, and canned tomatoes make more sense together when I often use them for quick dinners.
Good pantry organisation should answer three questions quickly:
- What do I have?
- Where does each item belong?
- What should I use first?
That sounds simple, but those three questions change the entire way you use the space.
The USDA recommends storing dry foods in a cool, clean, dry place and checking packaging for holes or moisture that could affect quality. The agency also recommends airtight plastic or glass containers for extra protection.
“Store canned goods in a cool, clean dry place.”
— USDA Food Safety and Inspection Service
That advice matters even if your pantry looks nothing like those perfectly styled kitchen photos online. Pretty shelves mean very little if flour picks up moisture or cereal goes stale.


What Should You Keep in a Pantry?
Before you start organising, decide what actually belongs there. I prefer to think of a pantry as a working food zone rather than a storage room for every random kitchen item.
According to the USDA, shelf-stable foods commonly include rice, pasta, flour, sugar, spices, oils, canned foods, and other foods that do not require refrigeration until opening.
You can divide your pantry into broad categories such as:
- Breakfast foods
- Pasta, rice, and grains
- Baking ingredients
- Canned foods
- Snacks
- Sauces and condiments
- Spices and seasonings
- Oils and vinegars
- Tea, coffee, and drinks
- Backstock and unopened extras
You do not need every category if your pantry does not contain those foods. Why create a “baking zone” if you bake approximately twice a year?
The best system reflects your actual grocery habits, not somebody else’s dream pantry.


How to Organise Your Pantry Before Buying Containers
This part feels less glamorous, but it makes the biggest difference. Do not start by buying twenty acrylic bins because a beautifully organised pantry convinced you that you suddenly need them.
Empty the Pantry Completely
Take everything out and place it on a counter, table, or clean floor area. Empty shelves give you a much better idea of how much space you actually have.
As you remove items, group similar foods together. Put every pasta package in one area, every canned food in another, and every baking ingredient together.
You might discover that you own four bags of rice and absolutely no idea how that happened.
Check Dates and Condition
Look through packages for expired, damaged, damp, or pest-affected food. USDA guidance recommends checking dry-food packaging for holes and protecting dry foods from moisture.
Do not automatically treat every printed date as a safety deadline. FoodSafety.gov explains that many date labels relate to quality rather than food safety, although you should still follow product-specific storage guidance and use good judgment.
For storage guidance on specific foods, the USDA’s FoodKeeper tool provides recommended storage information for many foods and beverages.
“The FoodKeeper helps you understand food and beverages storage.”
— FoodSafety.gov

Clean the Shelves
Vacuum crumbs from corners and wipe the shelves before you put anything back. Let the shelves dry completely before adding food.
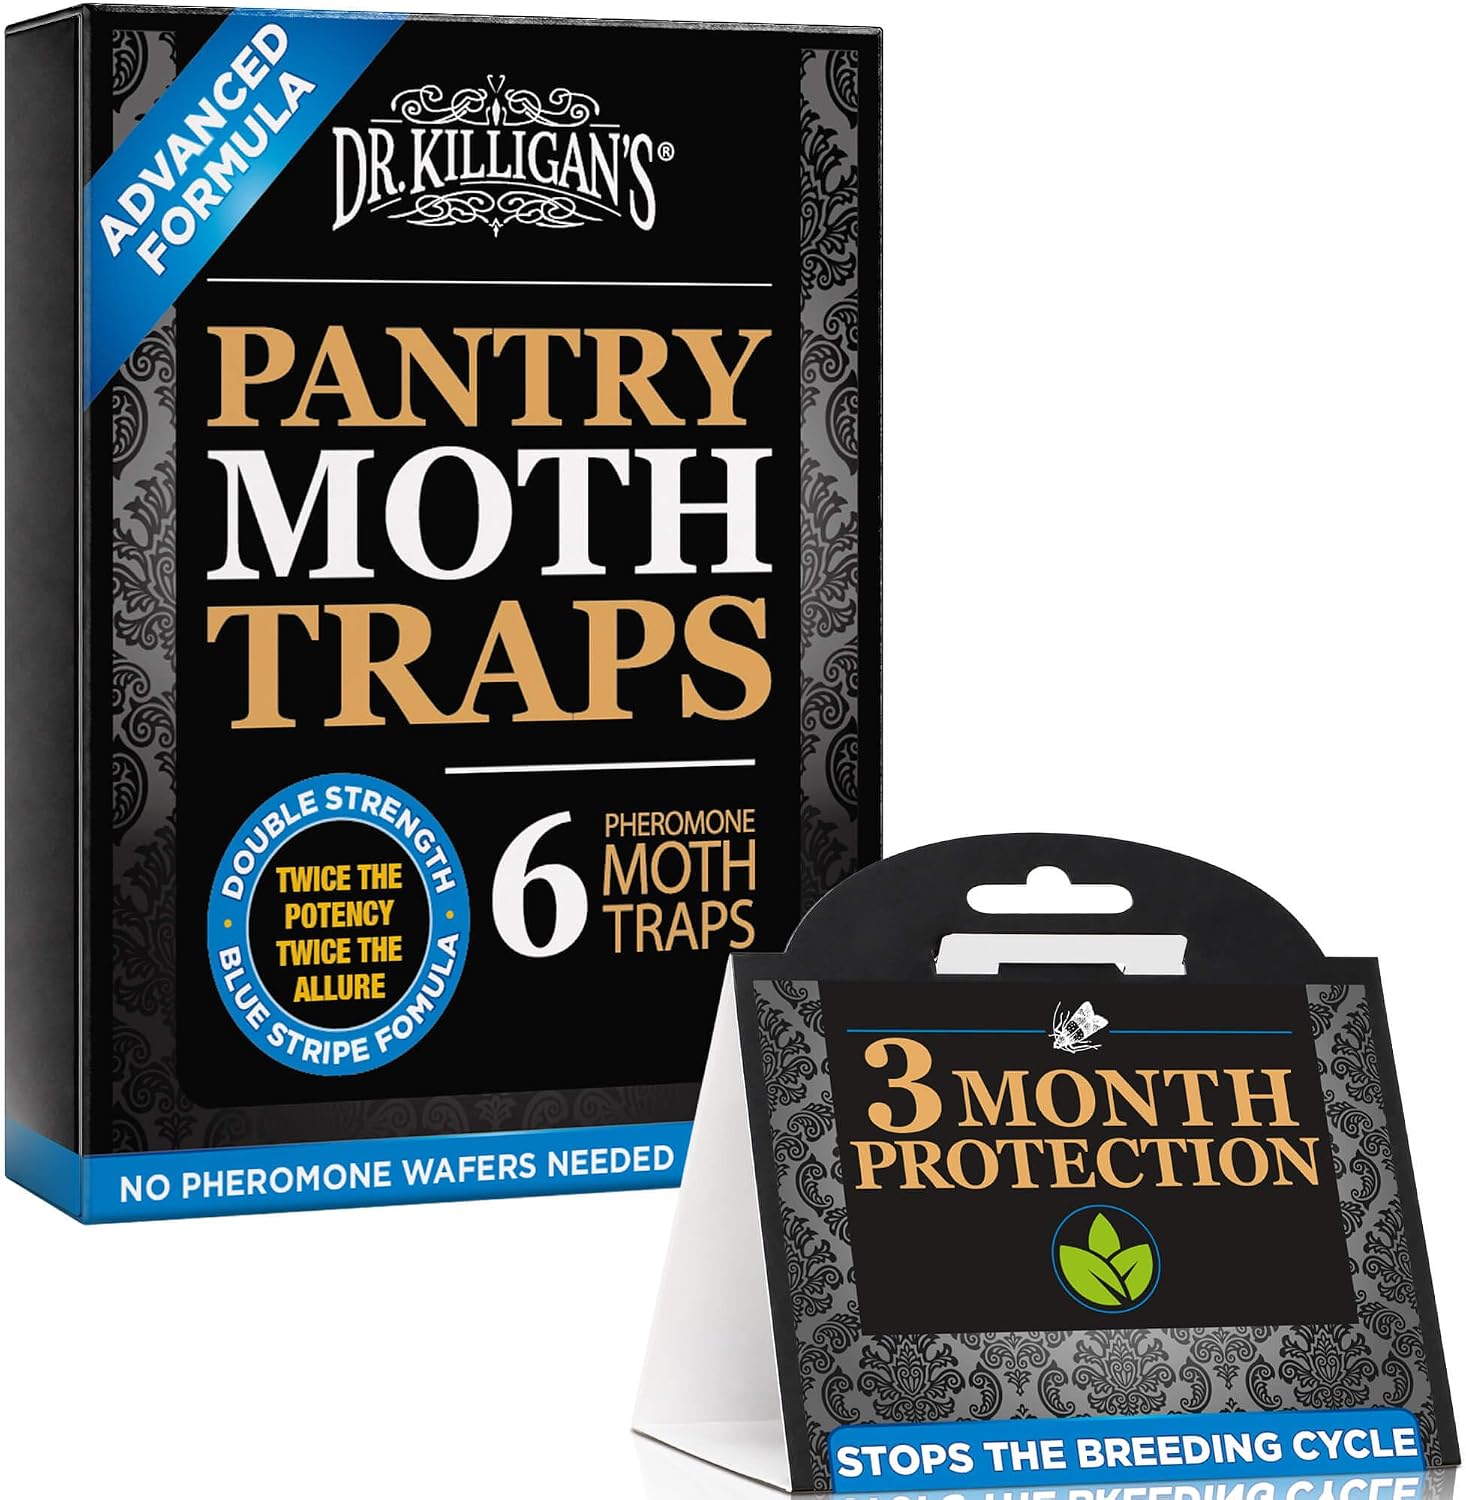
This step also gives you a chance to spot leaks, moisture, insects, or damaged packaging. Trust me, discovering a mysterious sticky patch before you reorganise beats discovering it six months later.


How to Organise Your Pantry by Zones
Once you know what you have, create zones based on food categories and everyday use.
I find zones much easier to maintain than organising everything by package size. When I cook, I think “Where are my pasta ingredients?” rather than “Where did I put the tall beige box?”


Create a Breakfast Zone
Keep cereals, oats, pancake mixes, spreads, coffee, and tea together if you use them regularly.
Place frequently used breakfast items around eye level. Put less frequently used products higher or farther back.
If several people use the pantry, keep everyday breakfast foods somewhere everyone can reach easily.


Create a Baking Zone
Keep flour, sugar, baking powder, baking soda, cocoa, chocolate chips, sprinkles, and other baking ingredients together.
A small bin can keep packets and smaller ingredients from spreading across the shelf. You can also use labels to make the category obvious.
I especially like this setup because baking ingredients often come in awkward little packets that somehow manage to make one shelf look chaotic within seconds.
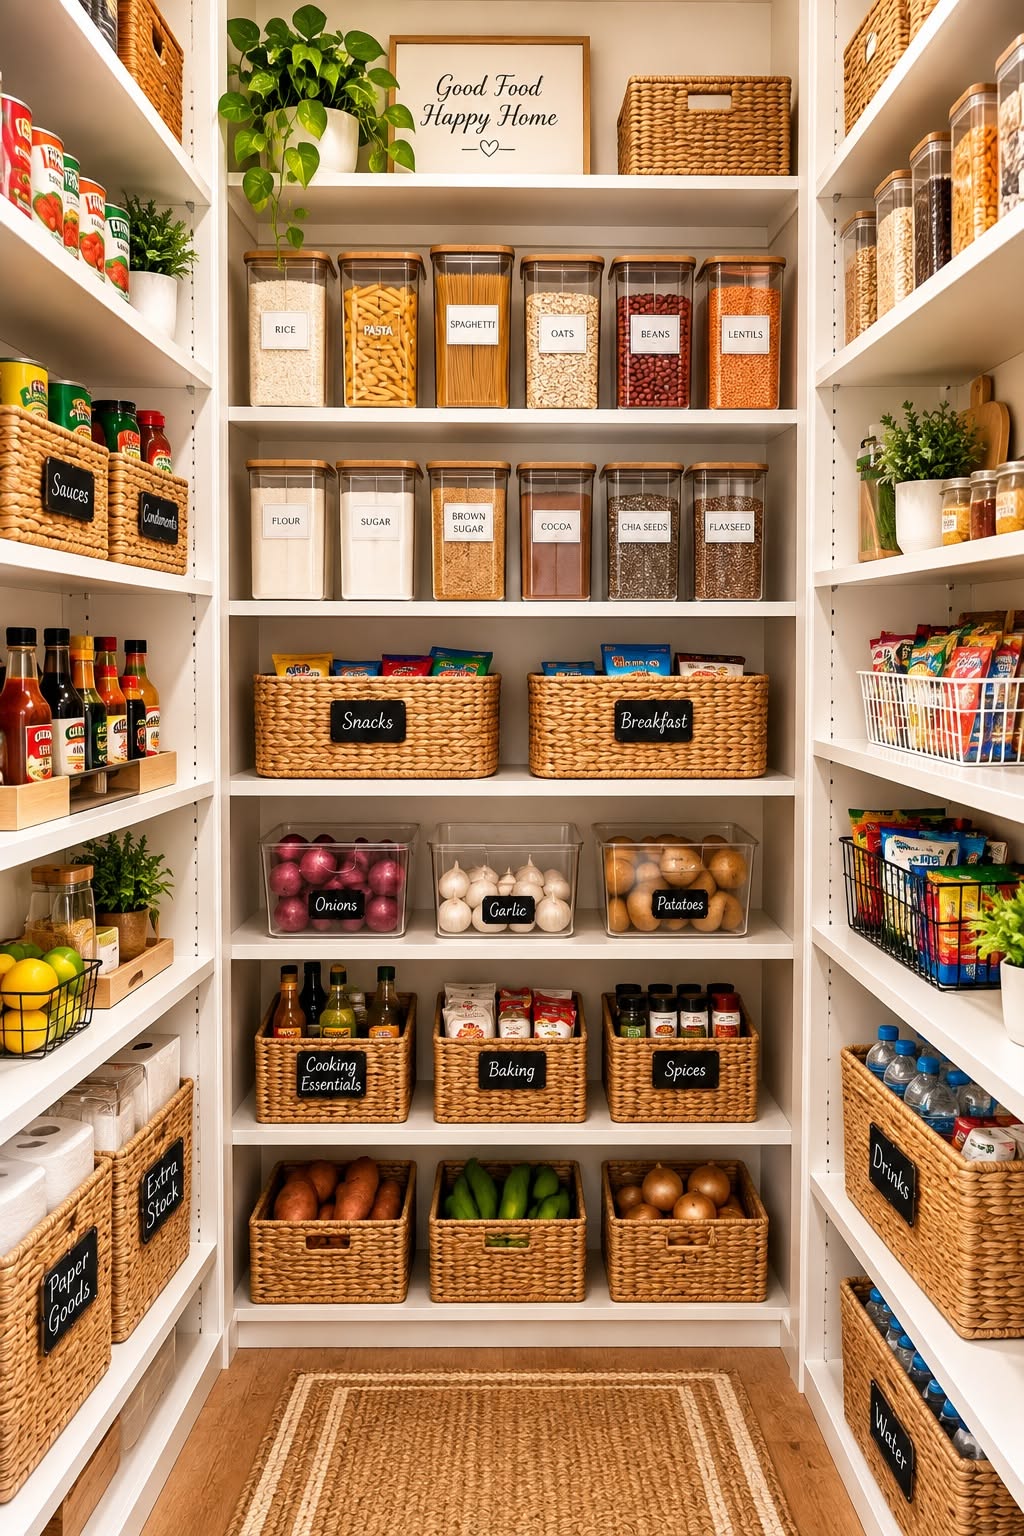


Create a Pasta and Grain Zone
Group pasta, rice, quinoa, couscous, noodles, and similar foods together.
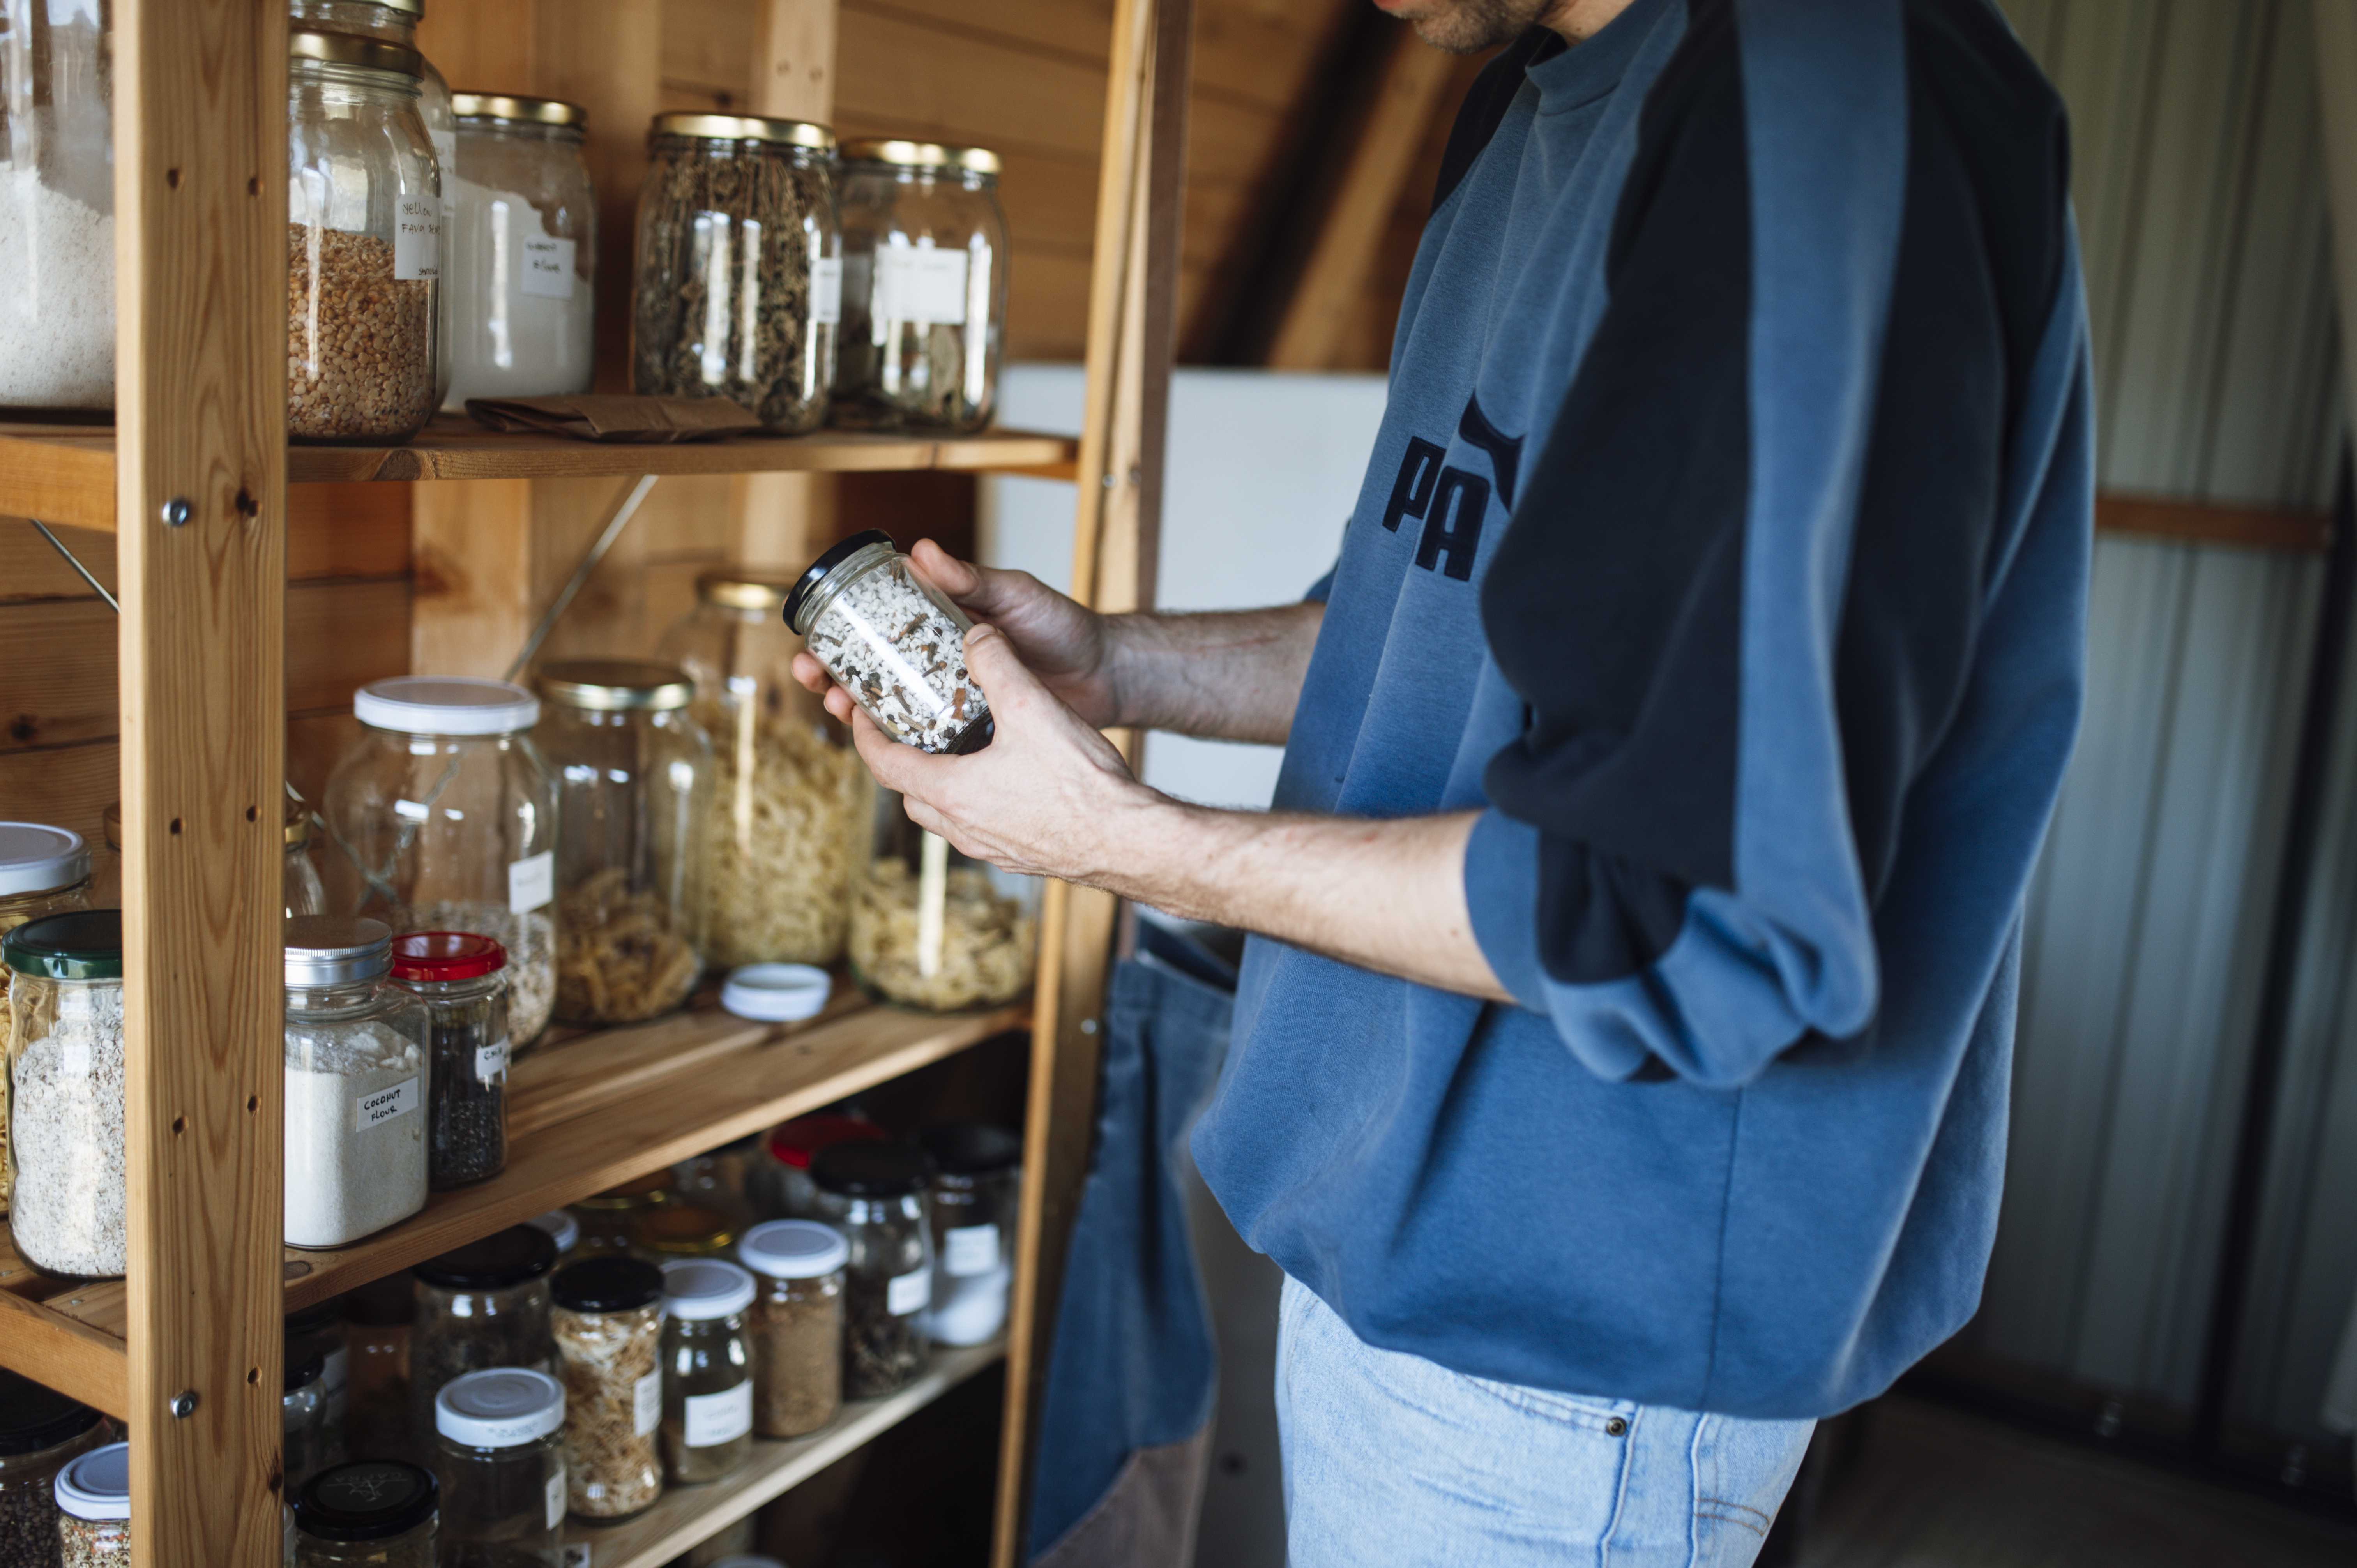
If you use clear containers, label them clearly. Do not rely on your memory to identify every white powder and grain six months from now.
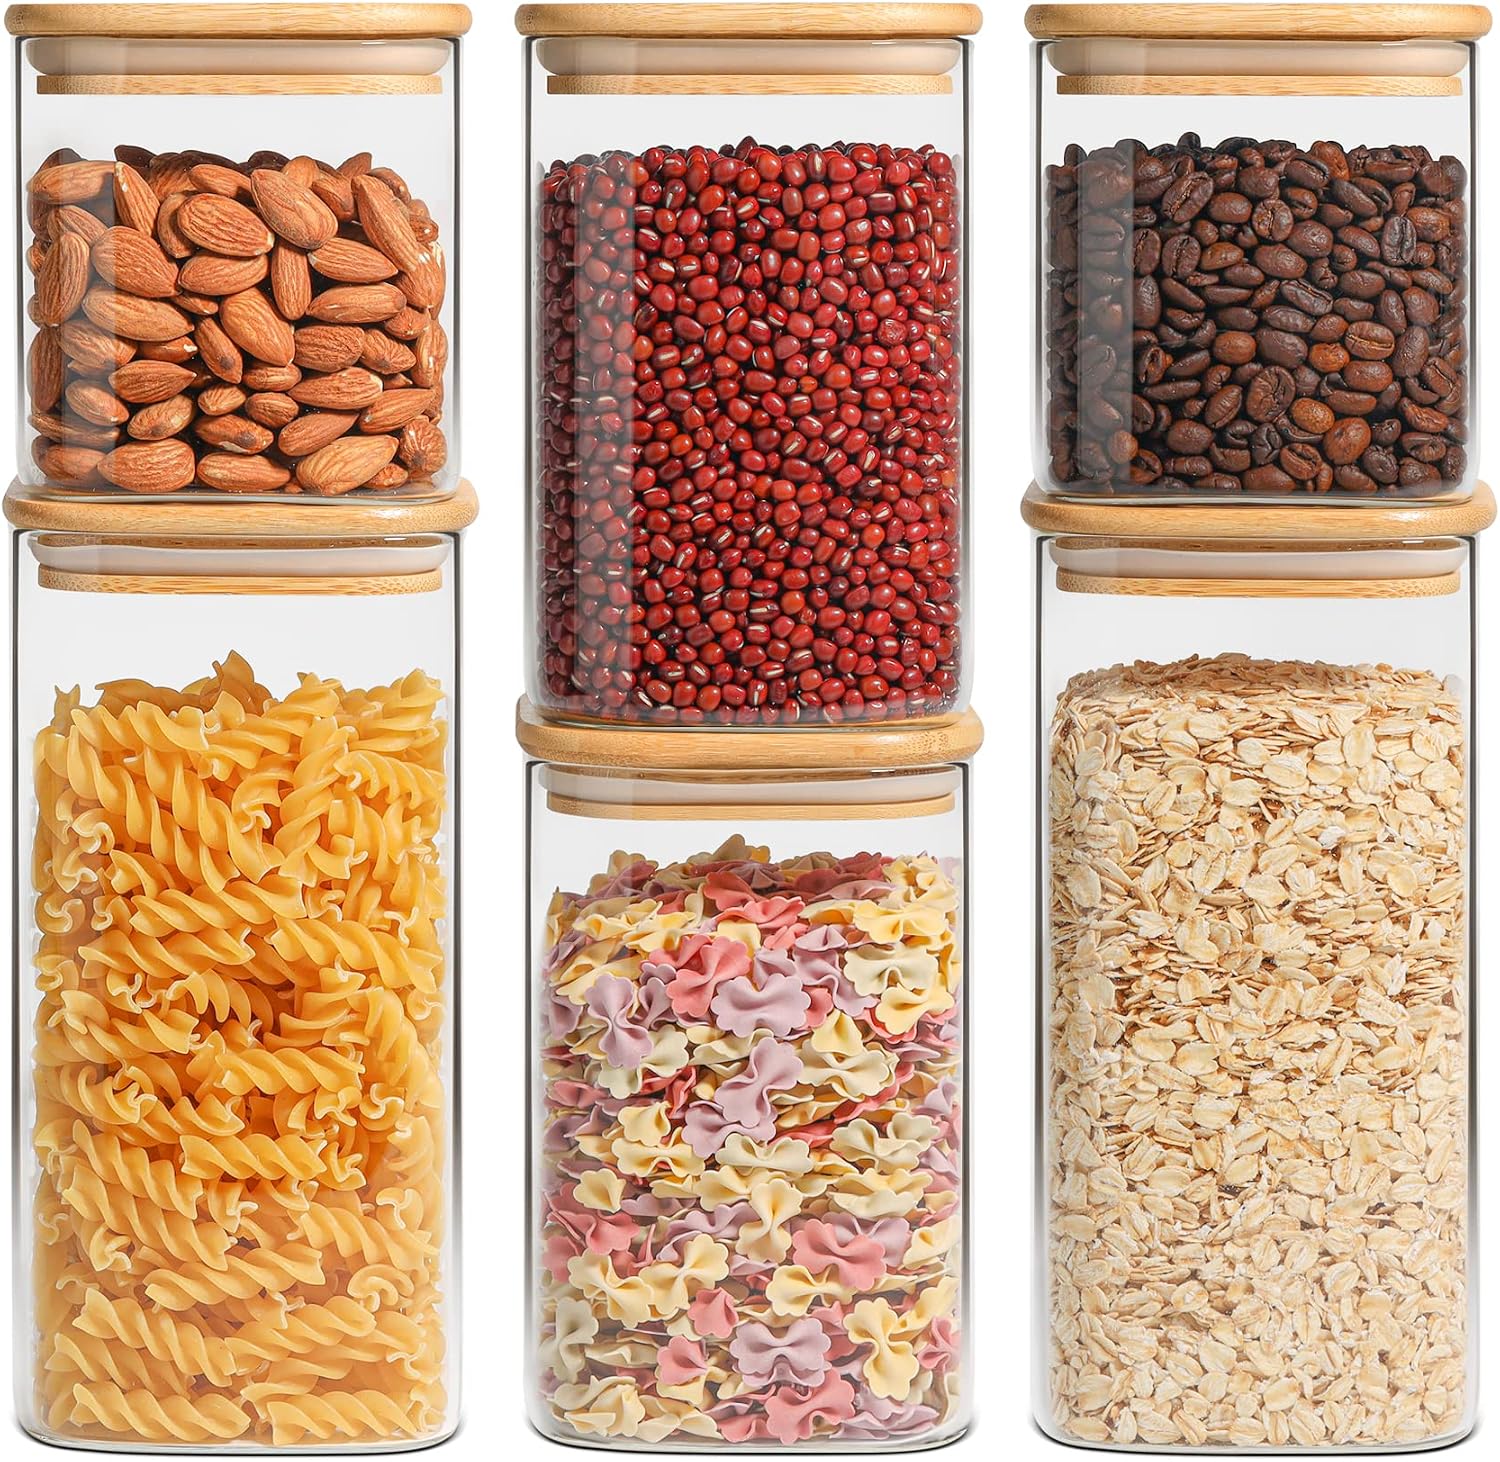
Clear containers work particularly well for foods you buy repeatedly, because you can see when supplies run low.


Create a Snack Zone
Give snacks their own area instead of scattering them throughout the pantry.
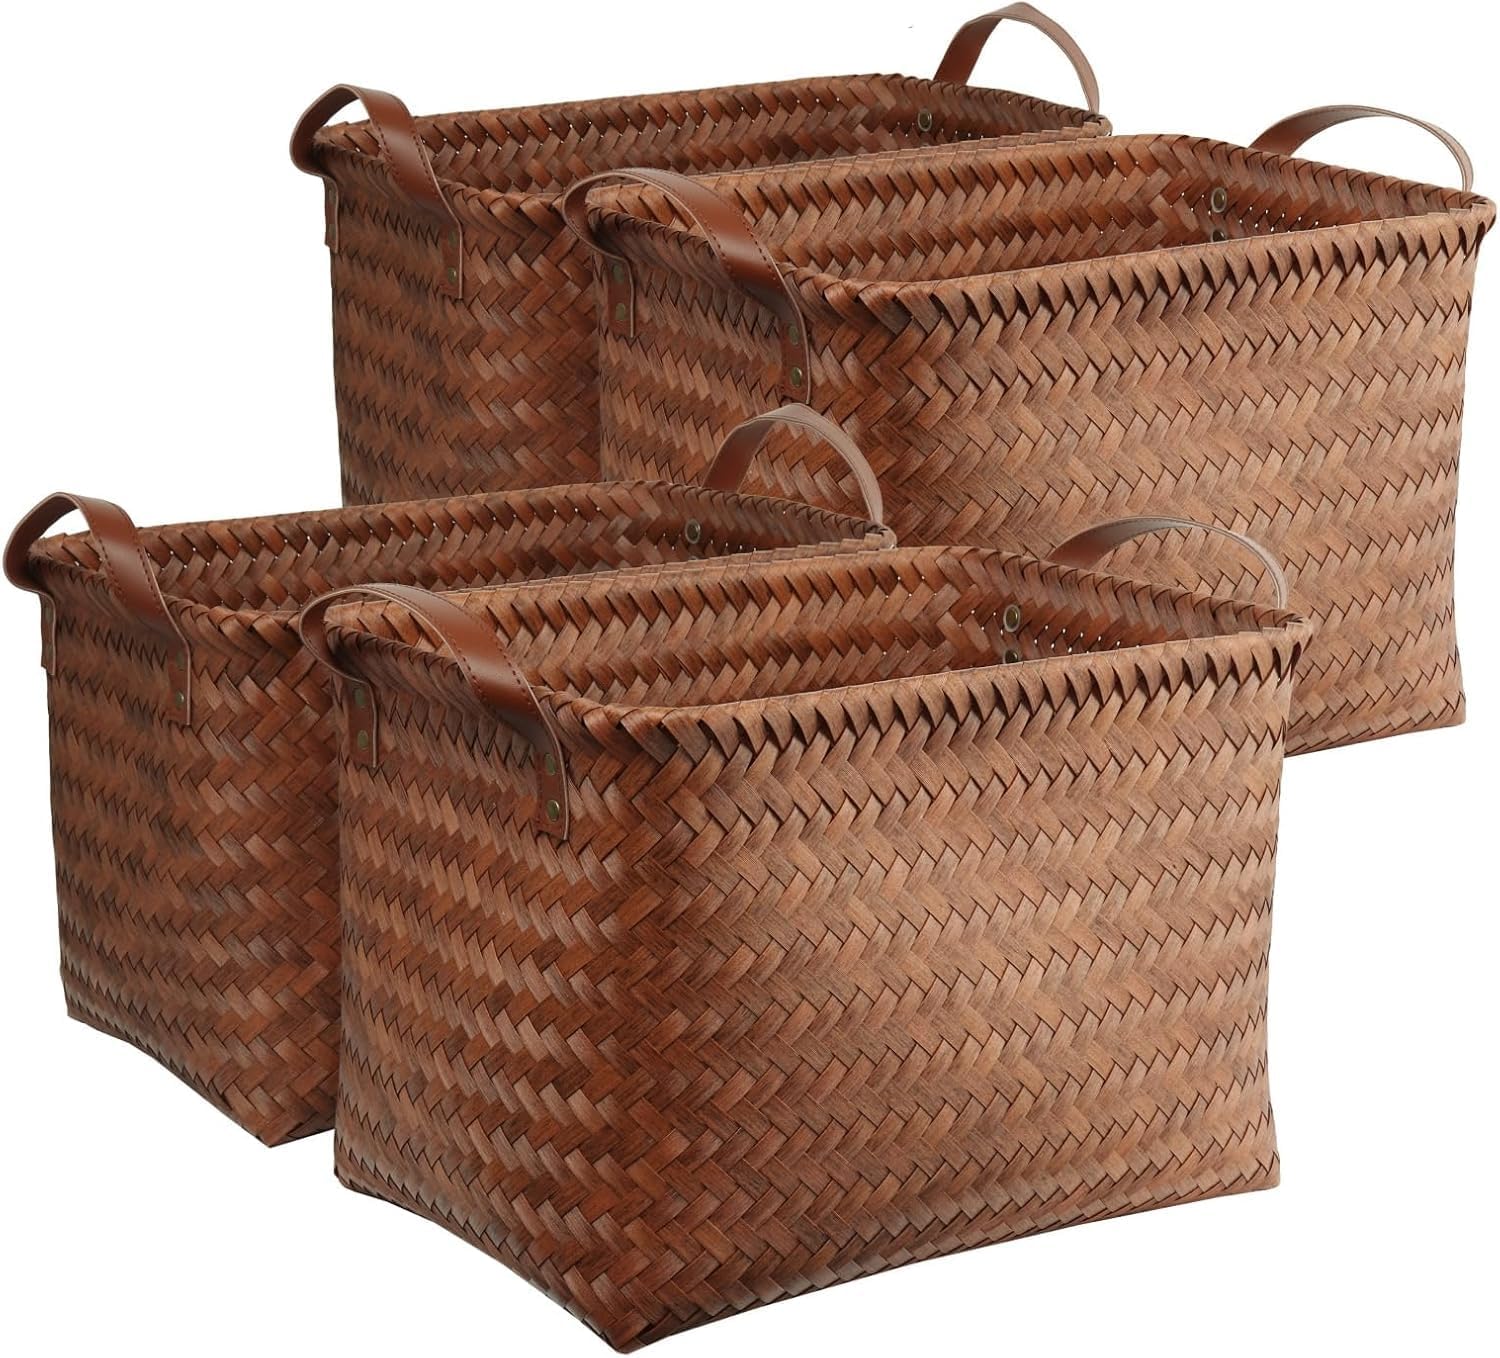
You can use baskets for granola bars, crackers, chips, nuts, and individually packaged snacks. Baskets also make it easier to pull several items forward at once.
If children use the pantry, place their everyday snacks somewhere they can safely reach.


How to Organise Your Pantry Shelves
The shelves themselves should follow a simple rule: store the things you use most often where you can see and reach them easily.
Keep Everyday Foods at Eye Level
Put breakfast foods, coffee, snacks, pasta, and other regular staples in the easiest-to-reach areas.
You should not need a step stool to grab the cereal you eat every morning. Save higher shelves for occasional-use ingredients and backup supplies.

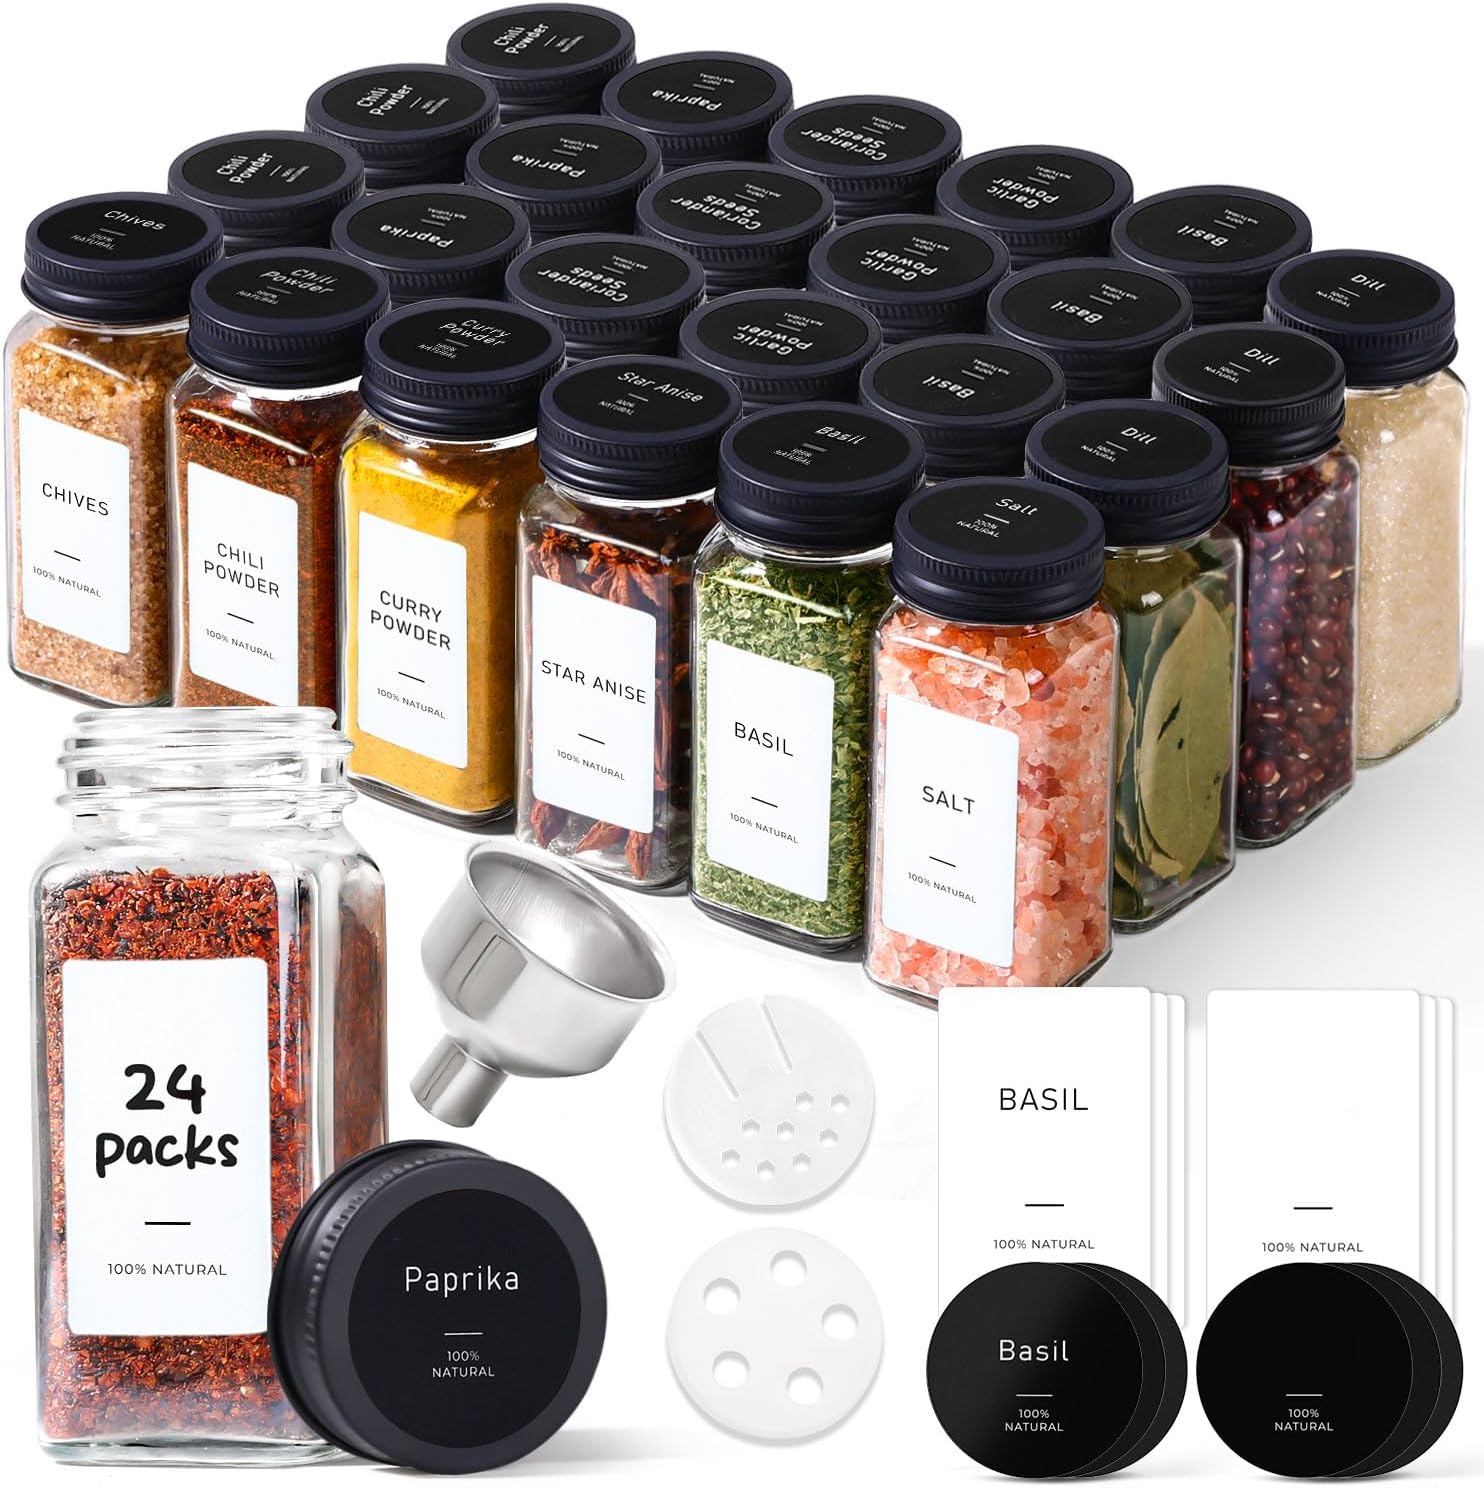

Use Lower Shelves for Heavy Items
Cans, large jars, bottles, and bulk ingredients can make shelves unnecessarily difficult to manage.
Keep heavier items lower whenever possible. This makes them easier to handle and keeps your eye-level shelves available for lighter everyday foods.


Use Upper Shelves for Backstock
Do you really need three unopened bags of flour sitting at the front?
Keep extra and rarely used products toward the back or on higher shelves. Just make sure you remember that they exist.
A simple label such as BACKSTOCK can help prevent the classic “I forgot I bought that” situation.
How to Organise a Small Pantry
You do not need a walk-in pantry to create a functional system. In fact, small pantries often benefit even more from clear categories.
Use vertical space whenever possible. Shelf risers, stackable bins, and tiered shelves can help you see items hiding behind other products.
I also like shallow bins for small packets. Instead of digging through an entire shelf for taco seasoning or gravy mix, you can pull out one container and see everything at once.
For a narrow pantry, try grouping foods by frequency:
- Daily-use foods at the front
- Weekly-use foods in the middle
- Occasional-use foods toward the back
- Backup supplies on higher shelves
The goal does not involve squeezing every possible item into every available inch. Leave enough breathing room to actually remove things without starting a pantry avalanche.


How to Organise Your Pantry With Containers
Containers can make a pantry look dramatically cleaner, but you do not need to transfer everything.
I prefer containers for foods that benefit from better visibility and protection, such as flour, rice, pasta, cereal, oats, sugar, and dry beans.
Choose Containers for Function
Look for containers that:
- Seal tightly
- Stack easily
- Fit your shelves
- Make the contents visible
- Open easily
- Clean without hassle
Avoid buying containers before measuring your shelves. That sounds obvious, yet people regularly buy beautiful storage products that fit absolutely nowhere.
Measure shelf height, depth, and width first.
Then choose containers that make the most of that space.
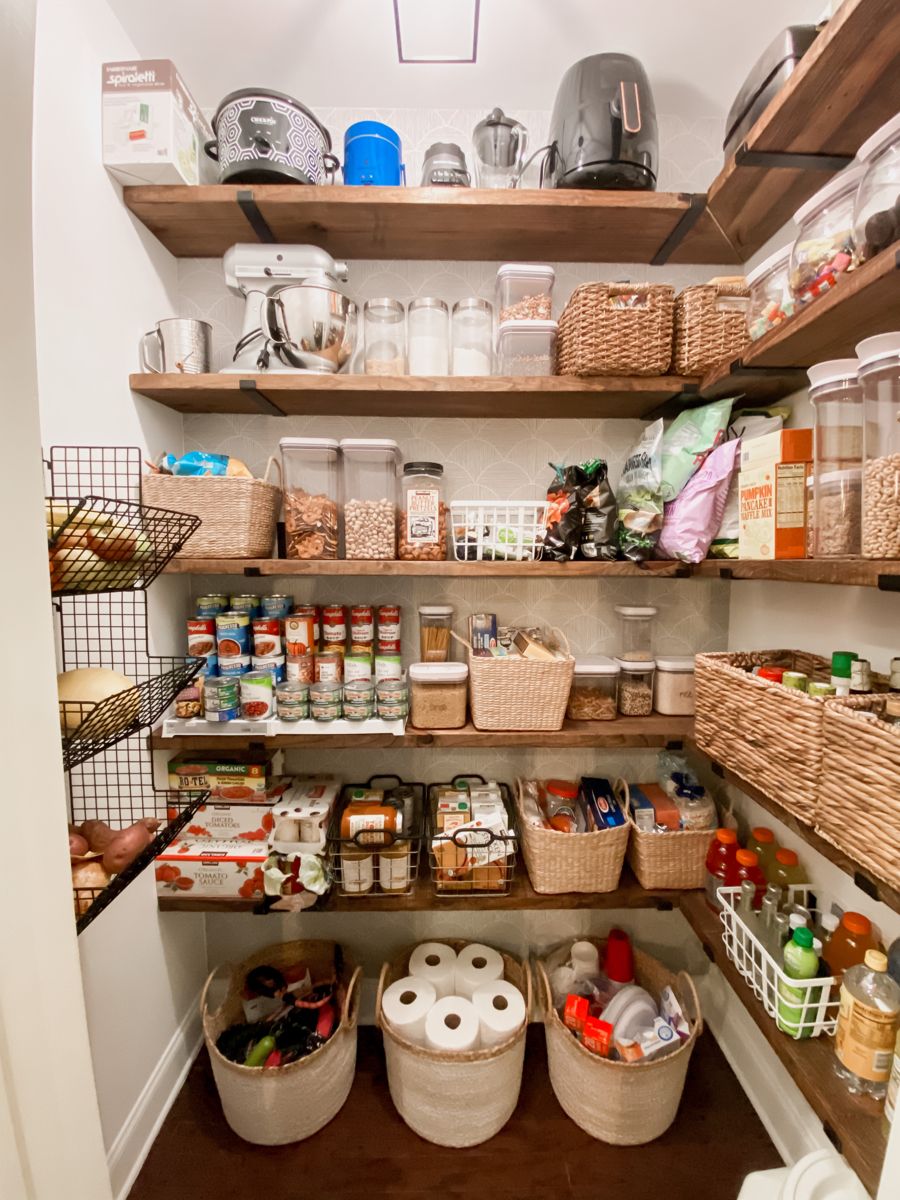


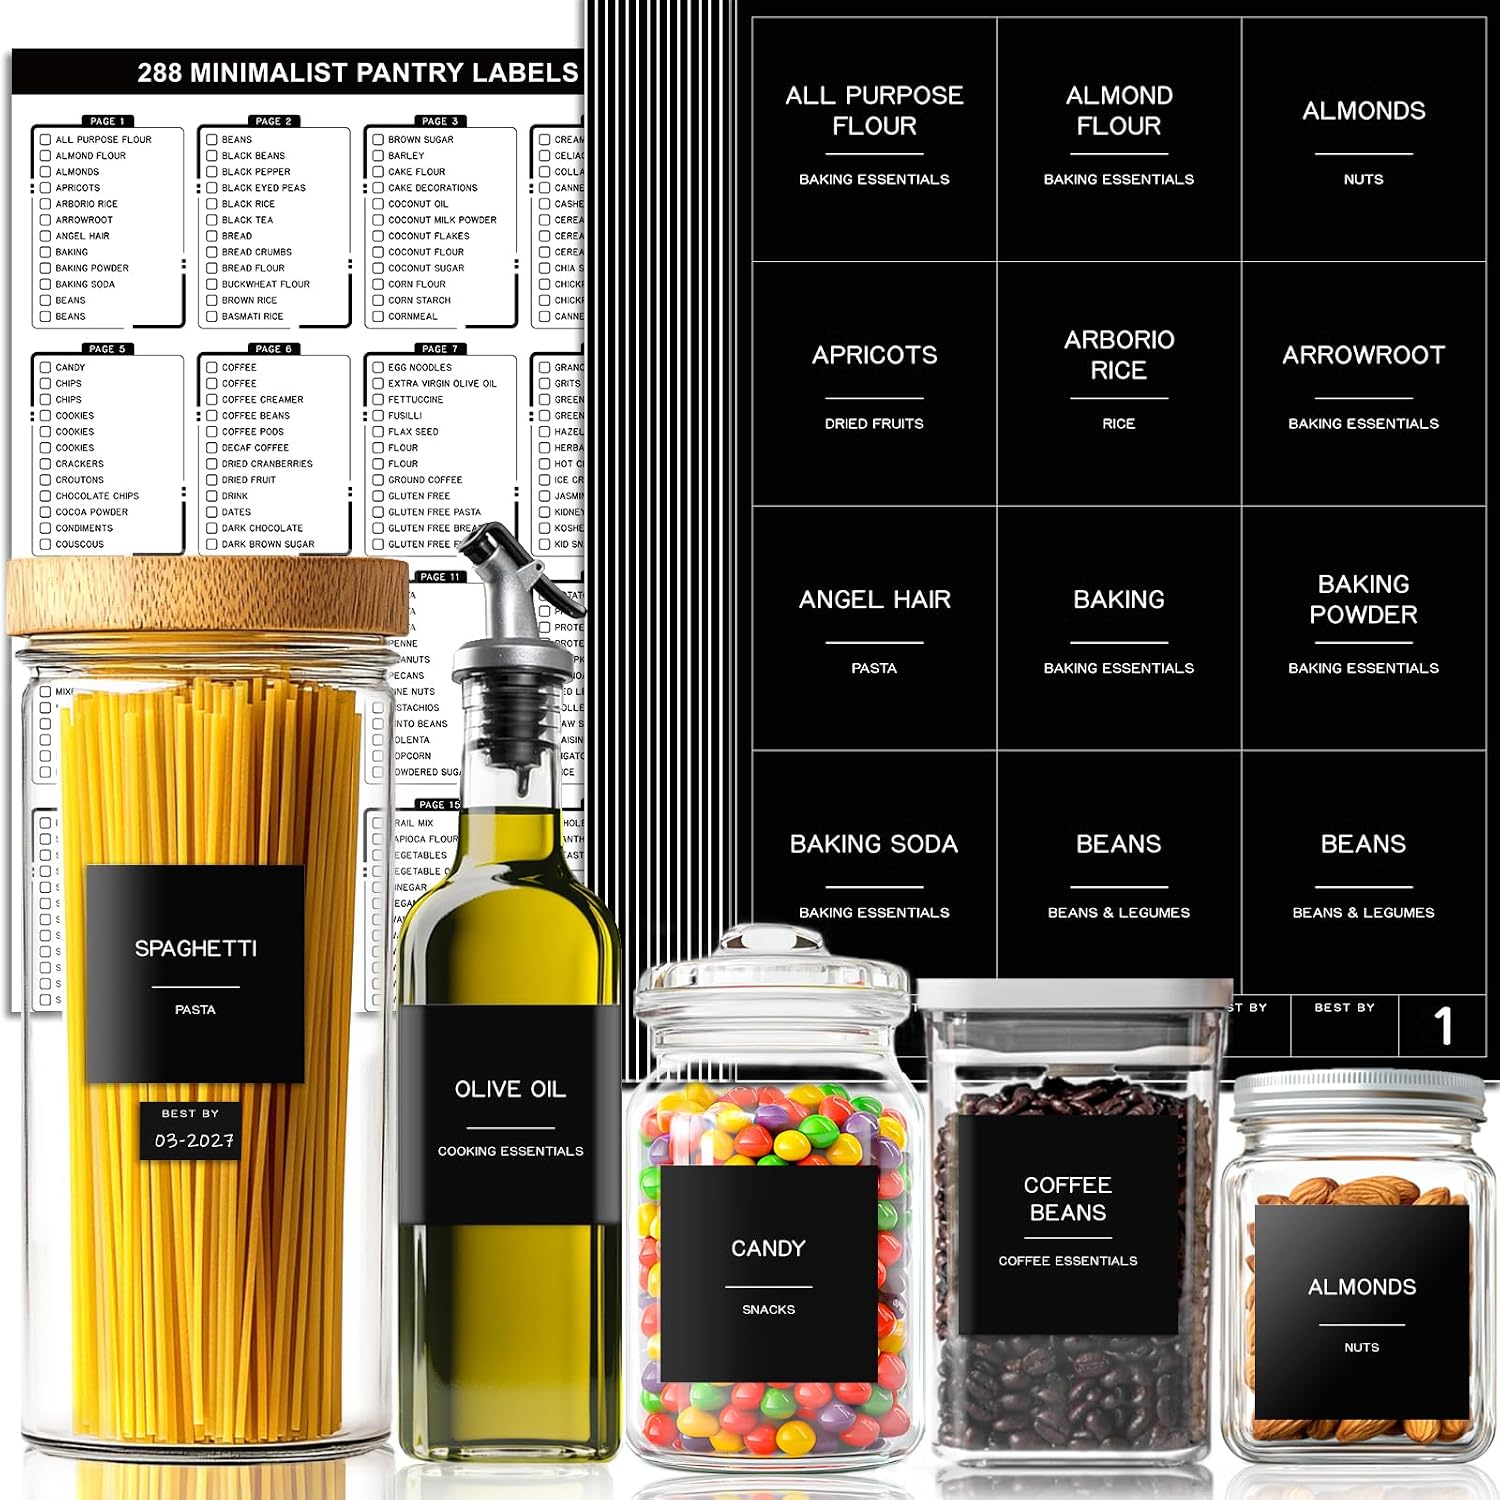
Label Everything Clearly
A clear container does not always need a label, but labels help when ingredients look similar.
Labels also create a consistent system when multiple people use the pantry.
You can label by ingredient, category, or both. For example, “Rice,” “Pasta,” and “Baking” keep things simple.
Do not turn your pantry into a filing cabinet. If you need a spreadsheet to find the cinnamon, something has gone slightly too far.
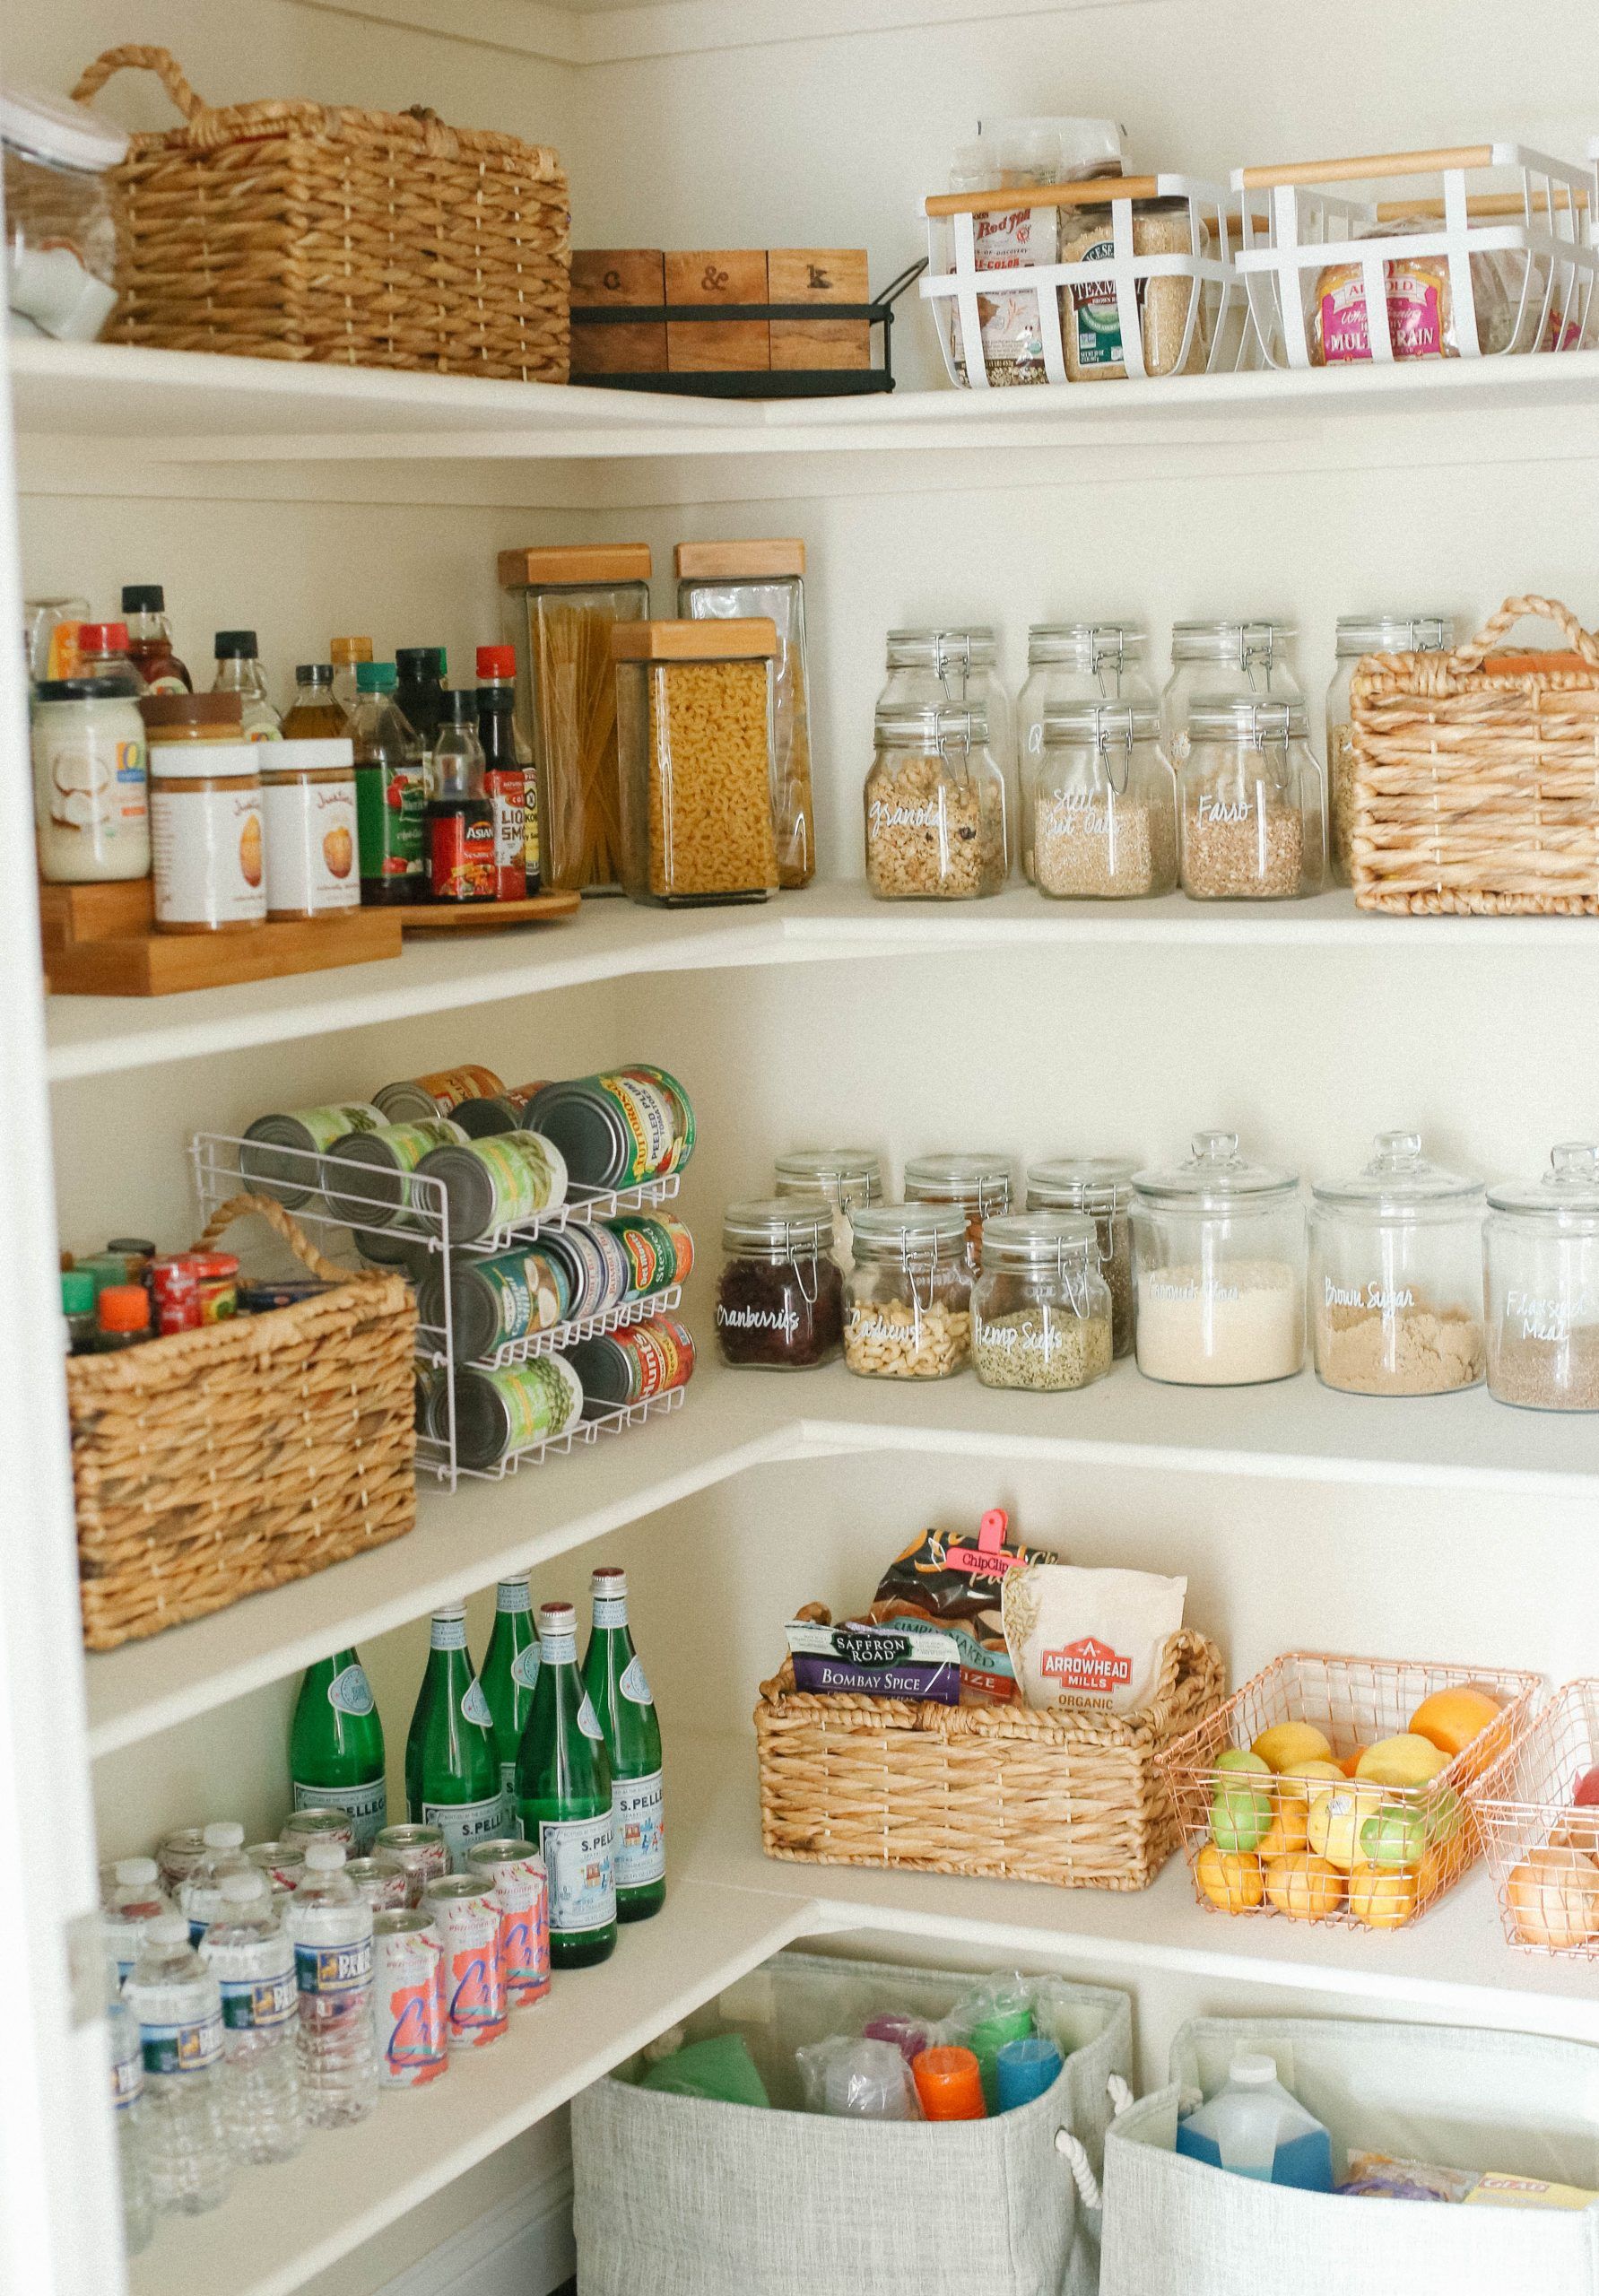

How to Organise Your Pantry Using FIFO
One of my favourite pantry habits involves first in, first out, often shortened to FIFO.
When you buy a new package of something you already have, move the older package toward the front and place the newer one behind it.
This simple habit helps you use older products before newer ones.
Restaurants and professional kitchens rely heavily on organised stock rotation because it makes inventory easier to manage. You can borrow the same basic idea at home without turning your kitchen into a commercial operation.
“Eat or freeze items before you need to throw them away.”
— FoodSafety.gov guidance on reducing food waste
For frequently purchased foods, I find this system almost effortless once it becomes a habit.


How to Organise Your Pantry for Easy Meal Prep
Your pantry should support the way you cook.
If you regularly make pasta, keep pasta, canned tomatoes, sauces, herbs, and seasonings close together. If you bake frequently, keep your baking staples grouped and easy to reach.
Think about your most common meals, then organise ingredients around those meals.
This approach feels much more practical than organising purely by food type.
You can even create a small “quick dinner” zone with ingredients such as:
- Pasta
- Rice
- Canned beans
- Tomato sauce
- Stock
- Noodles
- Common seasonings
When dinner feels rushed, that little section can save you from opening every cupboard in the kitchen.


How to Keep Your Pantry Organised
Organising your pantry once feels satisfying. Keeping it organised requires a tiny bit of maintenance.
I recommend doing a quick reset every time you bring home groceries. Put newer items behind older ones and return everything to its category.
You do not need another giant weekend project.
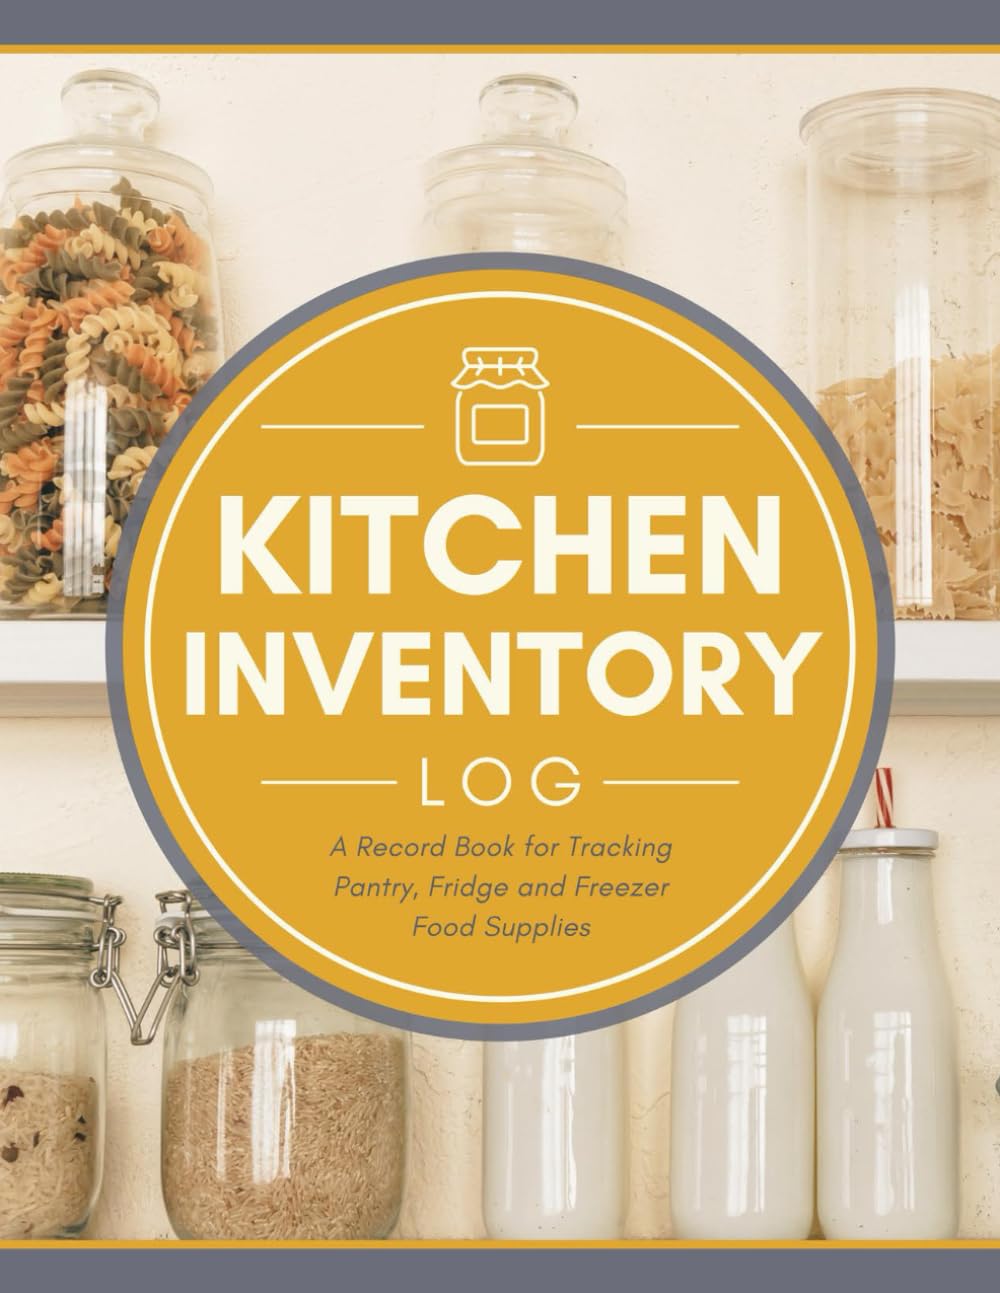
Do a Monthly Pantry Reset
Once a month, spend around 10 to 15 minutes checking the pantry.
Look for:
- Nearly empty containers
- Duplicate products
- Damaged packaging
- Expired or poor-quality food
- Ingredients you forgot about
- Items that need restocking
A short monthly reset prevents the pantry from slowly returning to chaos.

Keep a Simple Shopping List
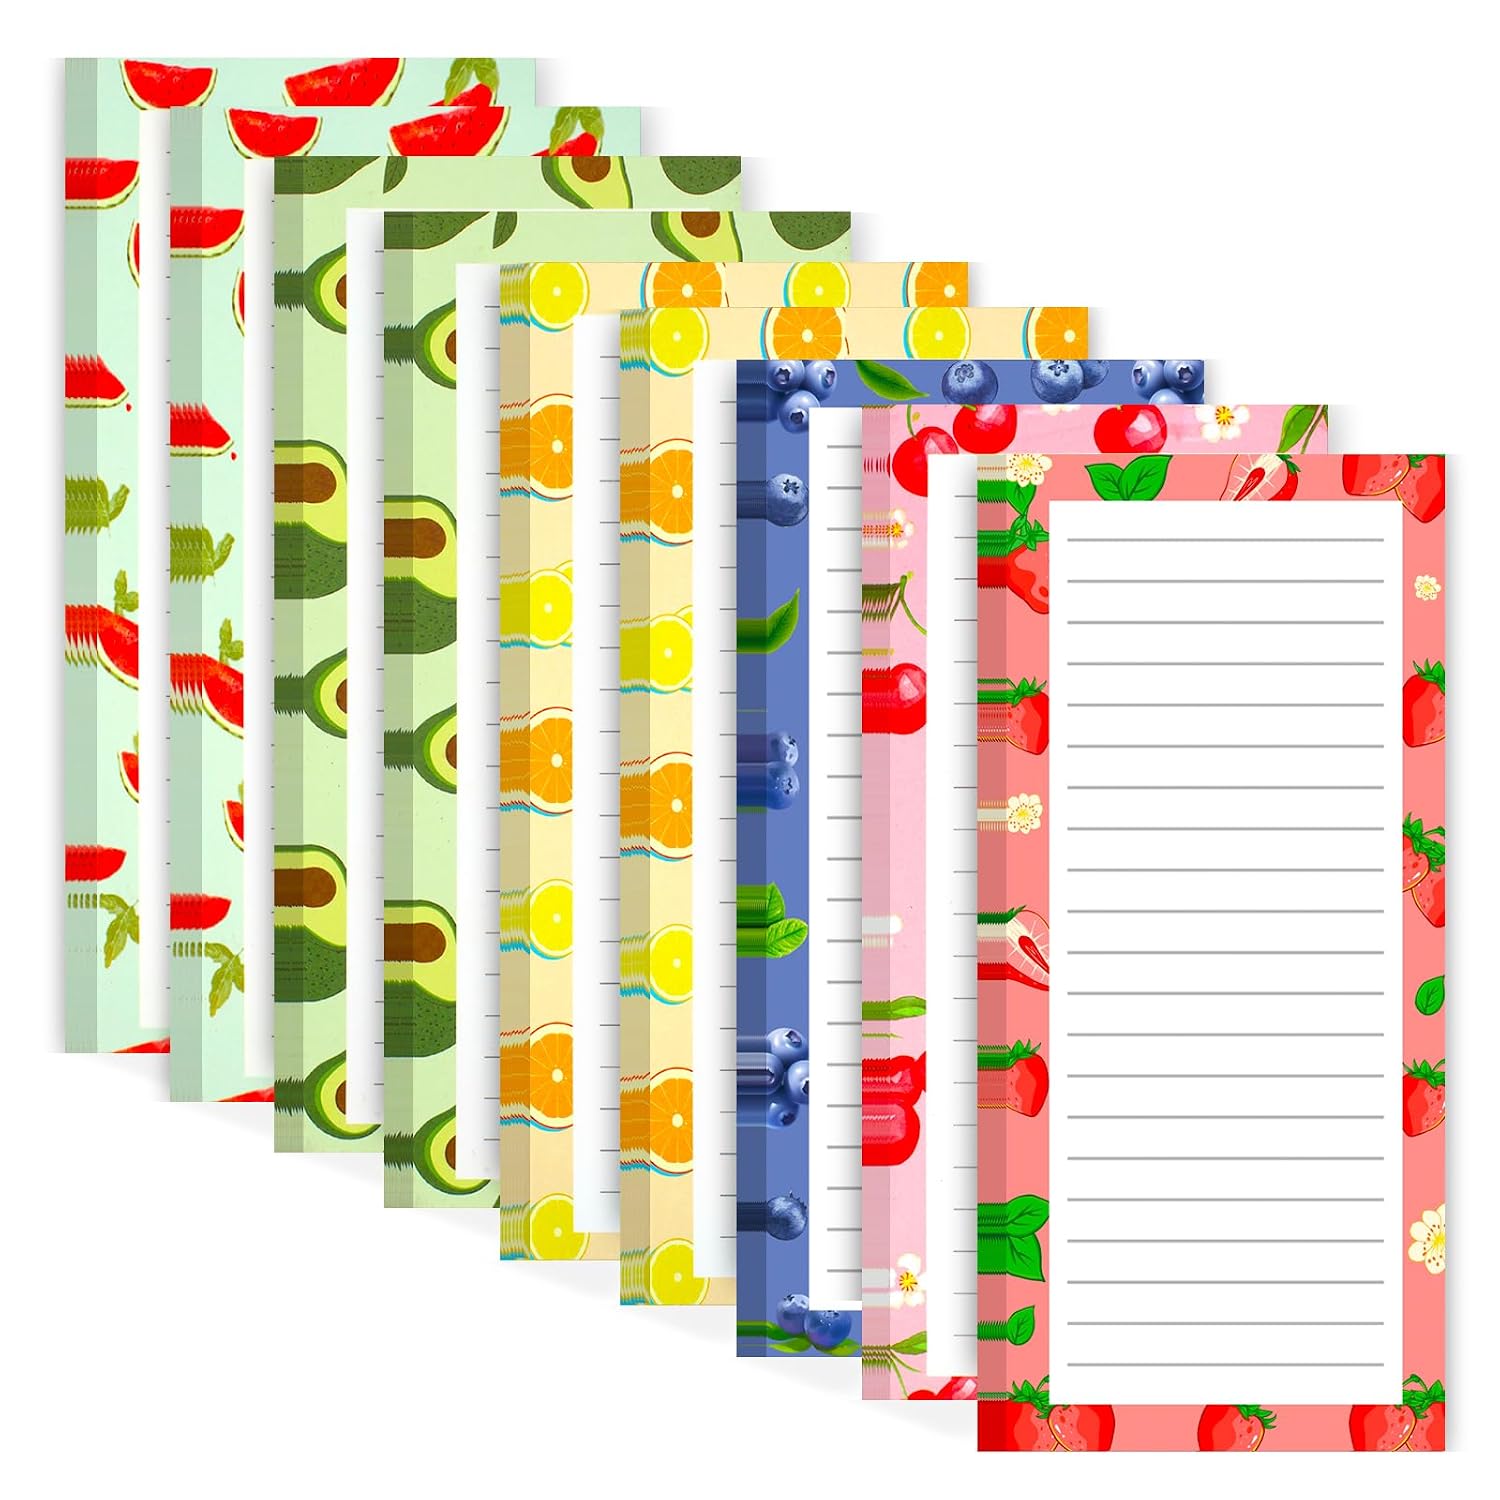
When you notice an item running low, add it to your shopping list immediately.
I find this much more useful than trying to remember everything while standing in the grocery store wondering whether there are three jars of peanut butter hiding somewhere at home.
Common Pantry Organisation Mistakes
Even a beautiful pantry can become annoying if the system creates extra work.
Buying Too Many Matching Containers
Matching containers look great, but you do not need to decant every single food.
Use them where they improve visibility, freshness, stacking, or access. Keep packaged products in their original packaging when transferring them offers little benefit.
Creating Categories That Feel Too Specific
You do not need separate bins for every tiny food group.
If you rarely use something, broader categories make more sense. The best system feels obvious without requiring instructions.
Hiding Everything Behind Decorative Bins
Pretty storage can create a visibility problem.
If you cannot see what you own, you may forget about it. Use clear containers or open bins for products that you frequently need to monitor.
Ignoring Food Safety
A pantry should stay cool, dry, clean, and protected from moisture and pests. USDA guidance specifically recommends appropriate dry storage conditions and checking packaging for damage.
Also remember that not every food belongs in the pantry. Follow the product label and storage instructions, especially after opening.
How to Organise Your Pantry So It Stays That Way
The real trick involves creating a system that requires almost no thought.
Every item needs a home. Every category needs enough space. Every new grocery item needs to follow the same rules when it enters the pantry.
I like keeping the simplest rule possible:
Take something out, use it, then put the replacement in the same place.
That sounds almost ridiculously basic, but simple systems usually survive longer than complicated ones.
You can also keep a small amount of empty shelf space. That gives you room to move items around when your shopping changes.
“Dry stores should be kept neat and clean.”
— USDA sanitation guidance (AMS)
Your pantry does not need to stay perfectly styled every day. It simply needs to stay functional.
Final Thoughts on How to Organise Your Pantry
Learning how to organise your pantry does not require a huge budget or a massive kitchen makeover. Start by emptying the shelves, checking your food, cleaning the space, and grouping ingredients into practical zones.
Then place everyday foods within easy reach, keep heavy items lower, use containers where they genuinely help, and rotate older food toward the front.
Most importantly, organise the pantry around your real life. If you cook pasta three times a week, make pasta easy to grab. If you bake once every six months, do not give baking supplies half the pantry.
A good pantry should make cooking easier, grocery shopping smarter, and forgotten food less common.
And if your pantry stays perfectly organised for more than a week, congratulations. You have officially achieved what the rest of us consider kitchen-level sorcery.