
A tiered tray can make a kitchen counter, coffee station, dining table, or bathroom feel finished in minutes. But how to style a tiered tray without making it look like you emptied a junk drawer onto three levels? That takes a little strategy.
I have styled plenty of small decorative displays, and I have learned that the trick comes down to height, balance, texture, and restraint. You do not need twenty tiny decorations. You need a few pieces that work together.
“Good design is as little design as possible.”
— Frank Chimero, The Shape of Design
That idea fits tiered tray decorating surprisingly well. The tray already gives you layers, so your job involves adding interest without creating visual chaos.

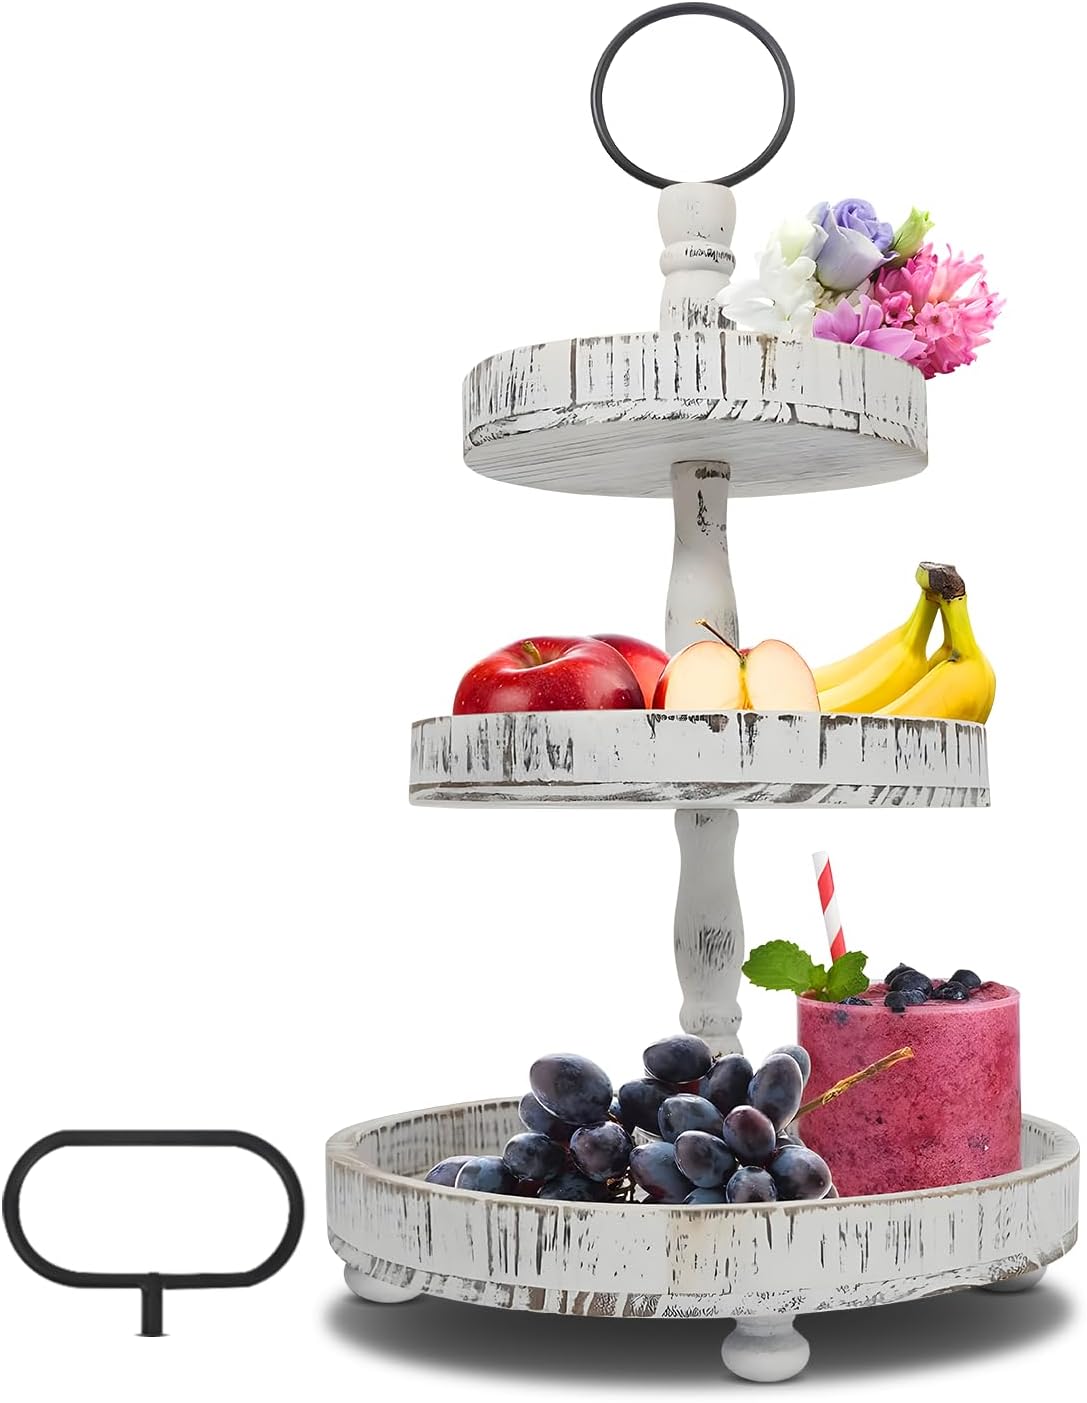
Adjustable 3 Tiered Tray Stand with Interchangeable Handles, White Farmhouse Decorative Tray
Shop on Amazon
Farmhouse Decor Large Wood Bead Garland, 50 Inch, 1.6 Inch Natural Wood Beads with Tassels
Shop on AmazonWhat Is a Tiered Tray and Why Does It Work So Well?
A tiered tray uses two or more levels to display small decorative or practical items vertically. You can find round, square, wood, metal, farmhouse, rustic, modern, and even vintage-inspired versions.
The vertical structure gives you something a normal tray cannot provide: height without taking up much counter space.
That makes a tiered tray especially useful when you decorate a small kitchen or apartment. Instead of spreading everything across your counter, you stack the display upward.
Why do people love tiered tray decor?
Because it solves a very common decorating problem. Small objects often look disconnected when you place them around a room individually.
A tiered tray pulls those little pieces into one intentional arrangement.
You can use one for:
- Kitchen counter decor
- Coffee station decor
- Dining table centerpieces
- Bathroom counter decor
- Entryway styling
- Seasonal decorations
- Everyday farmhouse decor
- Cottage style displays
- Rustic kitchen decor
- Holiday decorating
I particularly like tiered trays for small seasonal updates. You can keep the tray itself year round and simply swap pumpkins for pinecones, or flowers for ornaments, when the season changes.
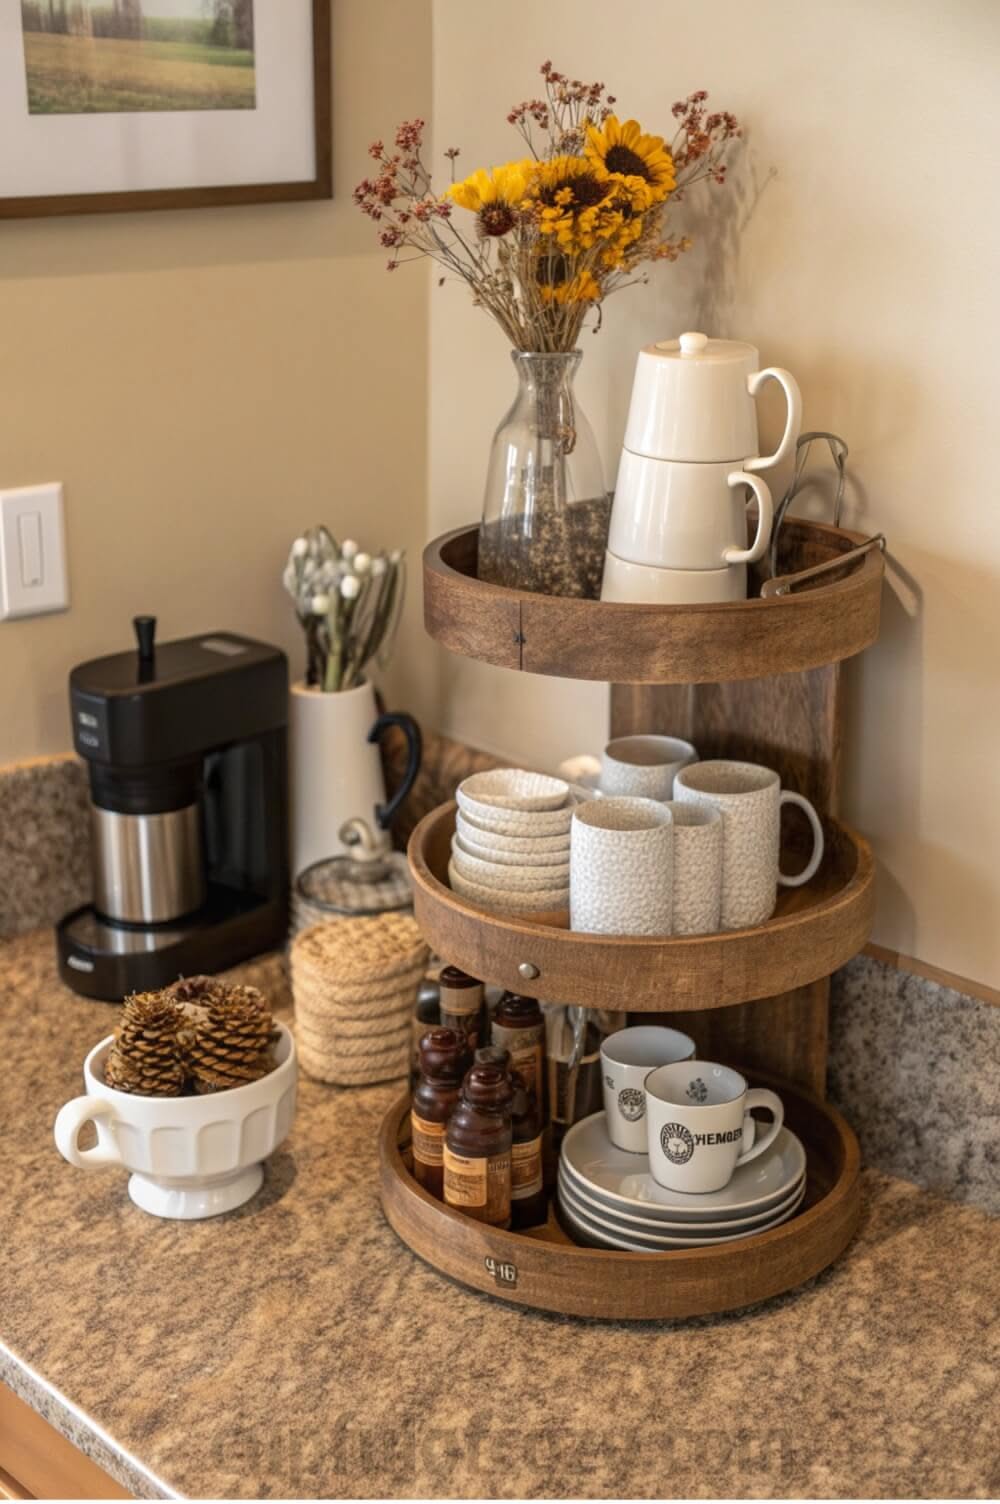


How Do You Style a Tiered Tray Without Making It Look Cluttered?
The easiest answer involves thinking about the tray as one composition rather than several separate shelves.
Each level should connect visually with the others. You want the eye to move from the bottom to the middle and then toward the top.
I usually start with three questions:
What does this tray need to do?
What colors already exist nearby?
Which pieces can create different heights?
Once you answer those questions, styling becomes much easier.
“Design is not just what it looks like and feels like. Design is how it works.”
— Steve Jobs, The New York Times, 2003
A tiered tray needs to work visually and practically. If you place a giant decorative object on the bottom level and block everything behind it, you have technically decorated the tray. You have also created a tiny obstacle course.
Keep the display functional, especially in a kitchen.


Urban Deco Wooden Decorative Tray, Two Tiered Round Serving Tray with Metal Handle, White
Shop on Amazon
How to Style a Tiered Tray With the Right Base
Before you add decorations, look at the tray itself.
The material and shape should influence the rest of your styling choices. A dark metal tray can handle warm wood, cream ceramics, and greenery. A pale wooden tray can create a softer foundation for neutral ceramics and natural textures.
Choose a color palette first
I recommend choosing three to four main colors.
For a cozy neutral tray, you could combine:
- Cream
- Beige
- Warm wood
- Soft green
For a farmhouse kitchen, try:
- White
- Black
- Natural wood
- Greenery
For a fall tray, you could use:
- Terracotta
- Cream
- Brown
- Muted green
You do not need every color in every object. Repeat the colors across different levels instead.
That repetition creates cohesion.
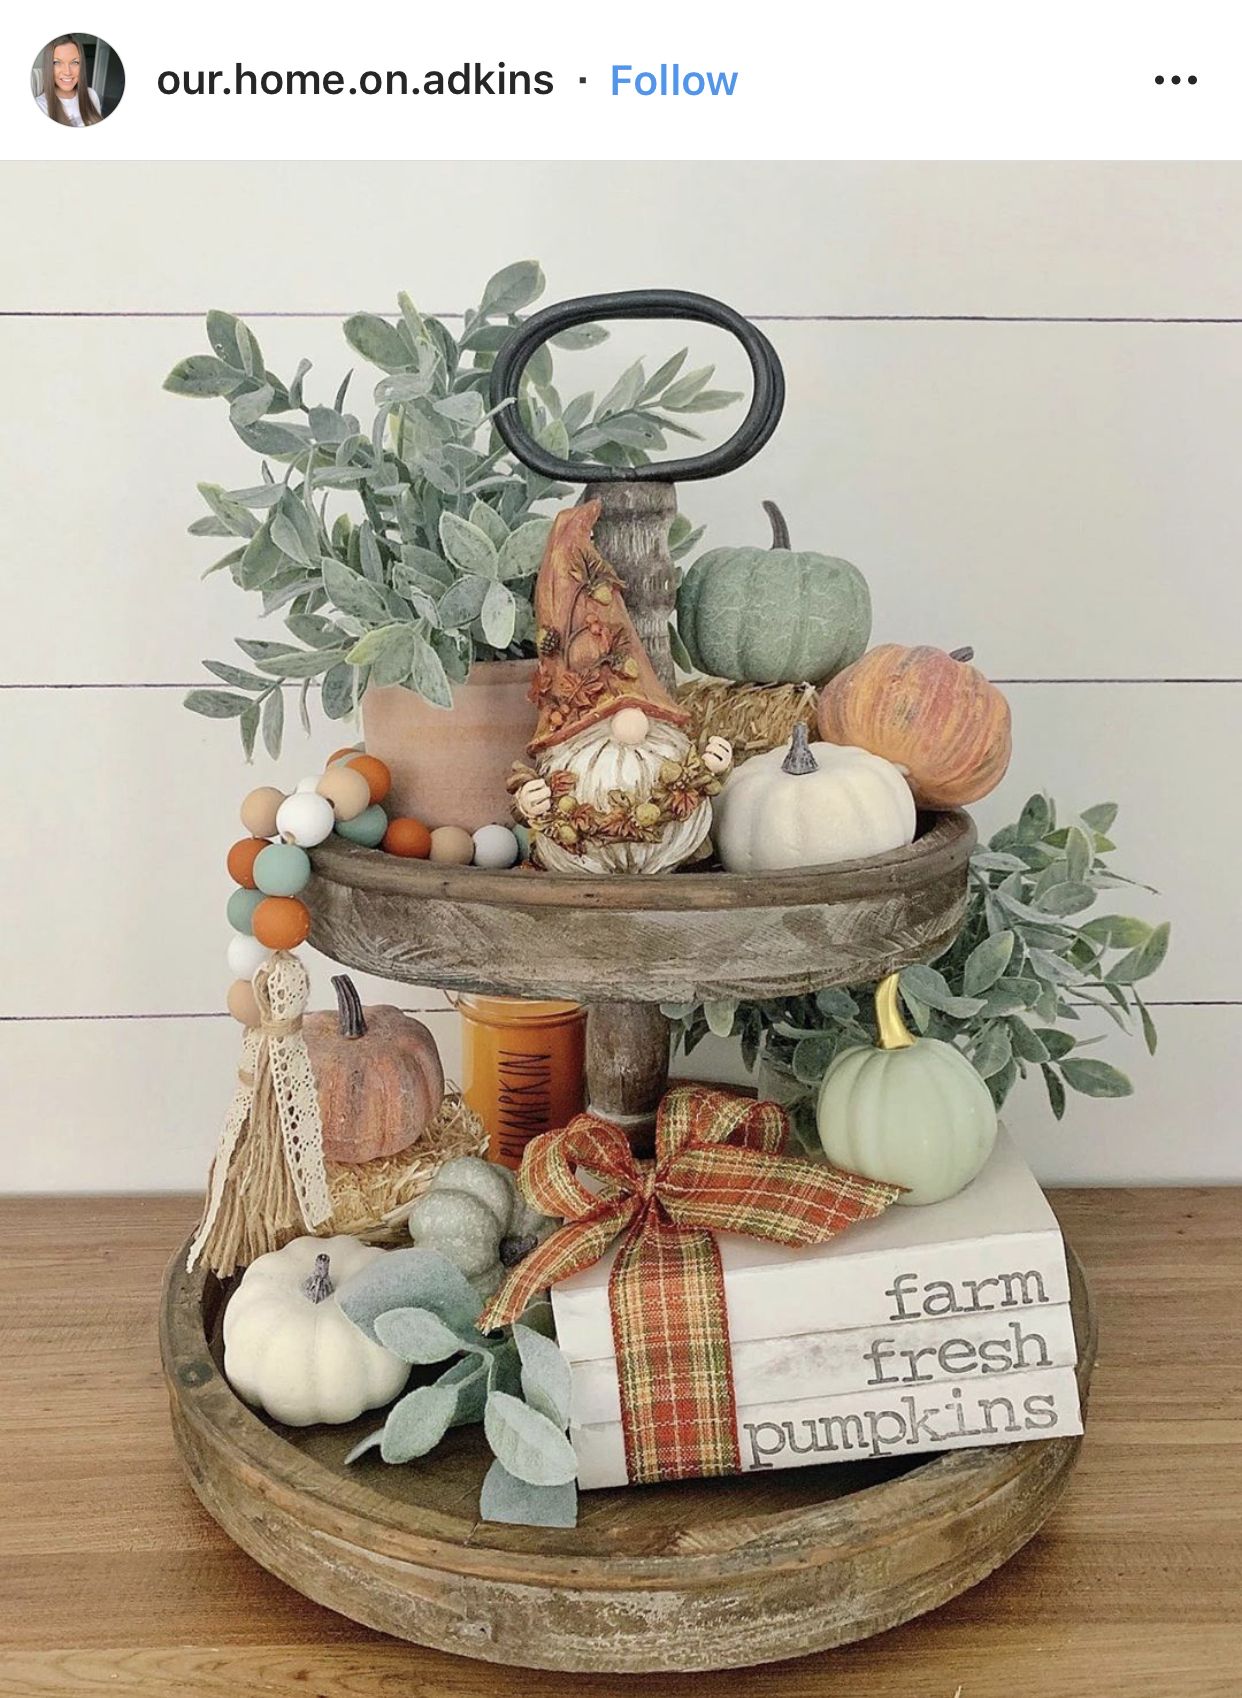


Let the surroundings guide you
Your tray should relate to the room around it.
If your kitchen already features warm wood cabinets and brass hardware, a tray filled with icy blue accessories might feel disconnected. You can still use blue, but I would introduce it through one or two smaller accents rather than making it the entire theme.
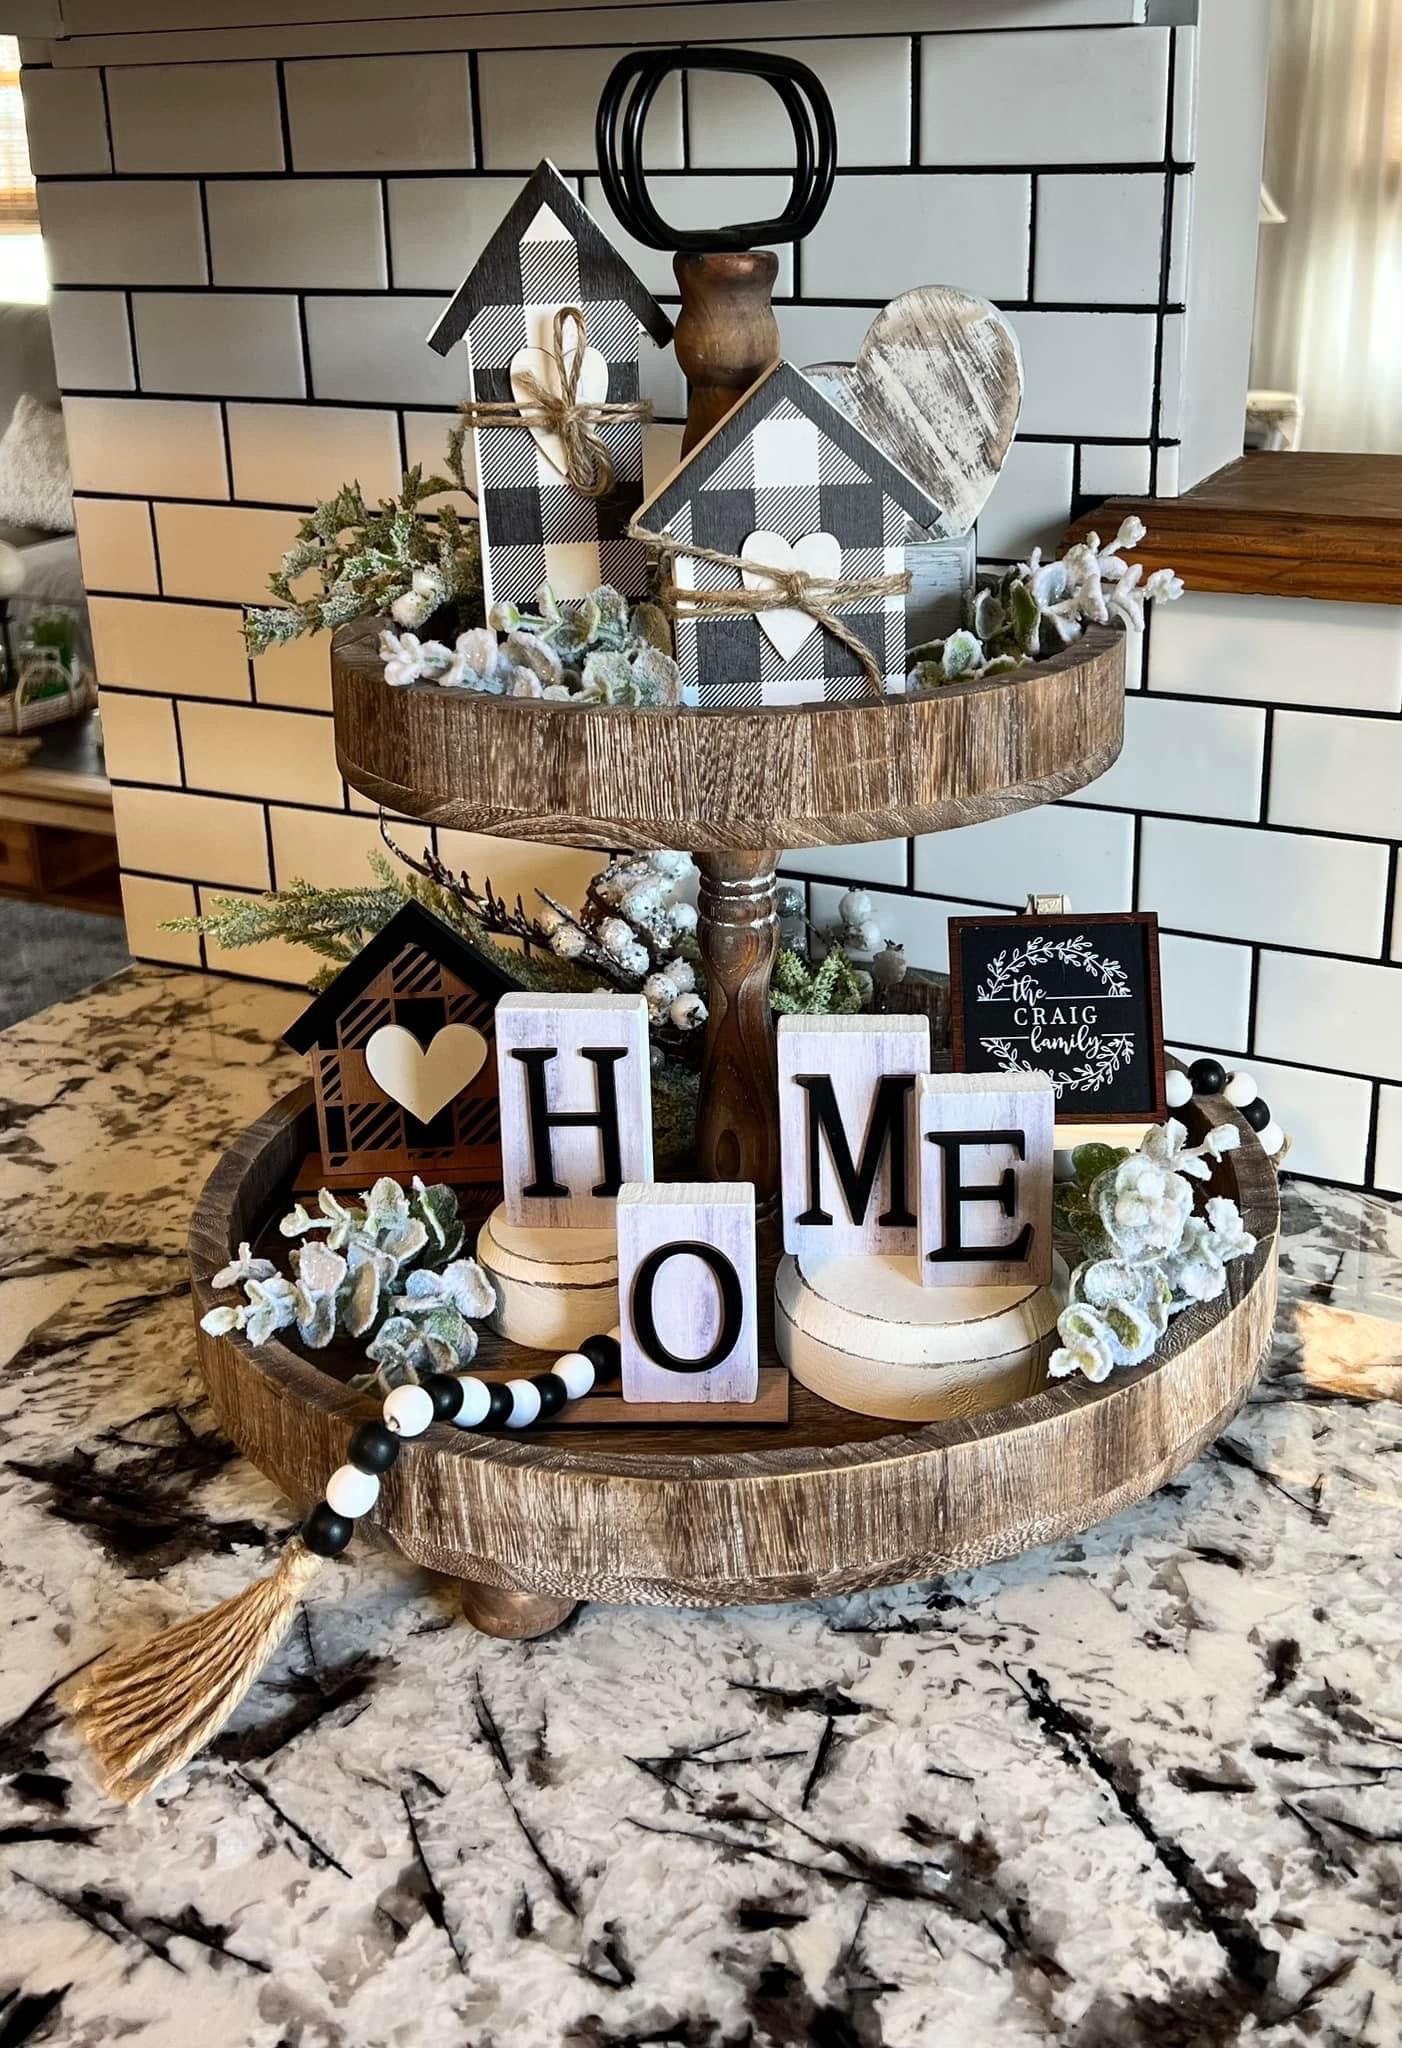


How to Style a Tiered Tray With Different Heights
Height makes or breaks a tiered tray.
The tray itself already creates vertical levels, but your decorations still need different heights to keep the composition interesting.
I normally combine tall, medium, and low pieces.
For example, place a small vase or bottle on one level, a little sign or jar on another, and a short bowl or candle on the remaining space.
Use the triangle method
One of my favorite tricks involves creating a loose visual triangle.
Imagine three objects forming a triangle across the tray:
- A taller item at the back
- A medium item toward the opposite side
- A shorter item toward the front
This arrangement keeps the eye moving.
You do not need mathematical precision. Nobody needs a protractor for kitchen decor. Just avoid placing every tall item in one straight line.

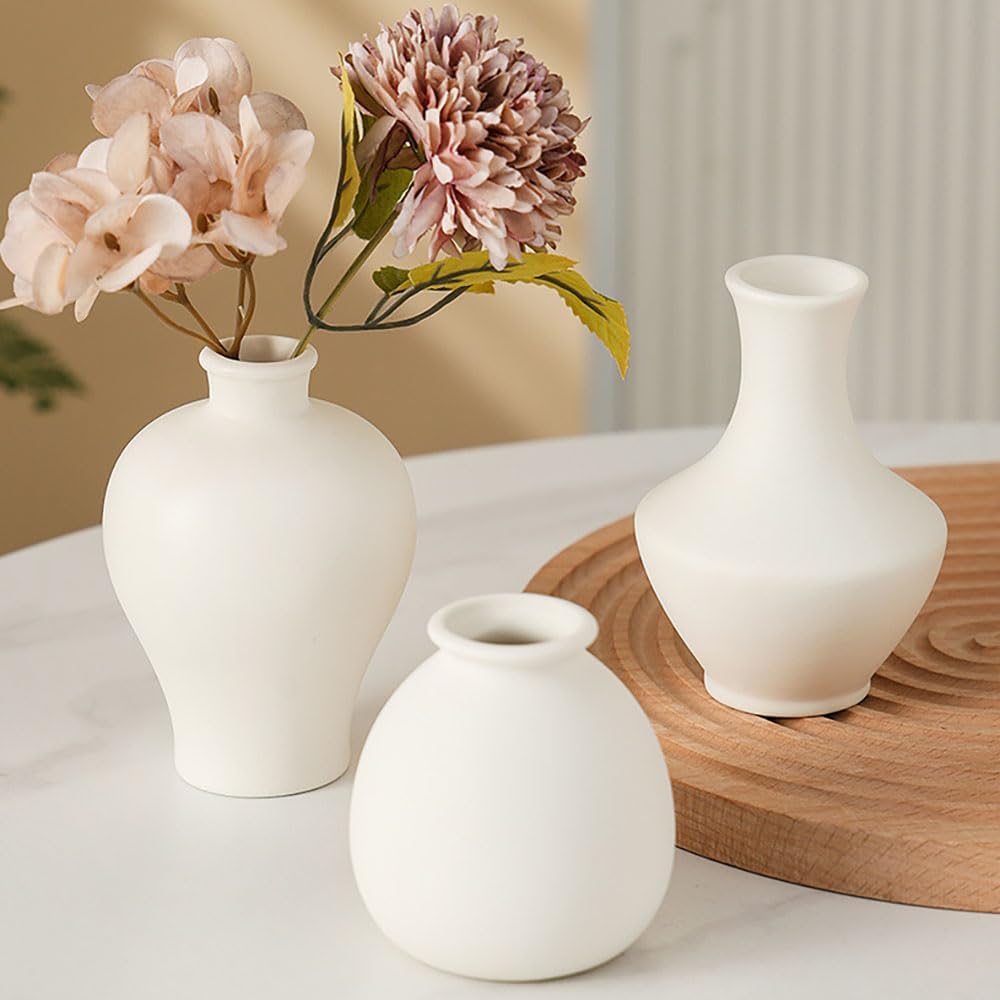
Daittin 3-Piece Mini Ceramic Bud Vases Set, Small White Matte Vases for Dried Flowers
Shop on Amazon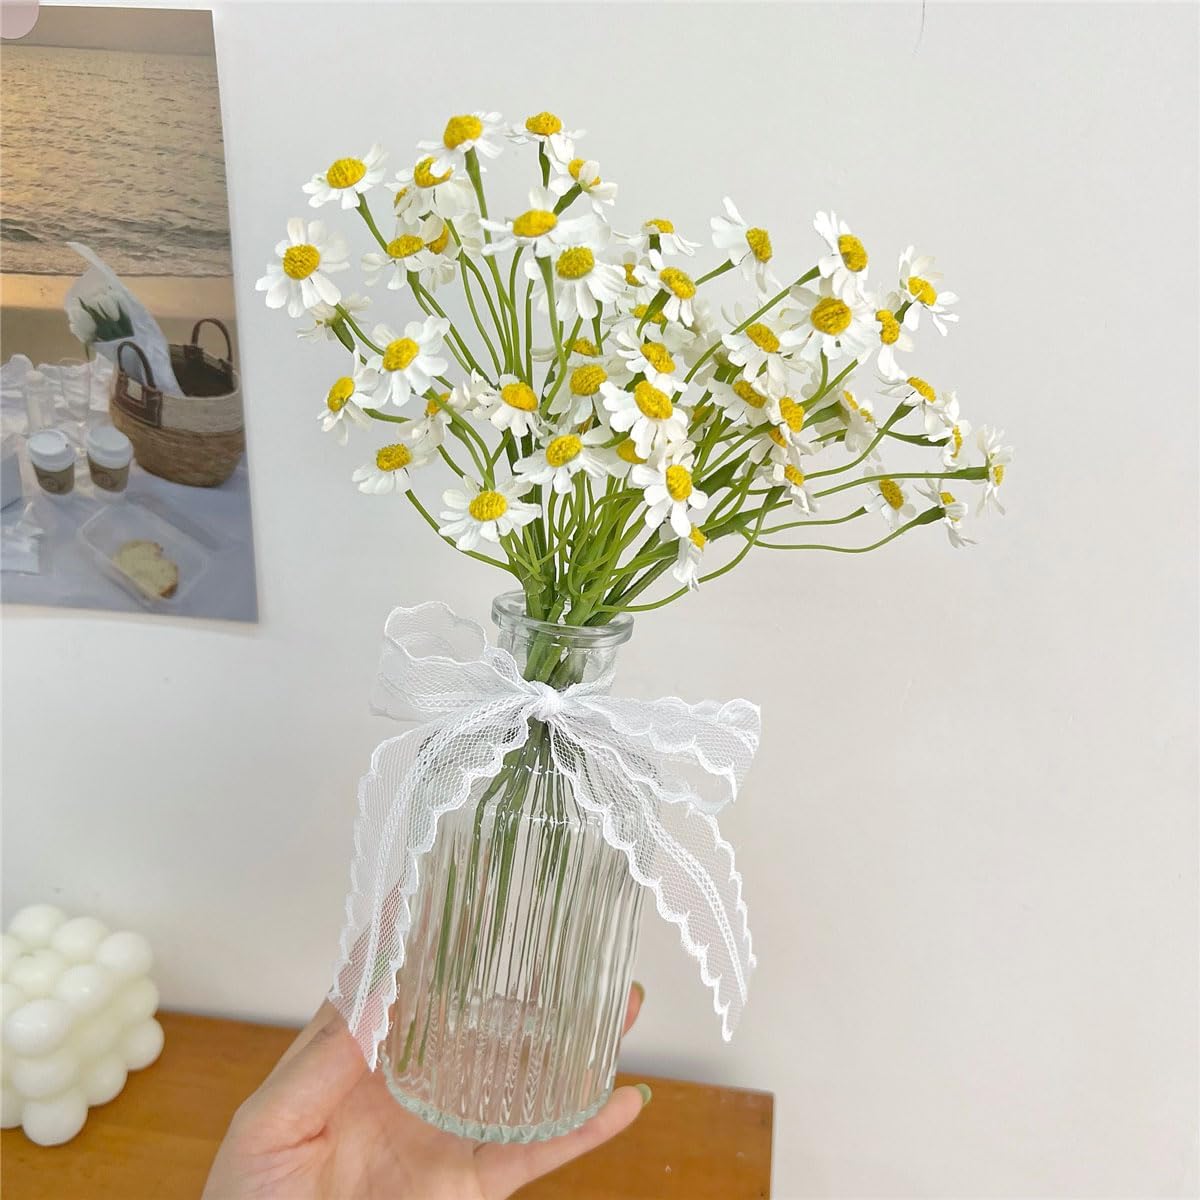
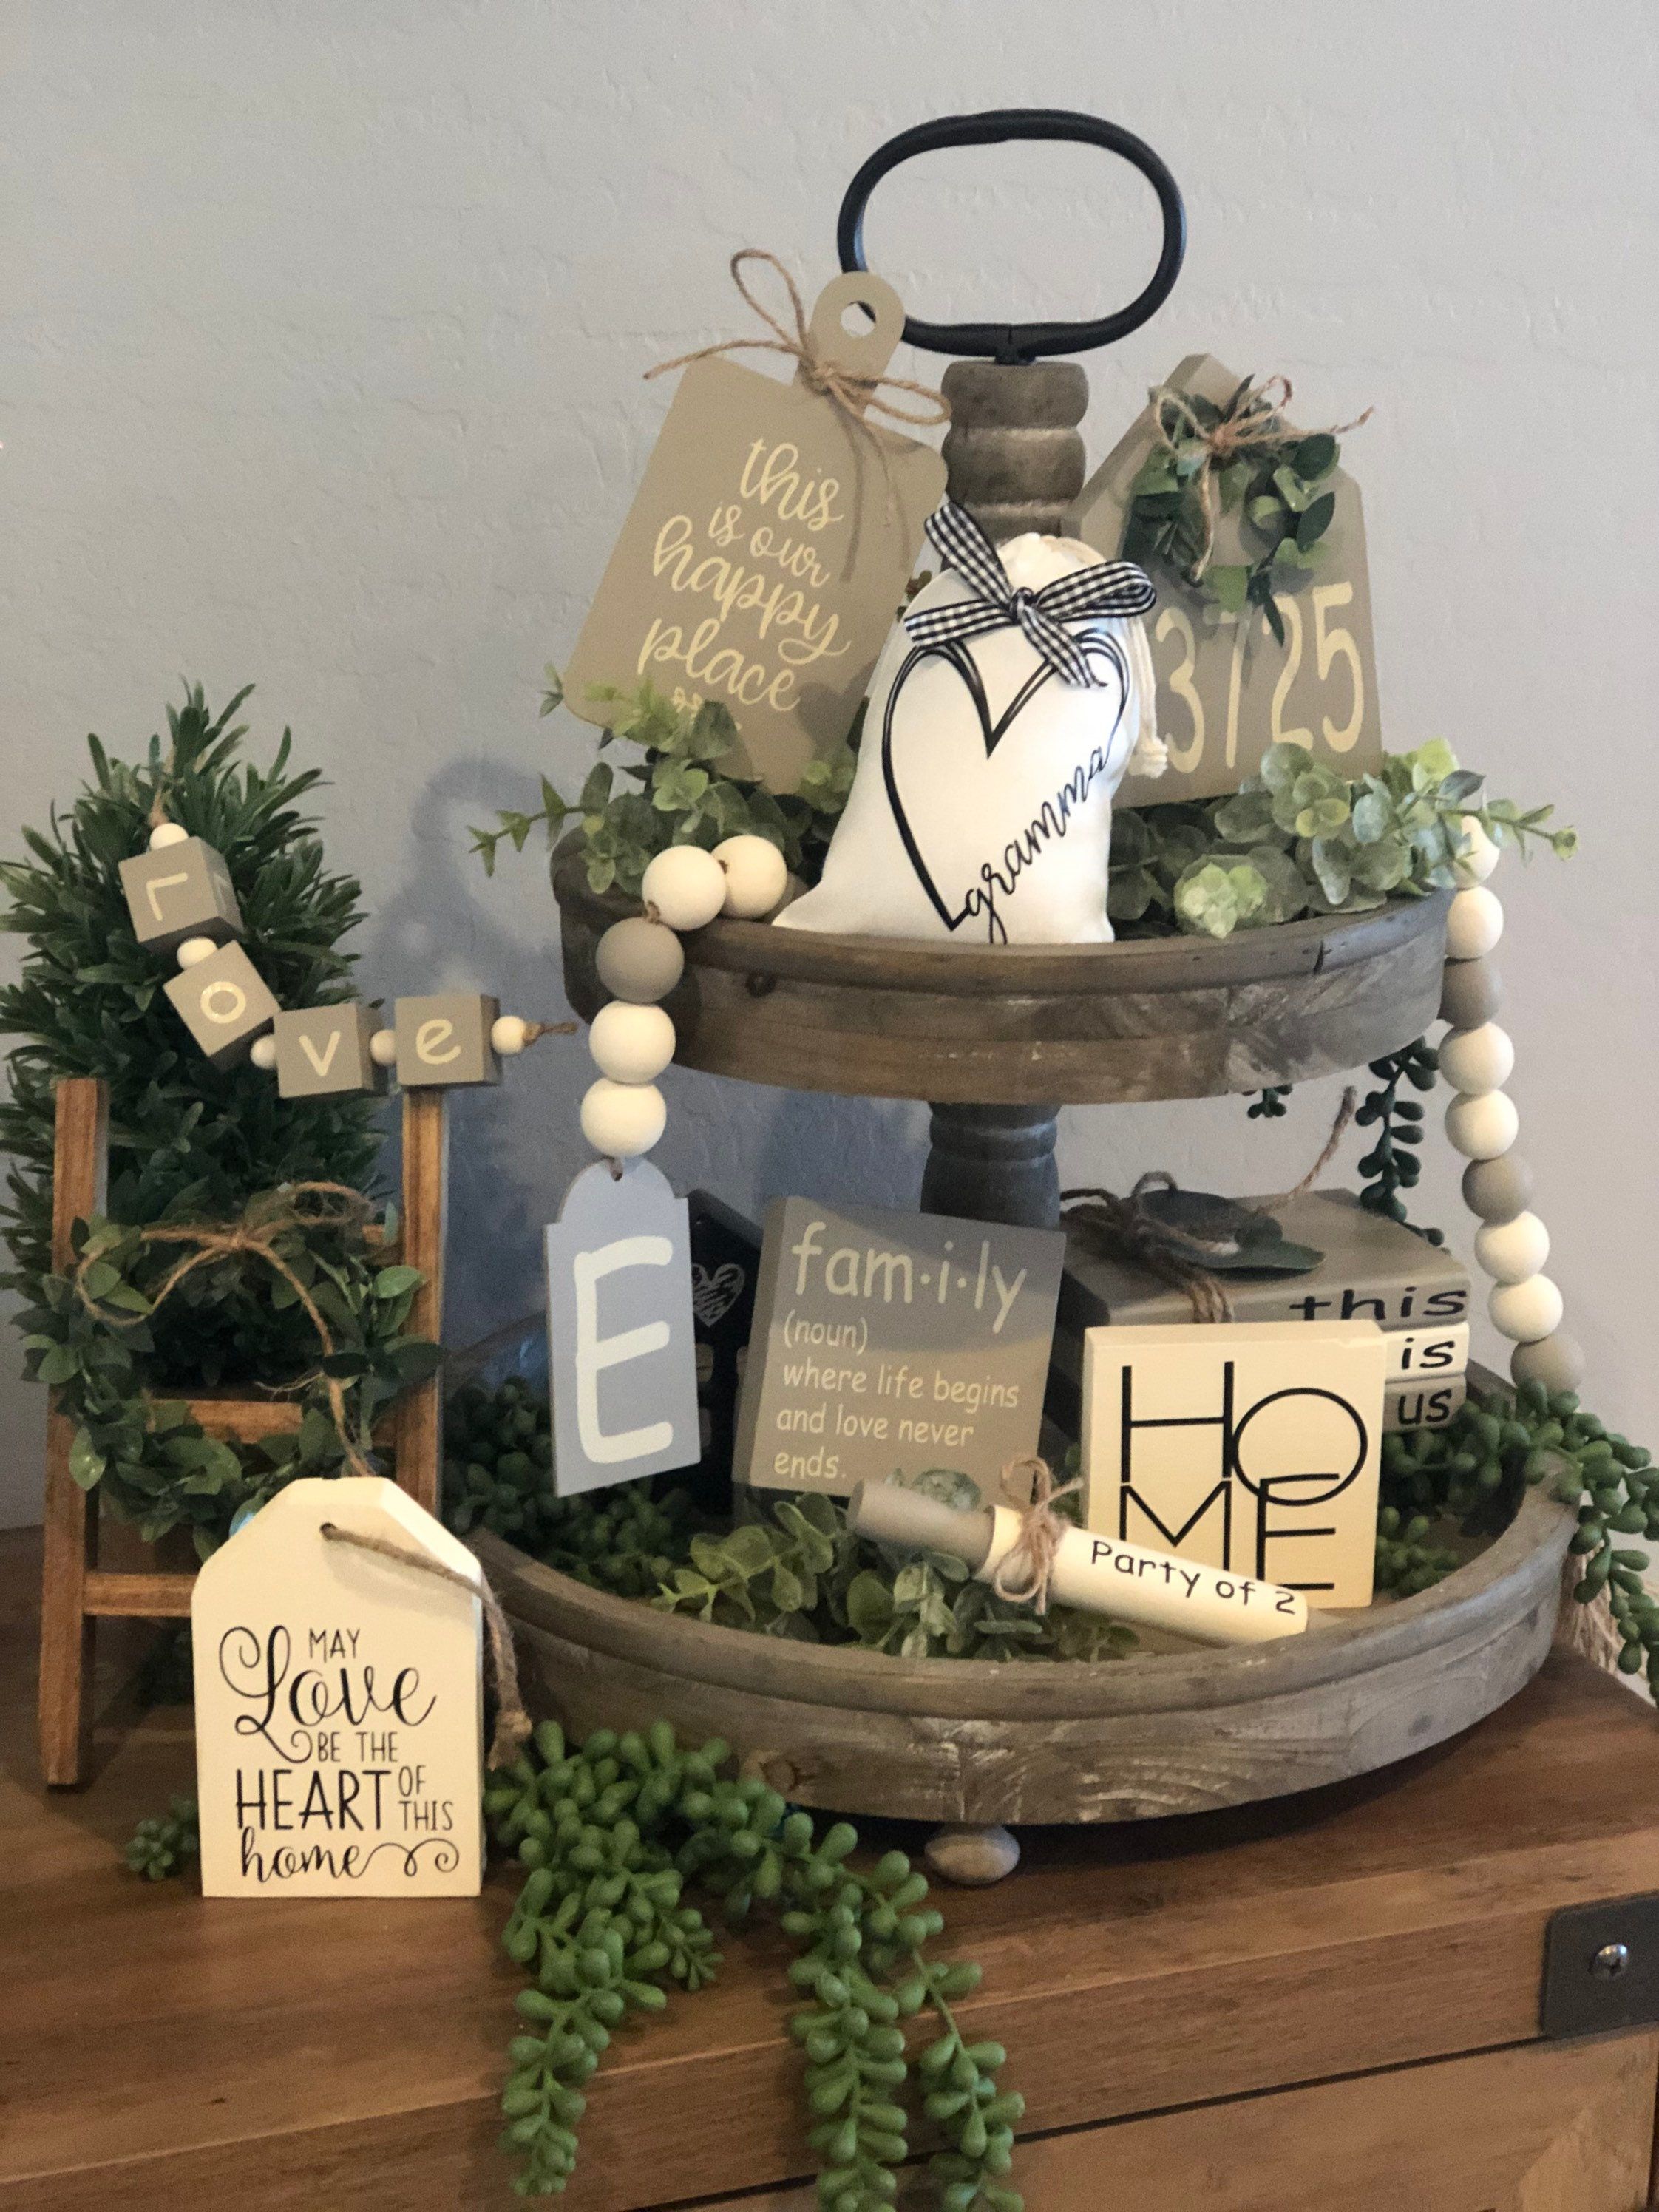
Vary the shapes too
Height alone cannot save a display filled with identical objects.
Mix:
- Round jars
- Rectangular signs
- Small bowls
- Narrow bottles
- Mini vases
- Wooden objects
- Greenery
The contrast between shapes creates visual interest without requiring more color.
How to Style a Tiered Tray With Texture
Texture gives a small display personality.
This matters especially when you use a neutral color palette. Beige, cream, and white can look beautiful, but they can also look flat if every object has the same smooth finish.
I like combining wood, ceramic, glass, metal, and greenery.
A wooden bead strand can soften a metal tray. A ceramic mug can add weight beside delicate greenery. A glass jar can introduce a little transparency.
“Texture is one of the most important elements in creating visual interest.”
— Kelly Hoppen, Kelly Hoppen Design
You can create a layered look without adding more objects simply by changing the materials.


30 Pcs Burlap Hessian Flowers Set with 24 Burlap Flowers, Bowknots and Lace Ribbon Rolls
Shop on Amazon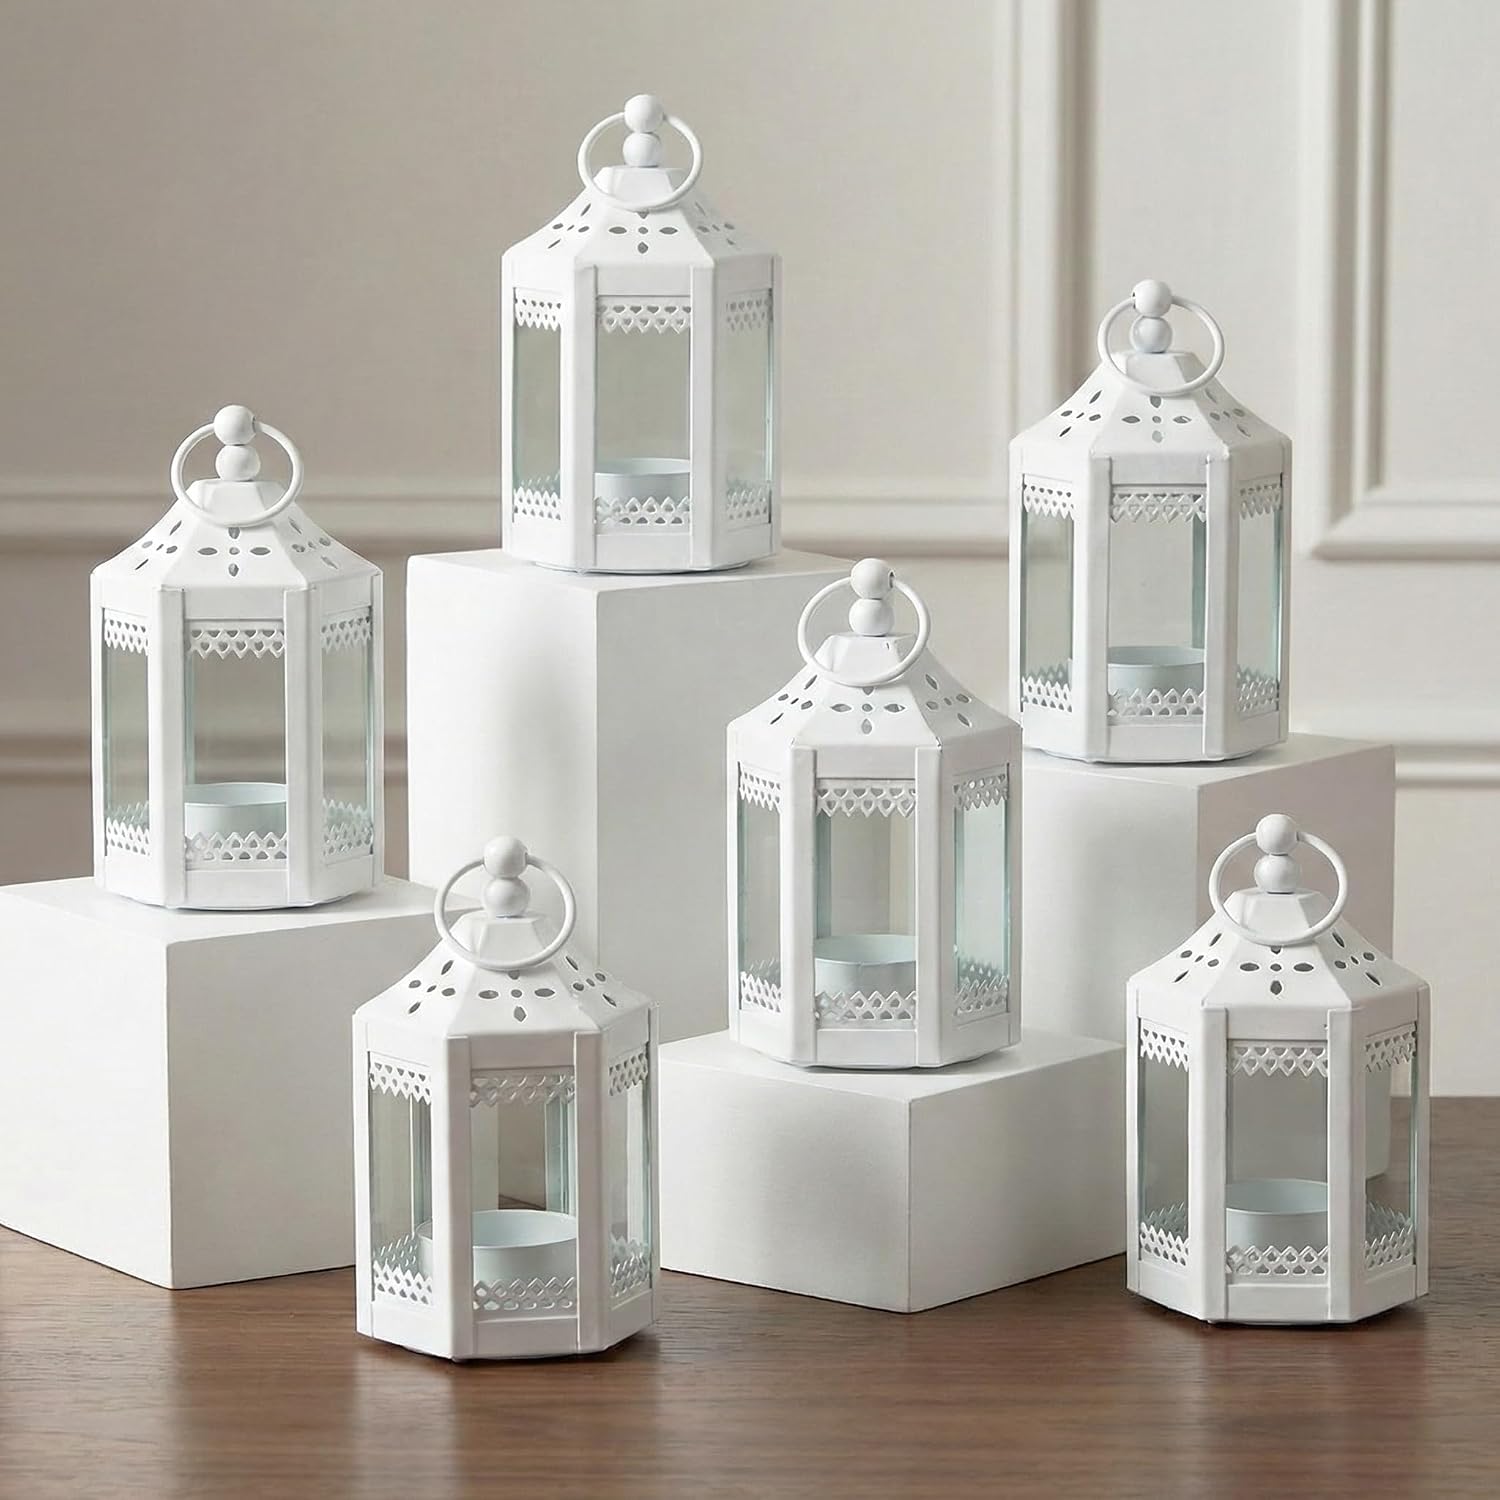
How to Style a Tiered Tray for a Kitchen
The kitchen gives you one of the easiest places to style a tiered tray because you can combine decoration with useful items.
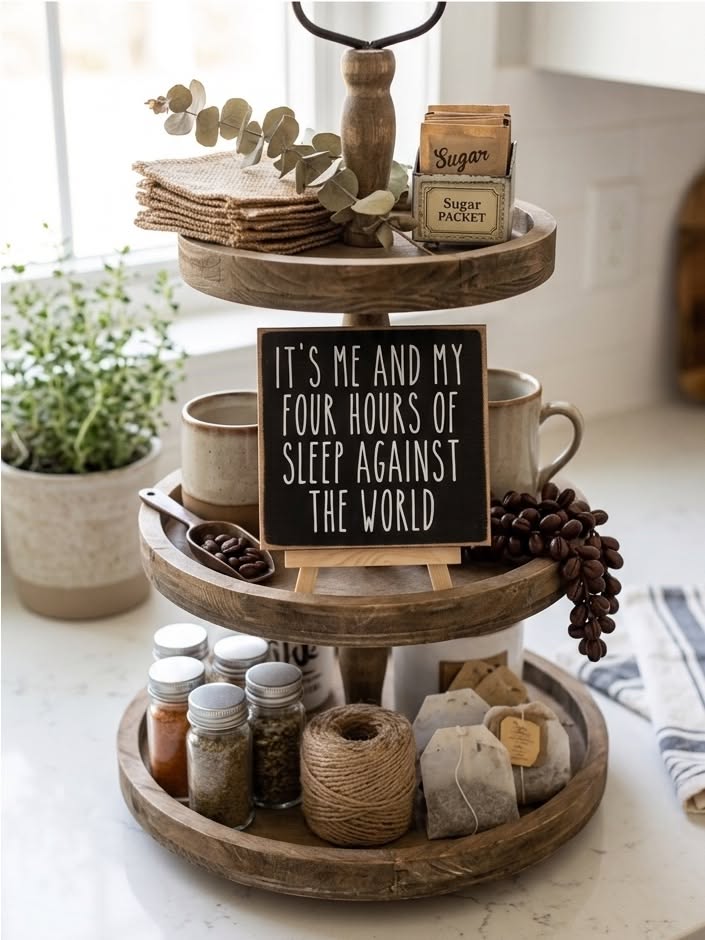
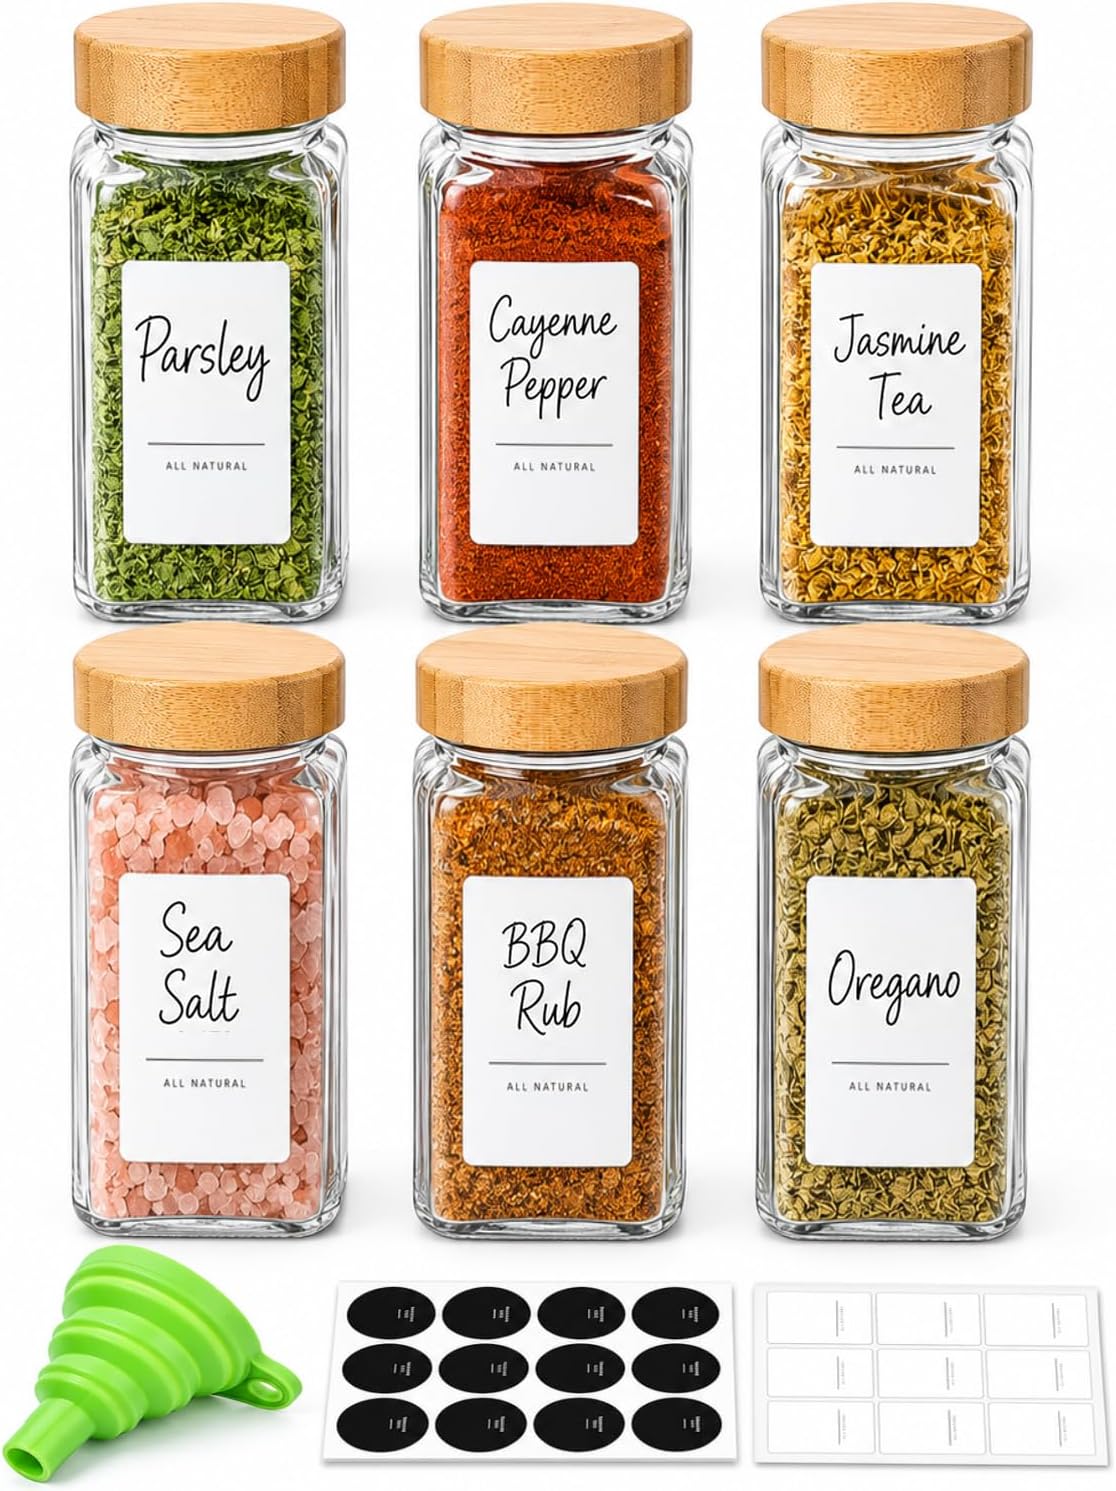
A coffee station makes an especially good spot.
Create a cozy coffee tray
Try placing a small coffee mug, a miniature coffee sign, a jar of sugar, and a little plant or faux greenery on the different levels.
Keep frequently used items toward the front so you can grab them easily.
I also like adding one wooden element because wood instantly makes a coffee display feel warmer.


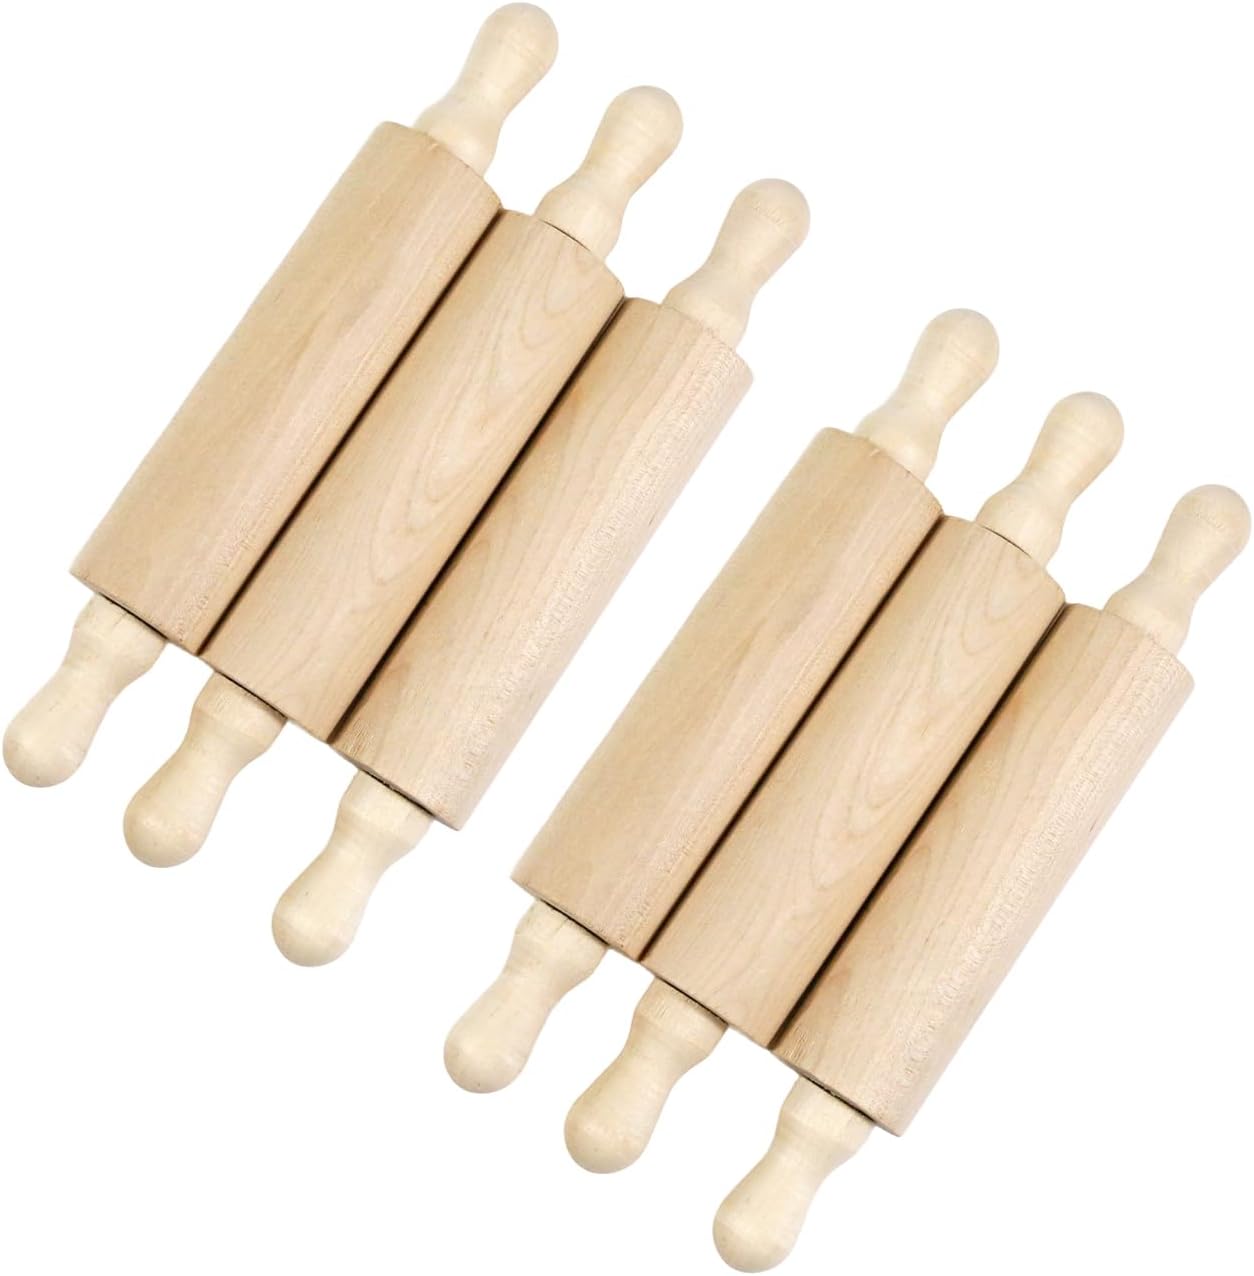
Try a baking themed tray
For a baking corner, use:
- Small measuring cups
- Wooden spoons
- Mini rolling pins
- Ceramic jars
- Small recipe signs
- Faux greenery
You can create the look without filling every inch.
Leave some empty space. Empty space gives your decorations room to breathe and makes the whole tray look more intentional.
How to Style a Tiered Tray for Different Seasons
One of the biggest advantages of a tiered tray involves how easily you can change it throughout the year.
You do not need to buy a completely new display every season.
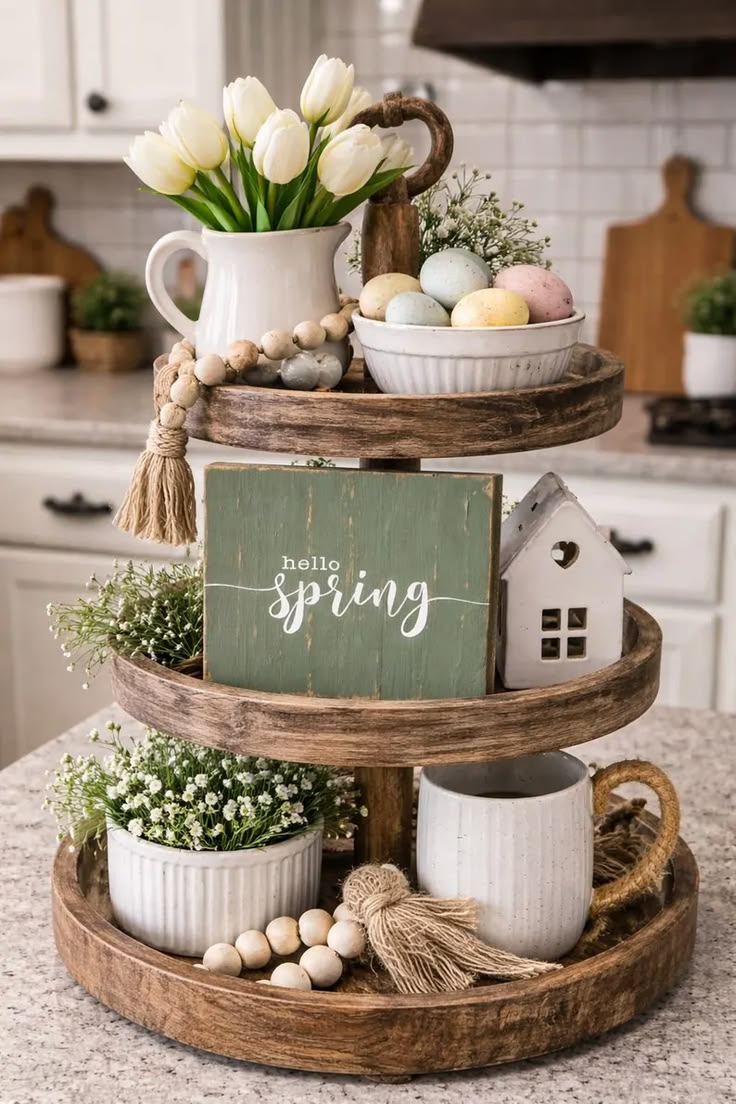
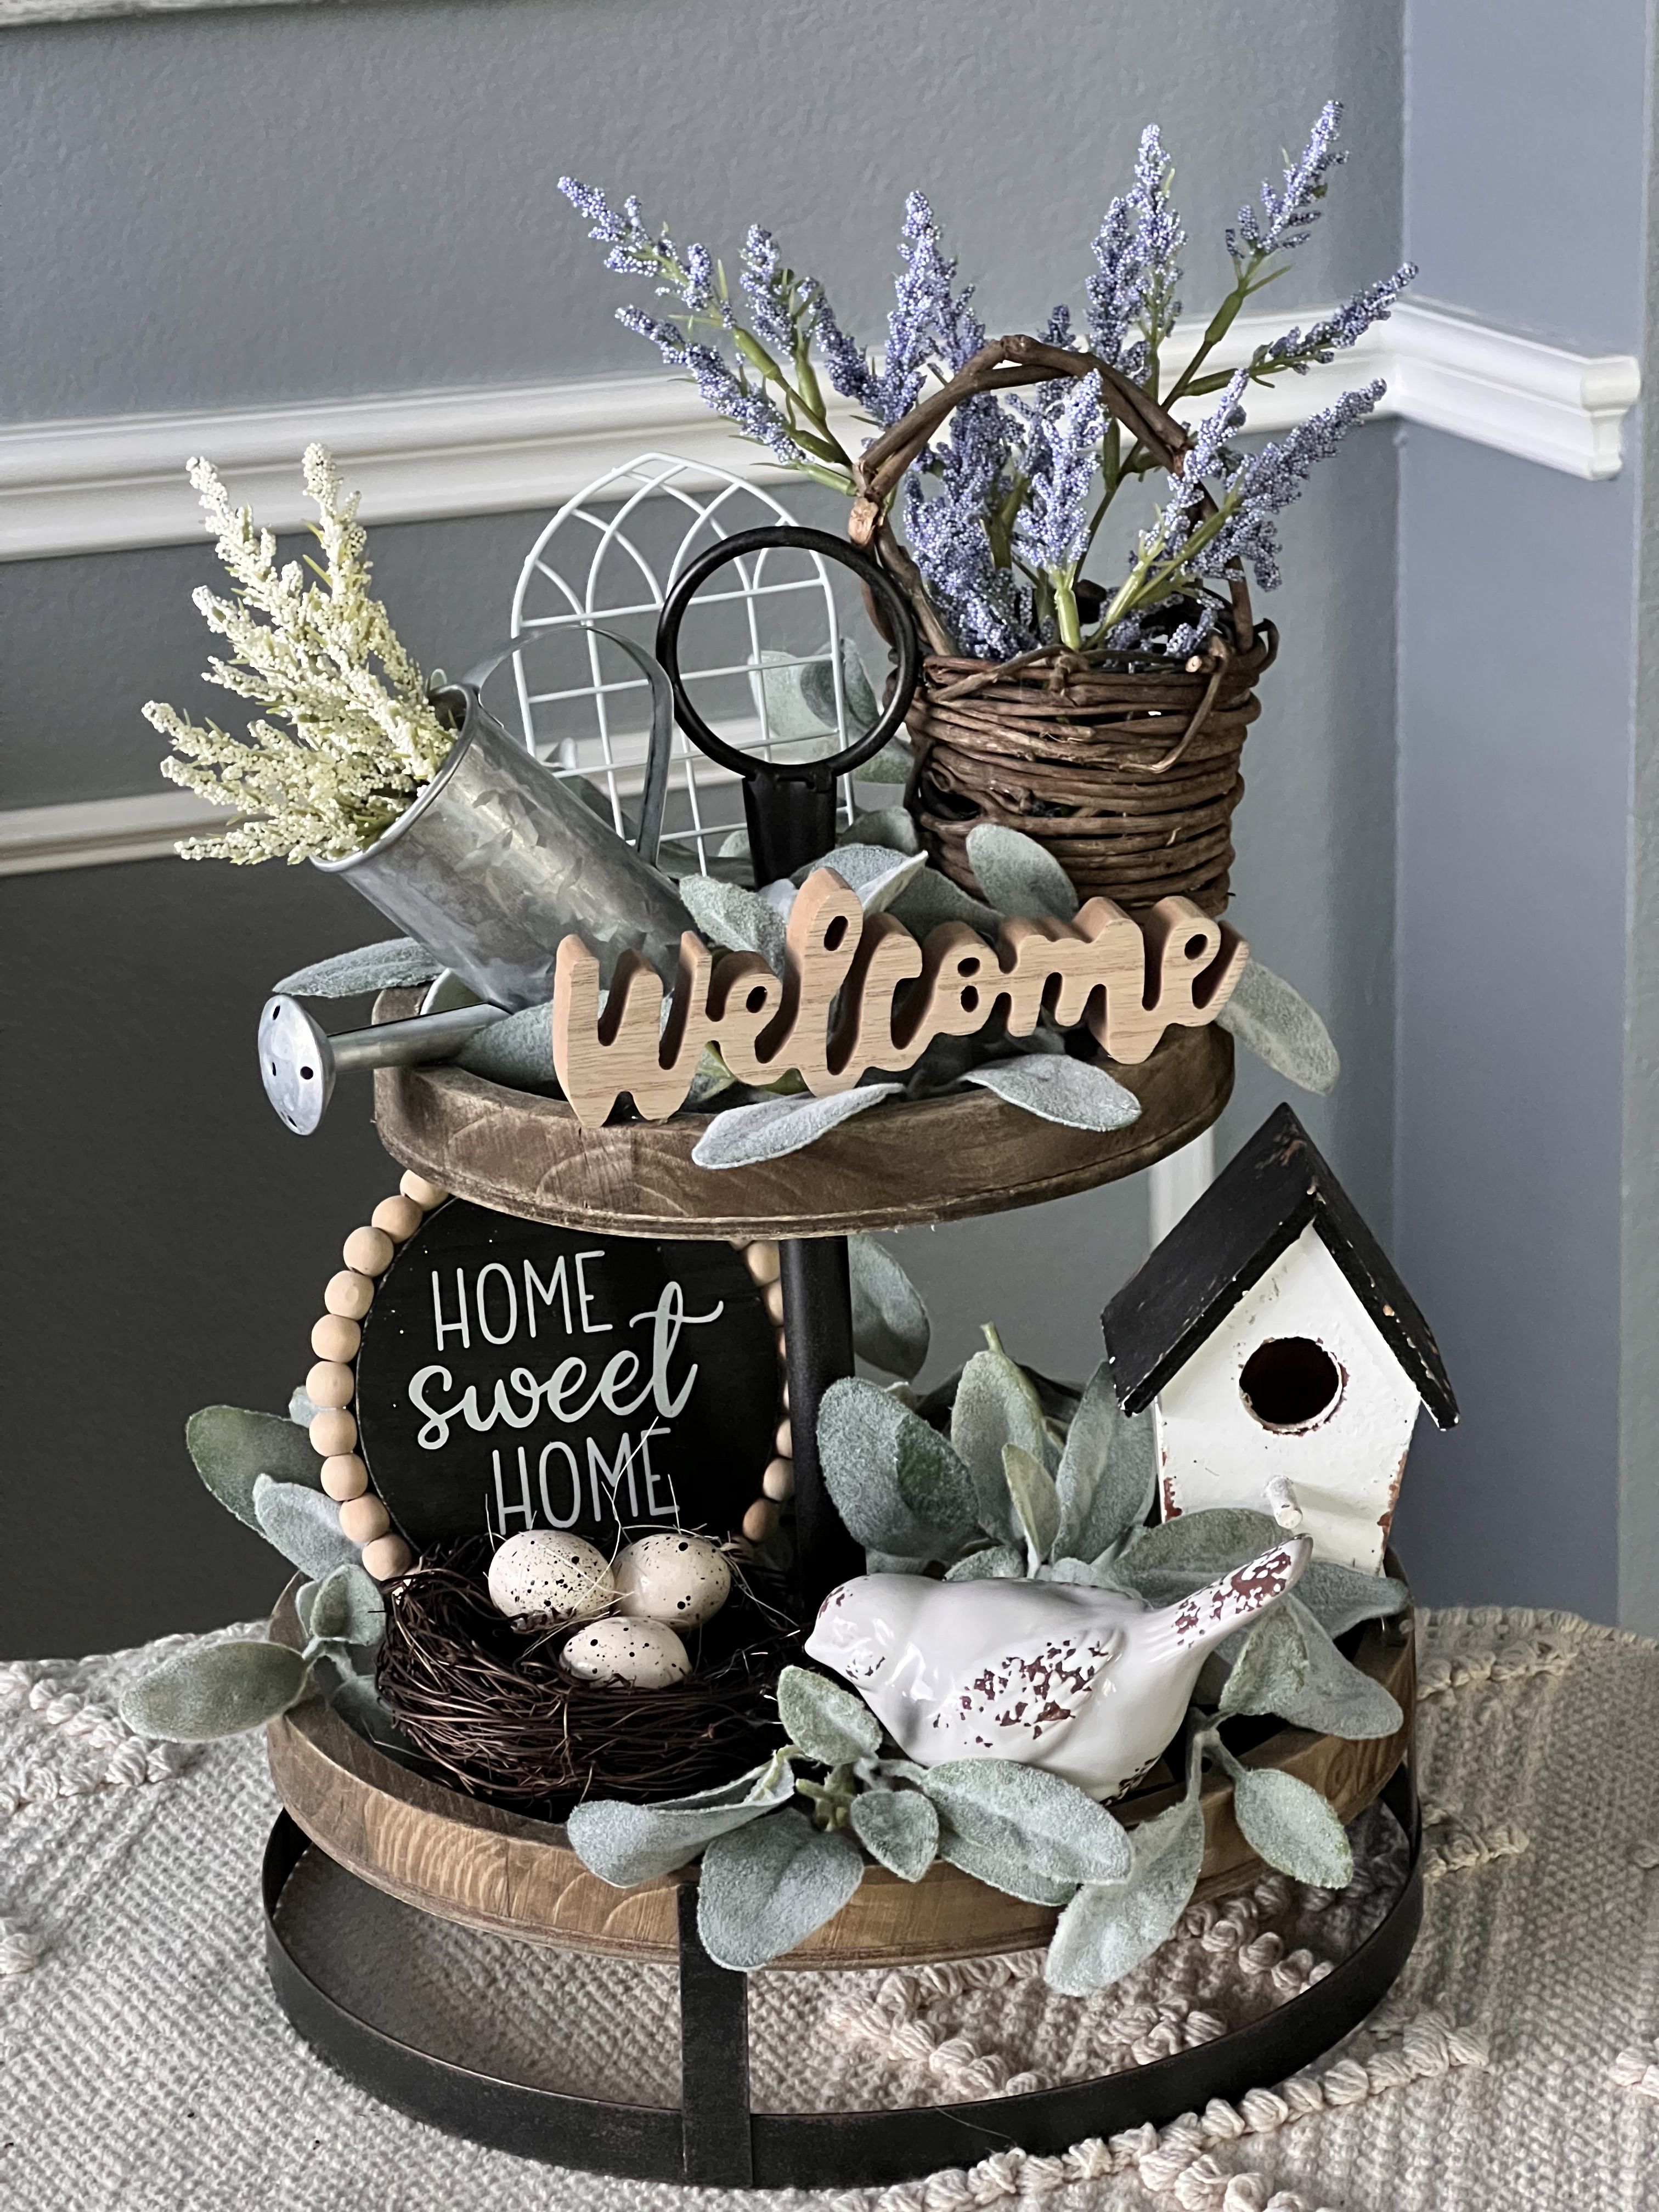
Spring tiered tray ideas
Use soft colors and natural details.
Think:
- Small faux flowers
- Ceramic birds
- Mini eggs
- Pastel mugs
- Small greenery
- Light wood accents
Keep the palette soft and fresh.


Summer tiered tray ideas
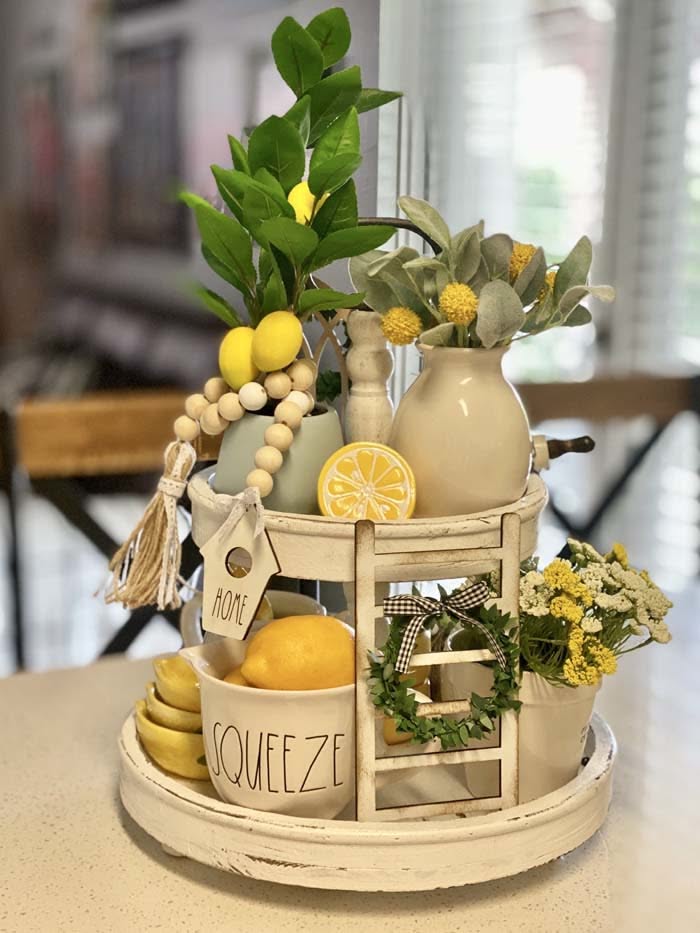
Summer gives you more room for brighter accents.
Try lemons, citrus colors, small floral arrangements, blue and white ceramics, or lightweight greenery.
A simple lemon themed tray can look surprisingly cheerful in a kitchen.

20 Pcs Fake Lemons Artificial Fruits with 25 Leaves, Faux Yellow Lifelike Plastic Lemons
Shop on Amazon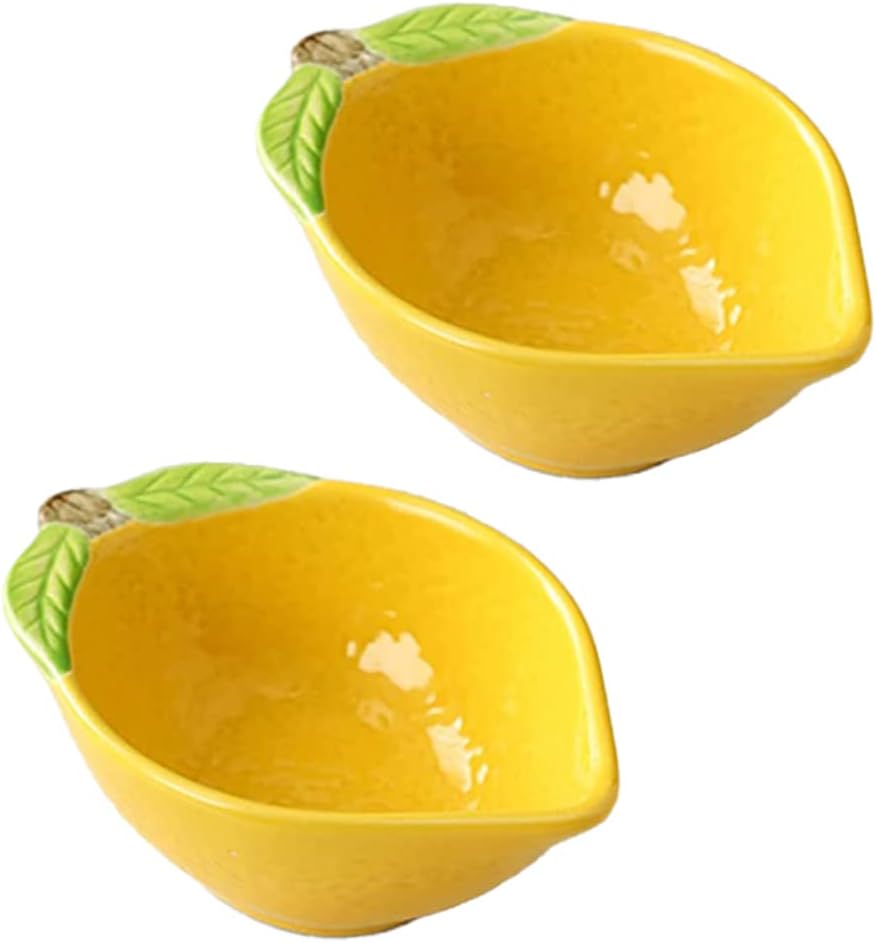
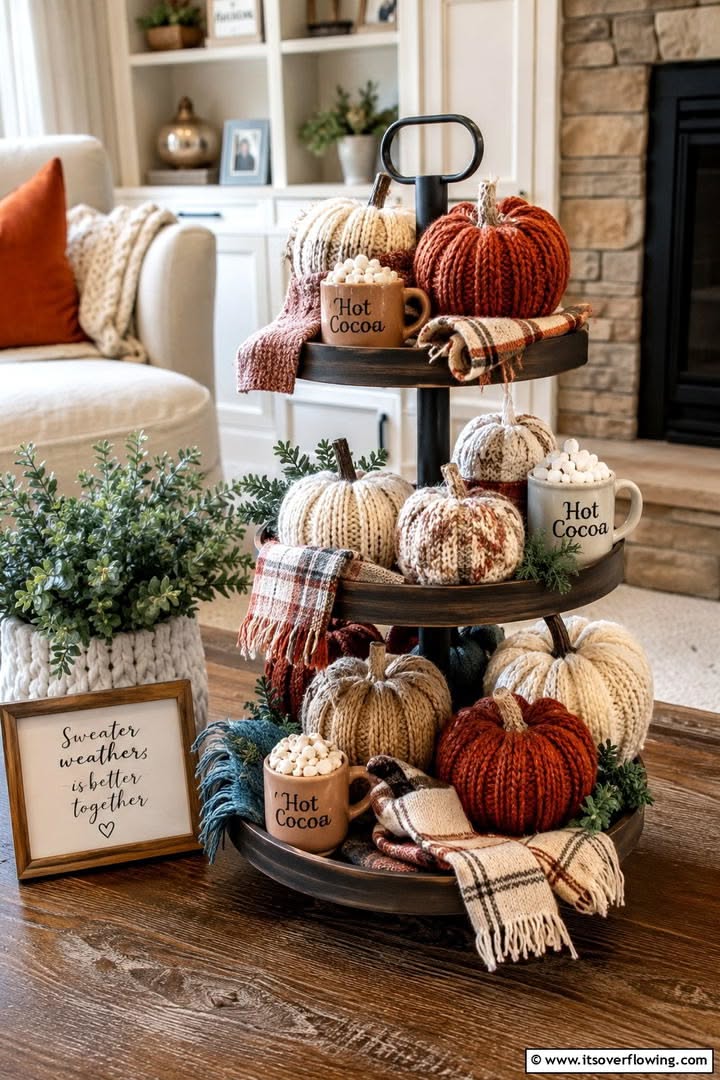
Fall tiered tray ideas
Fall styling works beautifully with warm neutrals.
Use:
- Mini pumpkins
- Amber jars
- Dried foliage
- Wooden signs
- Cinnamon inspired colors
- Warm ceramic pieces
I usually prefer muted orange and terracotta over extremely bright orange because they blend more naturally with neutral interiors.


Christmas tiered tray ideas
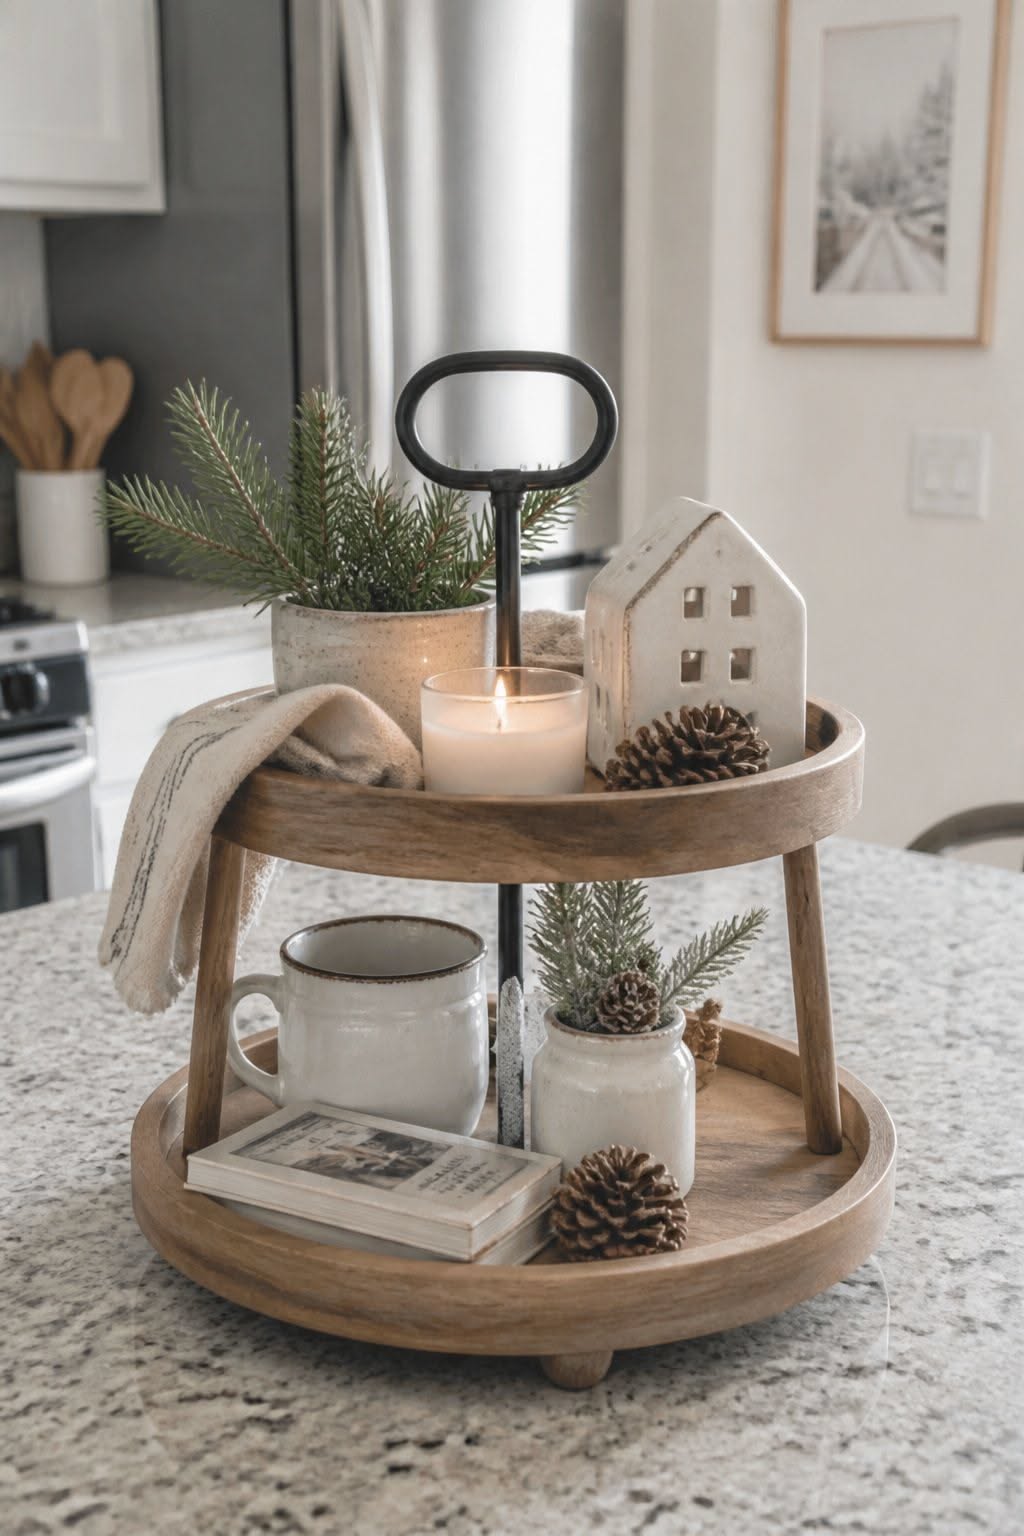
For Christmas, combine greenery with a few seasonal accents.
You could use:
- Mini ornaments
- Bottle brush trees
- Small houses
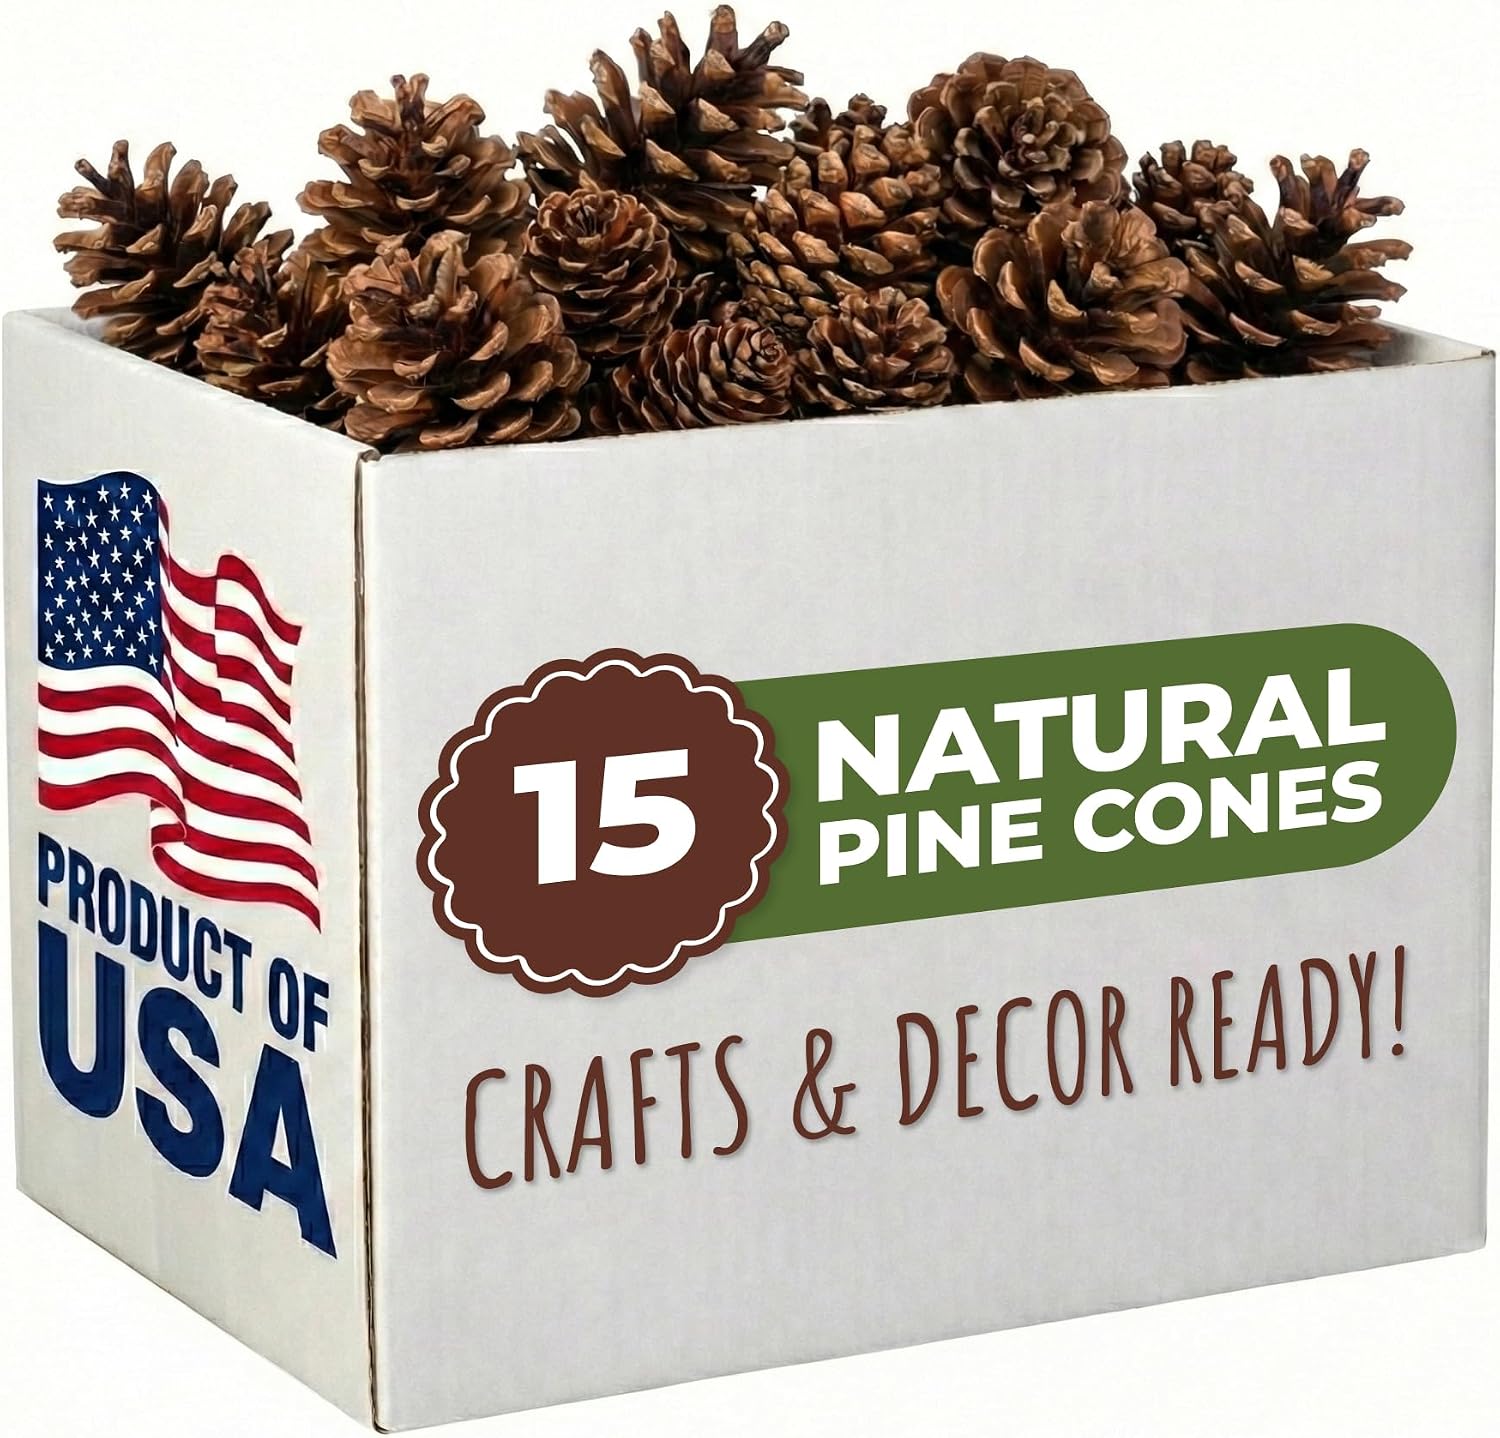
- Pinecones
- Red berries
- Christmas mugs
- Faux evergreen branches
The key involves keeping the Christmas pieces small. Your tiered tray should feel festive rather than like Santa's storage unit.


How to Style a Tiered Tray With Greenery
Greenery remains one of my favorite additions because it fills awkward gaps without making the display feel heavy.
You can use real plants if the location provides enough light, but faux greenery gives you much more flexibility.
Small eucalyptus stems, faux boxwood, olive branches, and trailing greenery can all work beautifully.
Where should greenery go?
Place greenery where you need movement.
A small stem can soften the edge of a tray. A trailing piece can hang slightly over the side. A compact plant can fill an empty corner.
Avoid putting greenery everywhere.
If every level contains a plant, you lose the contrast that makes greenery interesting in the first place.


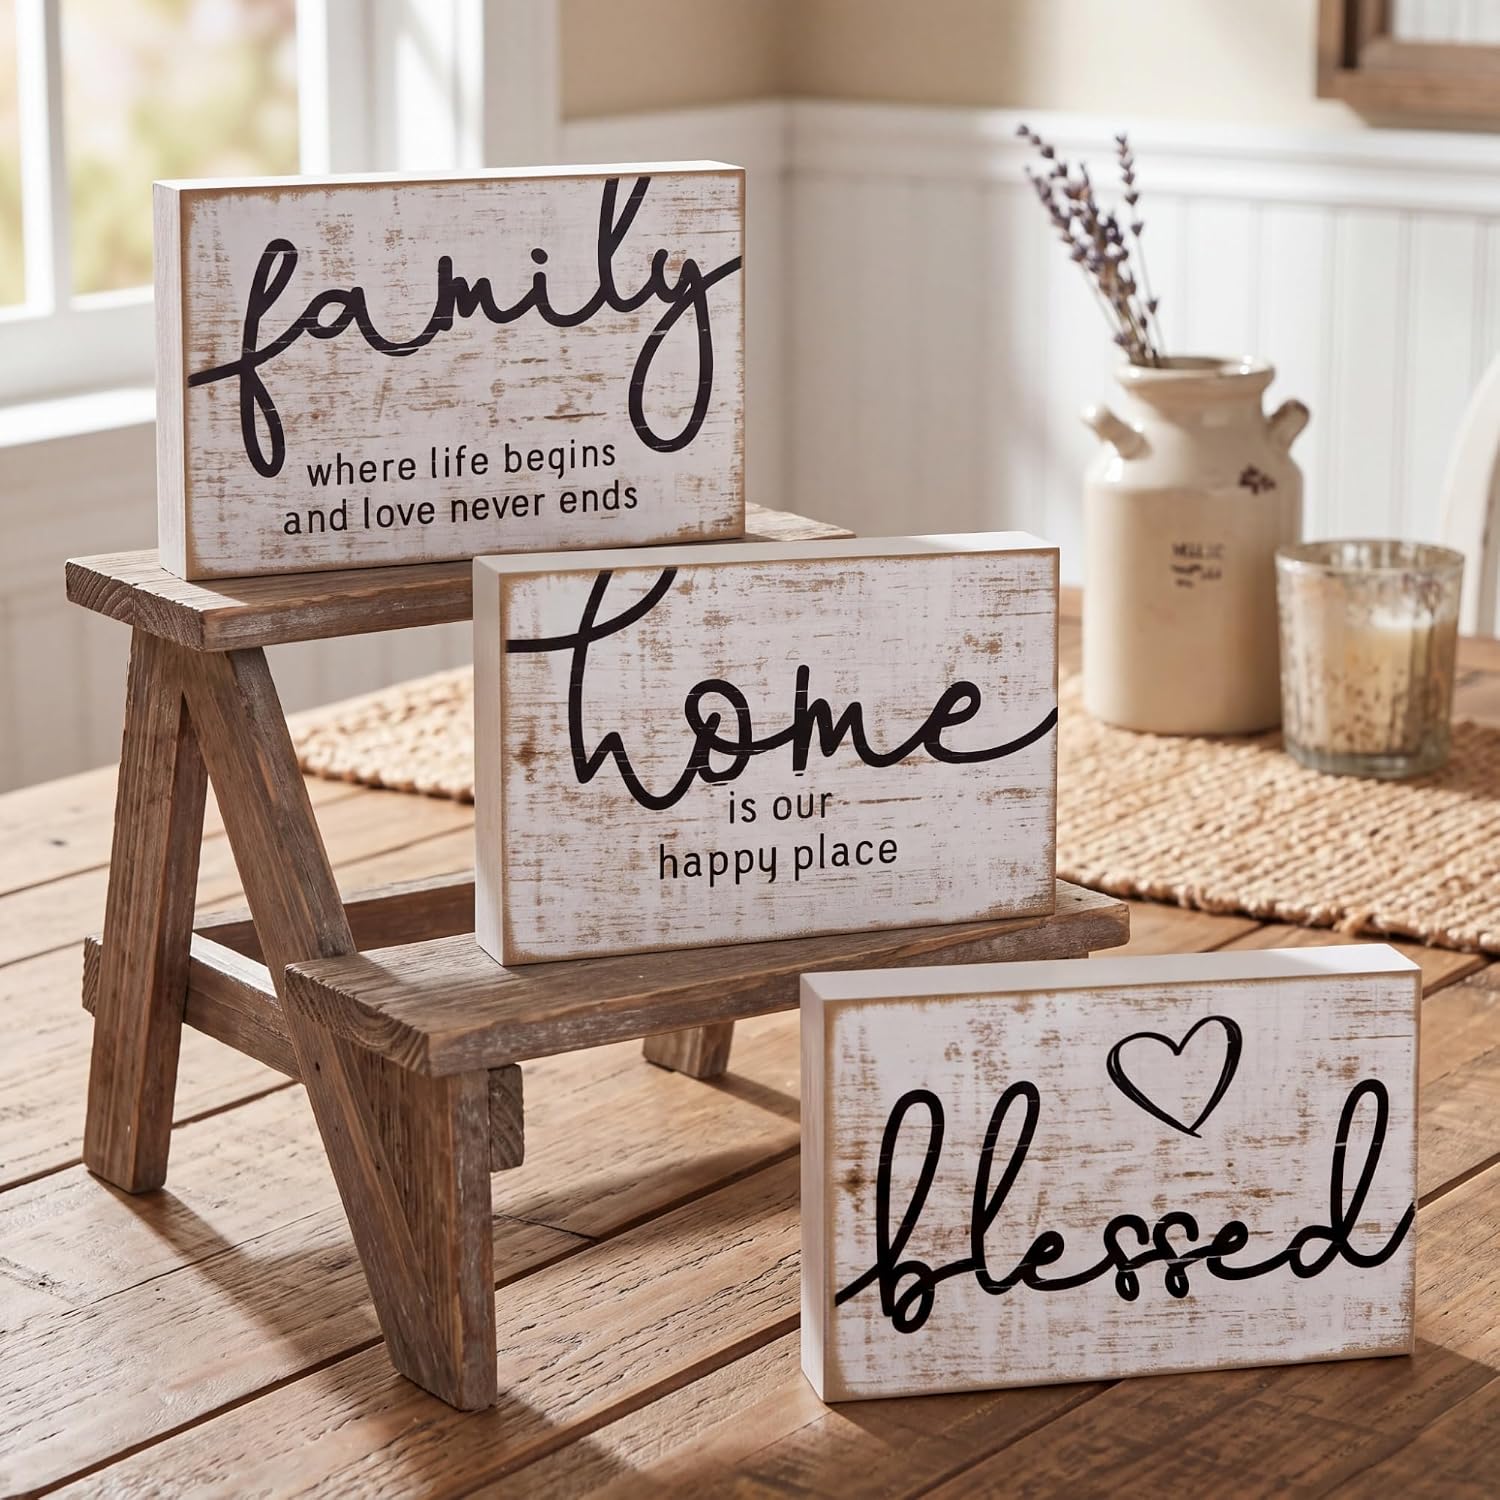
How to Style a Tiered Tray With Signs and Quotes
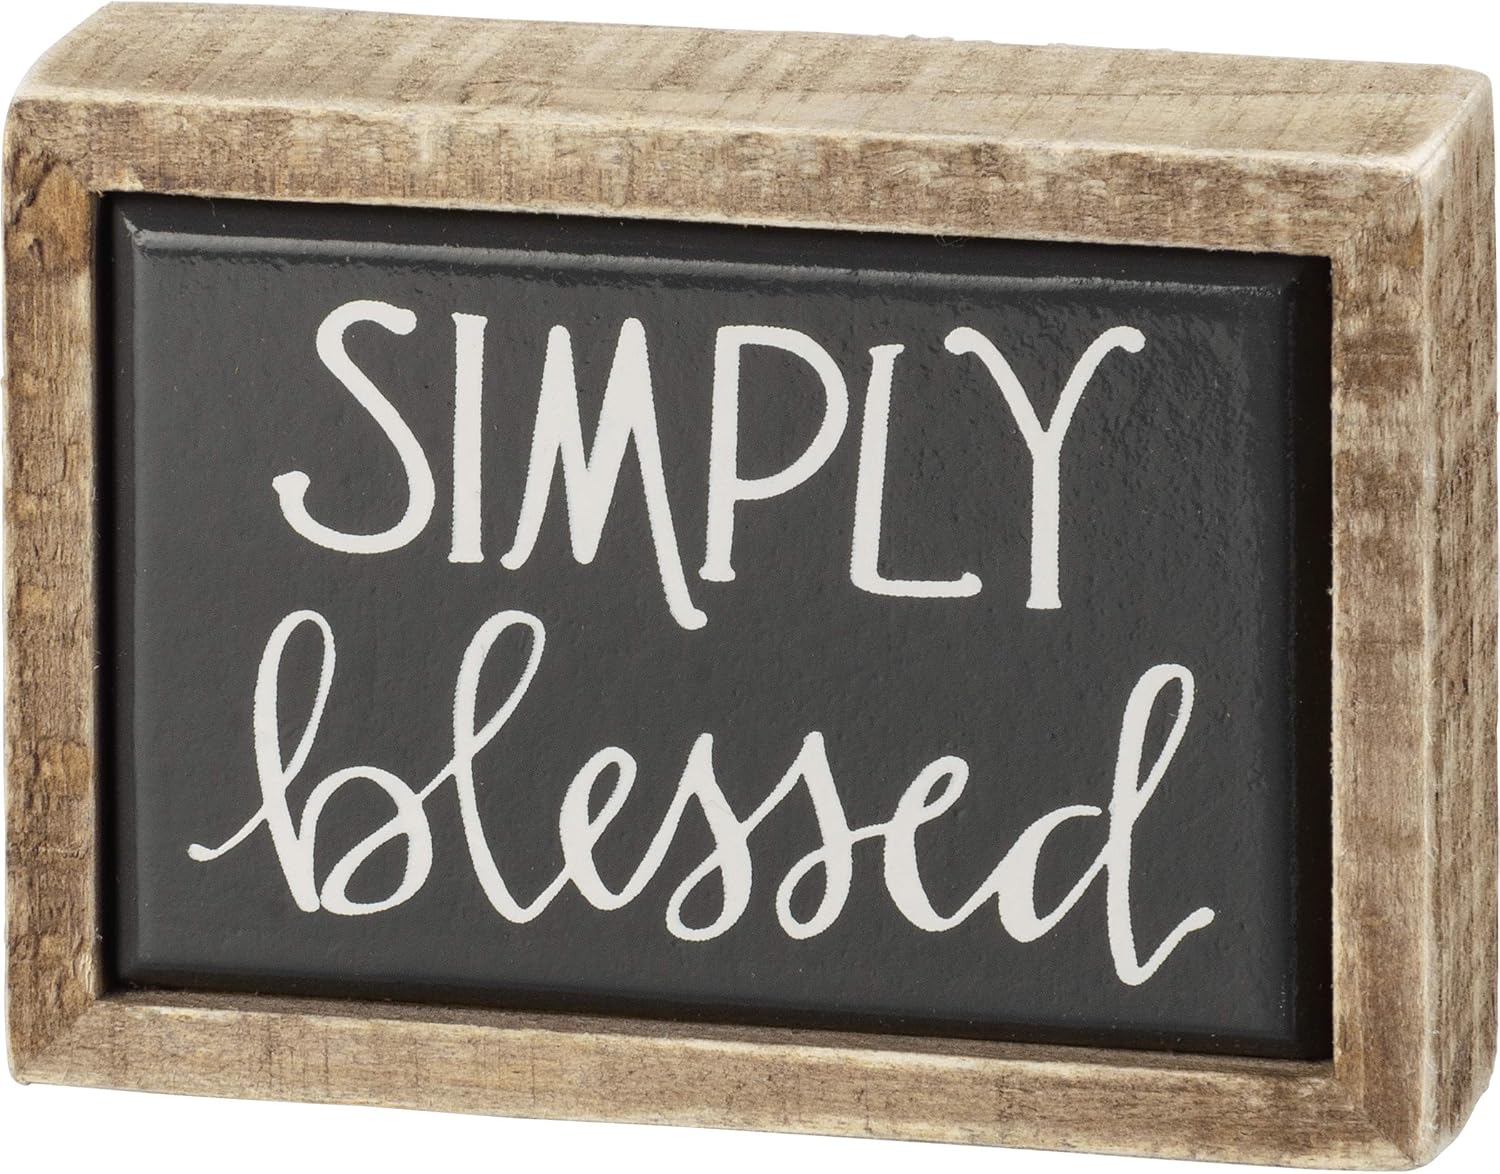
Small signs can add personality, especially in farmhouse or cottage style spaces.
However, signs can quickly take over.
I recommend using one main sign rather than filling every level with words.
Choose a short phrase that supports the theme.
For a coffee station, something like “But First Coffee” makes sense. For a kitchen, a simple food or family phrase can work. For seasonal styling, use one small seasonal message.
The smaller your tray, the smaller your signs should become.
That sounds obvious, but oversized signs cause one of the most common tiered tray styling mistakes.


How to Style a Tiered Tray With the 3 2 1 Formula
If you ever stare at an empty tray and think, “Where do I even start?” try a simple 3 2 1 approach.
Use:
Three small decorative elements
Two medium pieces
One larger focal point
You can adjust the numbers depending on the tray size.
The idea matters more than the exact count. Create one visual anchor, then support it with smaller pieces.
Build each level differently
Do not make every level look identical.
For example, the bottom could hold a small bowl and greenery. The middle could feature a mug and a sign. The top could hold a vase with a short branch.
Different arrangements create a more collected look.

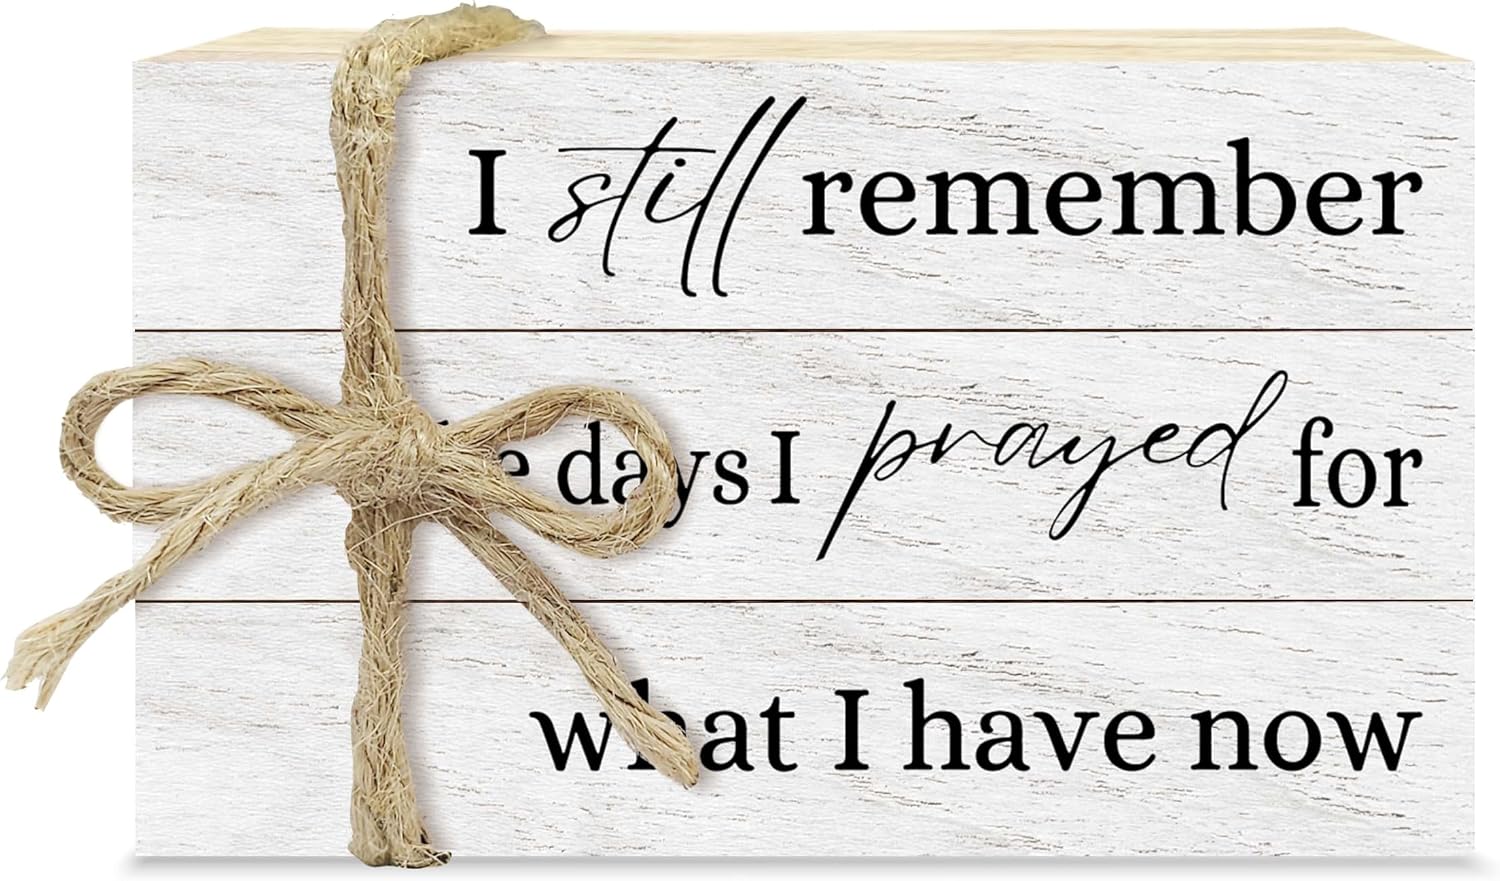
Mini Decorative Books for Home Decor, Small Faux Wood Book Stack, I Still Remember Sign
Shop on Amazon
How to Style a Tiered Tray in a Small Space
Small spaces benefit from tiered trays because they use vertical space efficiently.
If you live in an apartment or have limited kitchen counter space, you can use a small two-tier tray rather than a large three-tier version.
Place it beside:
- A coffee machine
- A kitchen sink
- A fruit bowl
- A cooktop
- A breakfast nook
- A bar cart
Just remember one important rule: do not sacrifice working space for decoration.
If you constantly move the tray every time you cook, you probably need to reduce the number of objects or relocate the tray.
Good decor should make your space feel better, not make breakfast harder.

Common Tiered Tray Styling Mistakes
Even experienced decorators can overdo a tiered tray.
I know I have done it. You find a cute little ceramic piece, then another, then another, and suddenly the tray looks like a miniature gift shop.
Using too many small objects
Small decorations tempt you because they seem harmless.
But twelve tiny objects can create more visual clutter than three larger pieces.
Choose fewer pieces and give them space.
Ignoring the background
Your tray does not exist in isolation.
Look at the backsplash, countertop, cabinets, wall art, and nearby appliances.
If your kitchen already contains several patterns, keep the tray quieter.
Making every object the same height
Uniform height creates a flat composition.
Mix heights instead.
Using too many colors
A chaotic color palette can make even beautiful objects look unrelated.
Stick with a controlled palette and repeat those colors across the levels.
Decorating without considering function
This mistake happens often in kitchens.
If you use the tray for coffee supplies, keep those supplies accessible. If you use it purely for decoration, place it somewhere that does not interfere with daily tasks.


How to Style a Tiered Tray Like a Designer
You do not need expensive accessories to create a polished display.
You need visual balance.
Start with your largest piece. Then add medium pieces around it. Finish with smaller accents that fill gaps.
Step back after every few additions.
Why? Because you notice clutter more easily from a distance than when you stand two inches away from the tray.
I also recommend taking a quick photo with your phone. Your camera often exposes awkward gaps, crowded corners, and competing colors that your eyes ignore.
“The details are not the details. They make the design.”
— Charles Eames
That principle works perfectly here. The little details matter, but only when they support the larger composition.


Easy Tiered Tray Styling Formula to Try Today
If you want a simple starting point, try this combination:
Bottom level
Place your largest decorative piece here.
A small bowl, jar, pitcher, or chunky ceramic object works well.
Middle level
Add something functional or visually interesting.
A mug, candle, small sign, or medium plant can work nicely.
Top level
Keep the top lighter.
Use a small vase, greenery, bottle, or seasonal accent.
Then add one or two tiny details.
Finally, remove one object.
Seriously.
I often find that the tray looks better after I take one thing away. That final edit creates the breathing room that makes the arrangement feel intentional.

Final Thoughts on How to Style a Tiered Tray
Learning how to style a tiered tray does not require a huge collection of decorations or a perfect eye for design. Start with a simple color palette, create different heights, mix textures, and give each level a purpose.
Use the tray as one composition instead of treating each shelf as a separate decorating project. Add greenery for movement, wood for warmth, ceramics for structure, and one focal piece to anchor everything.
Most importantly, do not feel pressured to fill every empty spot.
A beautifully styled tiered tray should feel collected, useful, and relaxed. If you can still see some of the tray, reach the things you actually use, and enjoy looking at it every time you walk past, you probably got it right.
And if you add one too many little pumpkins or mugs?
Well, there is always tomorrow's decorating edit.